
Last Updated on 13th April 2024 by peppe8o
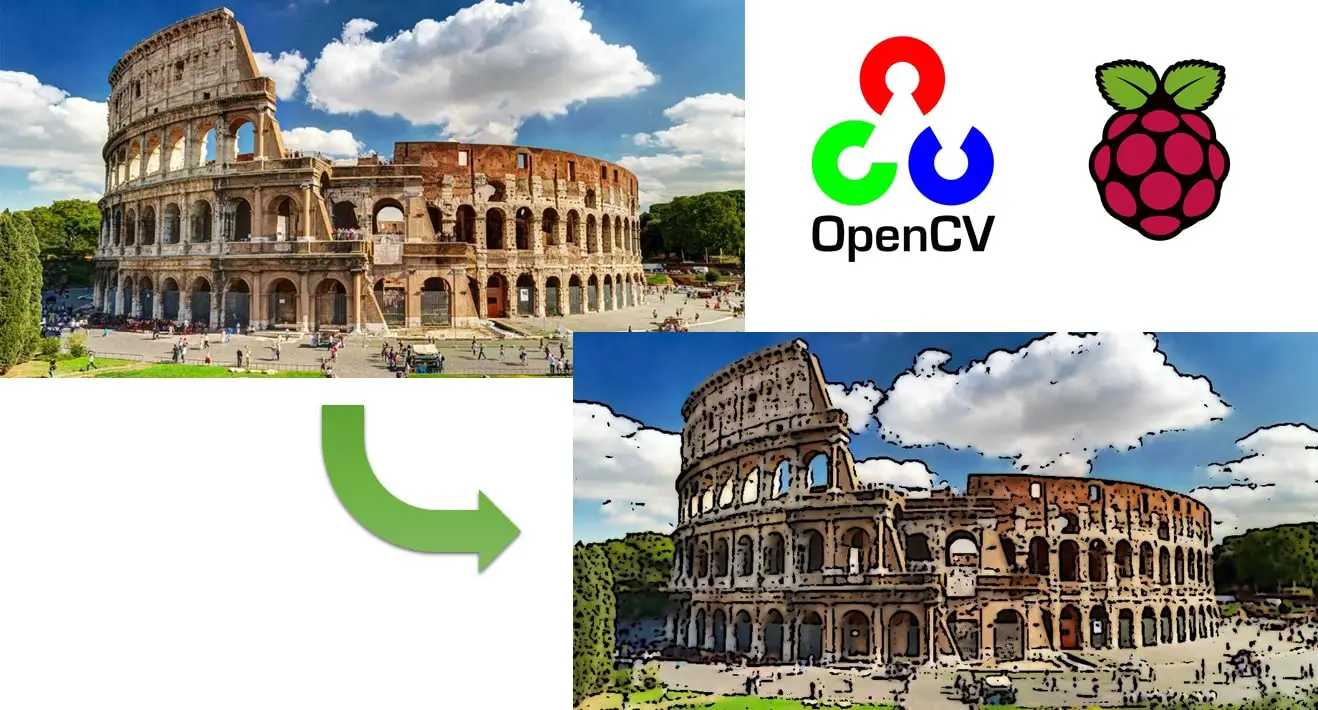
In this tutorial, I’m going to show you how to create a script that cartoonizes images with OpenCV on Raspberry PI.
Besides its core functionalities in Artificial Intelligence, OpenCV can be used to manipulate images. With the support of Python, you can use your Raspberry PI to transform every image into a cartoon image.
What is OpenCV
OpenCV (Open Source Computer Vision Library) is an open-source library used to manipulate and manage visual media, so delivering advanced computer vision and machine learning services. It runs on many platforms, including Linux, Windows, MacOS, iOS and Android.
Instead of a classic installation, you can also install OpenCV with Python support from the default Raspberry PI package manager, This way you can get a fast OpenCV environment perfectly integrated with Python scripts.
This tutorial is focused on a very simple first example, where we are going to create cartoon images from a common photo. We will create a script which accepts the input images filename (path) and saves the cartoonized version.
For this project I’m going to use a Raspberry PI 3 model A+, but this should work with all Raspberry PI boards.
What We Need
As usual, I suggest adding from now to your favourite e-commerce shopping cart all the needed hardware, so that at the end you will be able to evaluate overall costs and decide if to continue with the project or remove them from the shopping cart. So, hardware will be only:
- Raspberry PI 3 Model A+ (including proper power supply or using a smartphone micro USB charger with at least 3A) or newer Raspberry PI Board
- high speed micro SD card (at least 16 GB, at least class 10)
Check hardware prices with following links:


Step-by-Step Procedure
Prepare Operating System
Start preparing your Raspberry PI OS, with install Raspberry PI OS Lite guide (to have a fast, headless OS) or install Raspberry PI OS Desktop (getting a Desktop environment, so working with its internal terminal). I will use Lite distribution and I will move files by SFTP session (with Filezilla).
Make your OS up to date. From terminal:
sudo apt update -y && sudo apt upgrade -yInstall required packages:
sudo apt install python3-opencv python3-skimageOpenCV Cartoonize Image Script
You can get a copy of this script directly in your Raspberry PI with the following terminal command:
wget https://peppe8o.com/download/python/opencv_cartoonize.pyYou can also explore script content with cat or nano commands. Please find below the script description.
I’ll use a Colosseum image, adding more images during the script explanation showing what single commands are making on file. My file will have “colosseum.jpeg” name and will be passed to the script with the following command:
python3 opencv_cartoonize.py colosseum.jpegThe original image is the following:

Required libraries are imported. sys library will be used to get terminal arguments (which will include the filename of the image to cartoonize)
import cv2
import sys
from skimage import io
Before starting image manipulation operations, using the split function from sys library allows us to get the filename separated from the file extension. “sys.argv[1]” keeps the first argument passed on the terminal (“colosseum.jpeg” in my case). This process supposes that the input image file doesn’t use dot (“.”) char in its name and that the only dot char present is before the file extension:
filename = sys.argv[1].split(".")Now, the filename variable is a string array with these values:
- filename[0] = “colosseum”
- filename[1] = “jpeg”
The following line simply loads the image file in “img” variable:
img = cv2.imread(sys.argv[1])The next command converts the image into a RGB array:
img = cv2.cvtColor(img, cv2.COLOR_BGR2RGB)The image after this conversion is still the same:

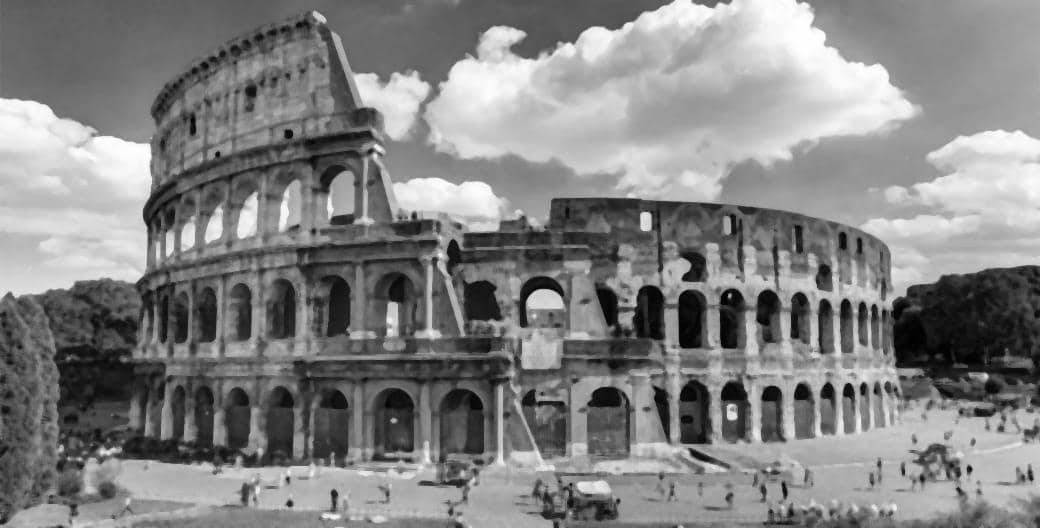
The next lines convert colours to grey, also applying a Blur filter to create an out-of-focus effect:
gray = cv2.cvtColor(img, cv2.COLOR_BGR2GRAY)
gray = cv2.medianBlur(gray, 5)
Please find in the following picture outputs from this operation:
The following line detects the main edges of the image:
edges = cv2.adaptiveThreshold(gray, 255, cv2.ADAPTIVE_THRESH_MEAN_C, cv2.THRESH_BINARY, 9, 9)The following picture shows the result:

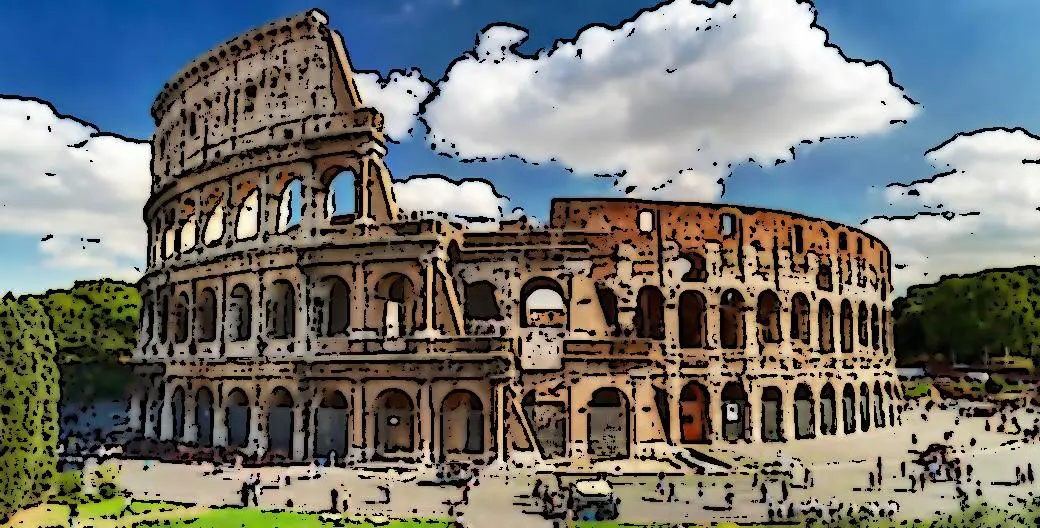
Final image manipulation lines will extract interpolation of colours from the RGB image array and will use these inside boundaries marked from edges:
color = cv2.bilateralFilter(img, 9, 250, 250)
cartoon = cv2.bitwise_and(color, color, mask=edges)
The next picture shows the resulting image:
The final script line simply saves the cartoonized image keeping the same extension, but adding a “_cartoon” suffix to the file name:
io.imsave(filename[0]+"_cartoon."+filename[1], cartoon)Final Thoughts
Cartoonize images with OpenCV is really simple and funny. Results can vary depending on image details and dimensions. Examples are the following pictures:
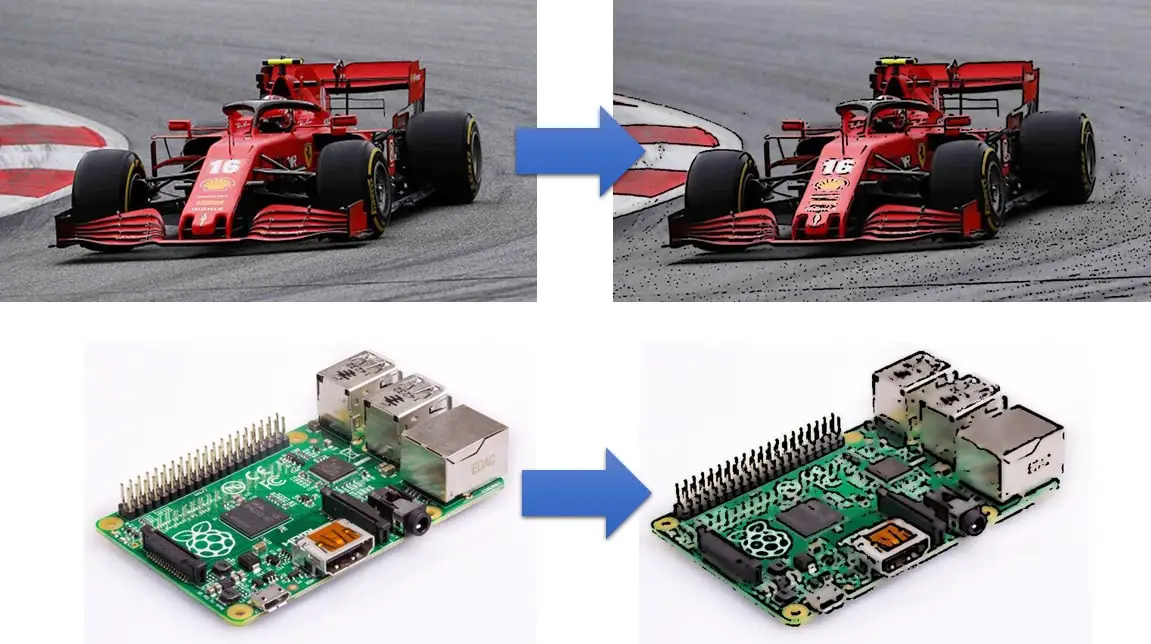
With default settings, working on high-resolution images can bring in “too realistic” results like the one with the Ferrari Formula 1 car (hi Charles!) An image with a lower resolution, like the one with a Raspberry PI board, gets better interpolation filtering.
Working on original file resizing plus leveraging Blur, edges and color filters can improve results with a wider set of images.
Enjoy!

Open source and Raspberry PI lover, writes tutorials for beginners since 2019. He's an ICT expert, with a strong experience in supporting medium to big companies and public administrations to manage their ICT infrastructures. He's supporting the Italian public administration in digital transformation projects.
![]()
![]()
![]()
![]()
![]()
![]()
![]()


