
Last Updated on 12th April 2024 by peppe8o
This tutorial will show you how to install Jellyfin on Raspberry PI computer boards using Docker. For this tutorial, I’m going to use a Raspberry PI 3 Model A+, but it should work with any newest Raspberry PI computer board. Moreover, I’m going also to show a way to easily upload media files remotely to your Jellyfin media center.
Raspberry PI computer boards, especially the newest ones, meet perfectly the need for small media center systems. One of the most famous on the web is Jellyfin.
Jellyfin, the Free Software Media System
Jellyfin is a Free Software Media System licensed under the GNU GPL: this means that you can use it, study it, modify it, build it, and distribute it for free, as long as your changes are licensed the same way. It descends from Emby‘s 3.5.2 release, trying to be different in order to avoid attached strings, premium licenses or features, and hidden agendas.
Jellyfin can manage different media types like, for example, movies, TV shows, music, Live TV & DVR, and books.
It lets you watch your media from a web browser. But you can also use client software allowing you to make the server communication easier. The complete client software list can be found at https://jellyfin.org/clients/ and includes apps for Roku, Android, iOS, Fire TV, Chromecast, Kodi, and so on.
You can also try a free demo at https://demo.jellyfin.org, where you can try the software by logging in with “demo” user and an empty password.
What We Need
As usual, I suggest adding from now to your favourite e-commerce shopping cart all the needed hardware, so that at the end you will be able to evaluate overall costs and decide if to continue with the project or remove them from the shopping cart. So, hardware will be only:

- Raspberry PI 3 Model A+ (including proper power supply or using a smartphone micro USB charger with at least 3A) or newer Raspberry PI Board
- high speed micro SD card (at least 16 GB, at least class 10)
- USB disk storage device (like a USB Stick or USB Hard Disk). Please avoid those with Jmicron adapters as they have performances problems with Raspberry PI computers
Check hardware prices with the following links:


Step-by-Step Procedure
Prepare Raspberry PI Operating System
Please start installing your OS. As your Jellyfin server will not be directly connected with an HDMI cable to your TV, you can use Raspberry PI OS Lite for a fast, headless OS. I suggest this solution, especially for lower capacity RPI models, but you can also use Raspberry PI OS Desktop (in this case working from its terminal).
Make your OS up to date. From terminal:
sudo apt update -y && sudo apt upgrade -yWith Raspberry PI headless installations (RPI OS Lite), it is a good practice to reduce the RAM dedicated to the GPU to its minimal value, that is 16MB. You can refer to my Manage Raspberry PI GPU Memory Split tutorial in order to get the right way.
Moreover, you will probably wish to use external storage to store your media (like a USB disk or USB stick). As RPI OS Lite will not automatically mount the plugged storage, also for this task you can use my Automount USB storage with Raspberry PI OS Lite: fstab and autofs. I will use a mounted USB stick with a mount point at /media/myUSB folder via autofs.
Install Jellyfin on Raspberry PI via docker
Jellyfin can be installed in different ways, the Docker one being the simplest (and the one this tutorial is going to show). Install Docker in your Raspberry PI with my Setup a Docker environment with Raspberry PI OS Lite tutorial. Here, you can just stop at the docker installation (with the user permission grant). Portainer and docker-compose are plus and I suggest also to evaluate them for your future projects.
Now, we have to prepare the required folders for Jellyfin in our Raspberry PI file system. While the config and cache folders are a must, the media folder can be set and organized according to your preferences. In the following, I’m going to add a specific folder for every media type according to Jellyfin media classification, in order to get a well-organized directory. Please note that I’m going to create all these folders in my attached media.
So, create the required folders with the following terminal commands:
mkdir /media/myUSB/config
mkdir /media/myUSB/cache

mkdir /media/myUSB/media
mkdir /media/myUSB/media/movies
mkdir /media/myUSB/media/music
mkdir /media/myUSB/media/shows
mkdir /media/myUSB/media/books
mkdir /media/myUSB/media/photos
mkdir /media/myUSB/media/musicvideos
mkdir /media/myUSB/media/mixed
Downloading and installing the Jellyfin software will happen with a single Docker command (here’s the magic of Docker):
docker run -d \
 --name jellyfin \
 --net=host \
 --volume /media/myUSB/config:/config \
 --volume /media/myUSB/cache:/cache \
 --mount type=bind,source=/media/myUSB/media,target=/media \
 --restart=unless-stopped \
 jellyfin/jellyfin
Check that the container is up. At the very first start, it may take some seconds in order to get completely started. To do this, please use the “docker ps” command:
pi@raspberrypi:~ $ docker ps
CONTAINER ID   IMAGE               COMMAND                CREATED          STATUS                             PORTS     NAMES
b2996c3791c0   jellyfin/jellyfin   "/jellyfin/jellyfin"   39 seconds ago   Up 37 seconds (health: starting)             jellyfin
As you can see, the “health:starting” will warn that the container is still initializing. After a while, repeating the same “docker ps” command, you should see it correctly started:
pi@raspberrypi:~ $ docker ps
CONTAINER ID   IMAGE               COMMAND                CREATED          STATUS                    PORTS     NAMES
b2996c3791c0   jellyfin/jellyfin   "/jellyfin/jellyfin"   53 seconds ago   Up 50 seconds (healthy)
In any case, at any point you will be able to check the Jellyfin container logs with the following command:
docker logs jellyfinIt may be useful for debugging.
Setup Jellyfin
From a remote PC, with your favourite browser please use the Raspberry PI’s IP address to start the setup wizard, connecting to port 8096. For example, as my RPI address is 192.168.197.251, in my case my URL will be http://192.168.197.251:8096 to get the setup page:
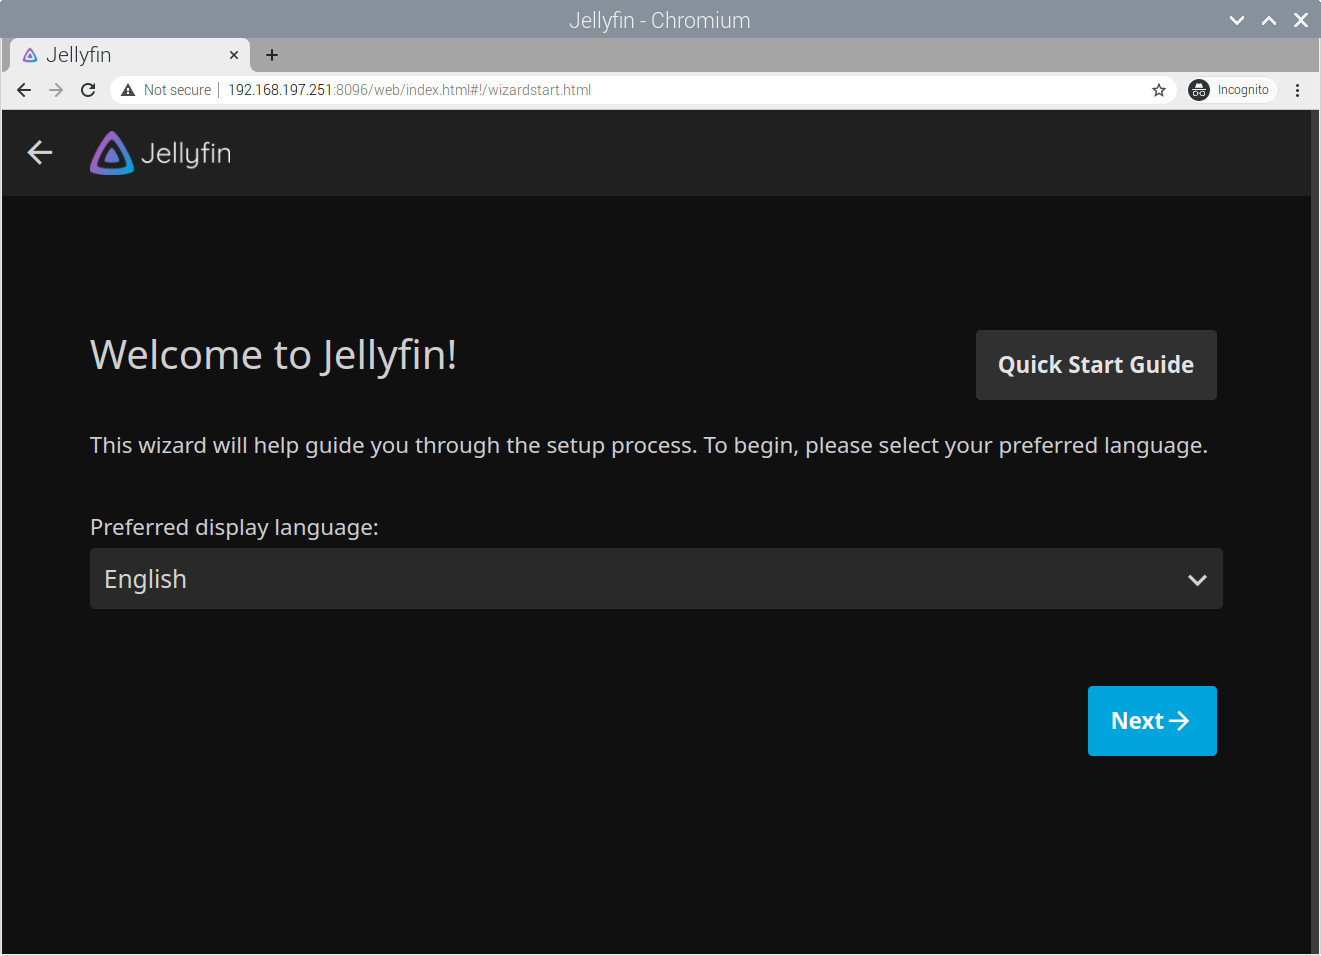
Here you can select your favourite language and then press the “Next” button to move forward. In the next page:
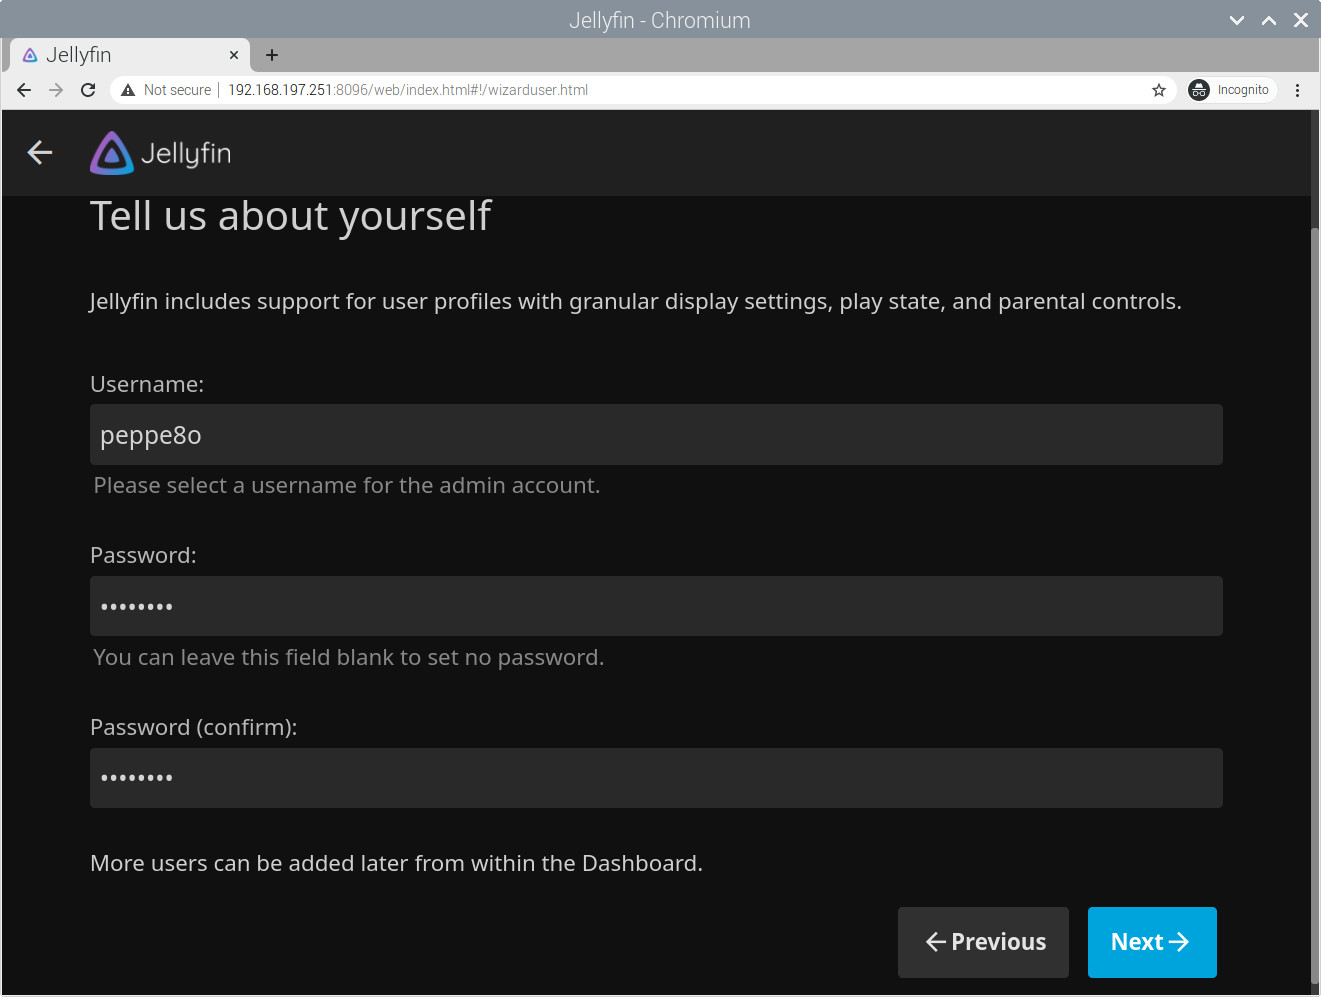
You will be able to set the credentials for your first Jellyfin user that, by default, will be also the software admin and will allow you to create more users if required. Then press the “Next” button to reach the media library configuration:
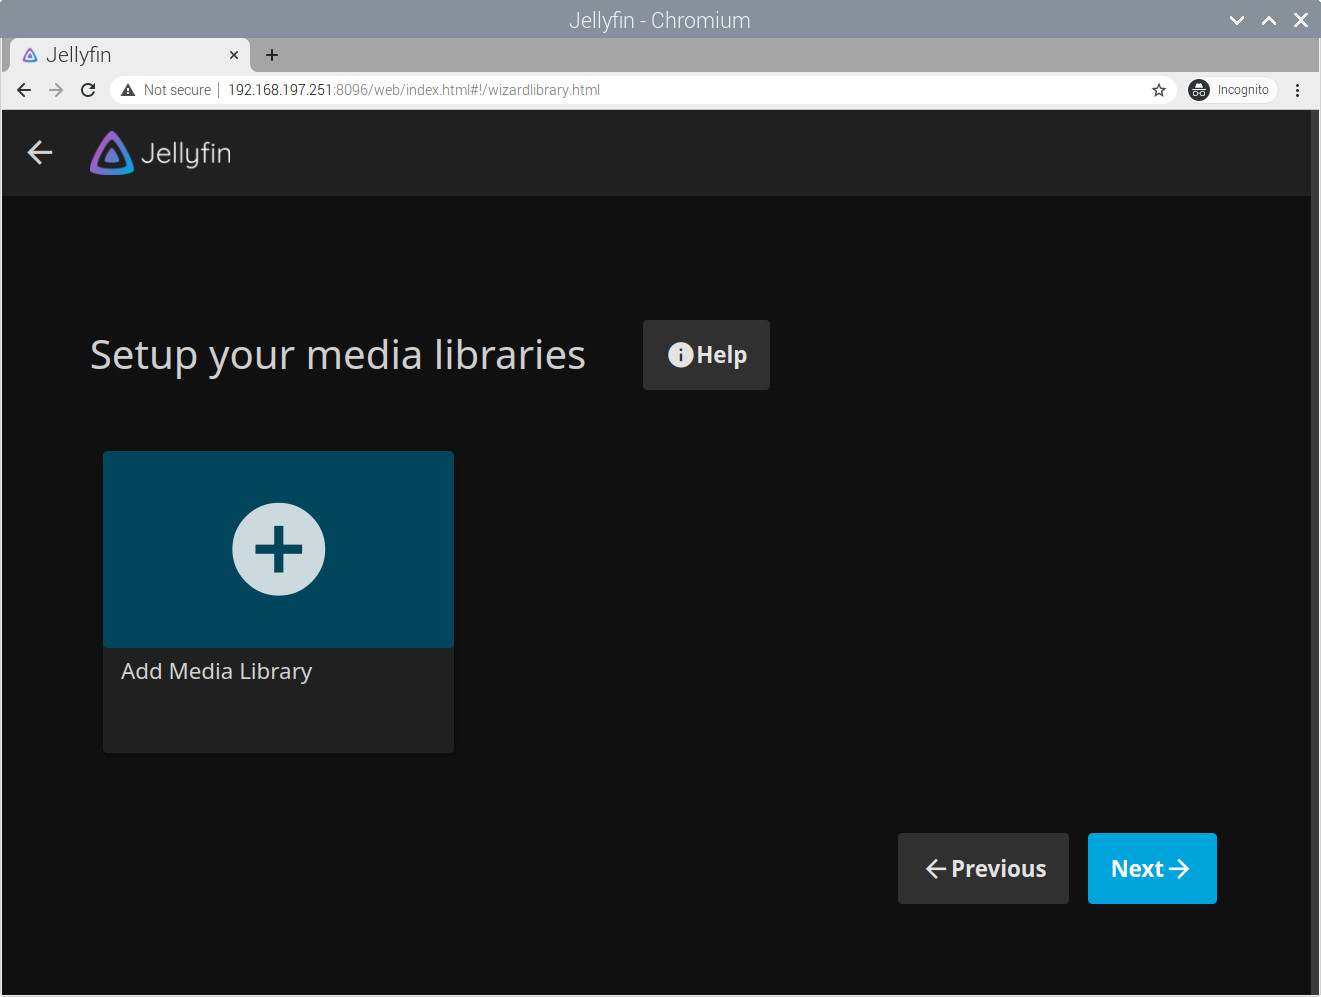
Here I will show you how to create a first media library (for movies), as the other can be set later from the Jellyfin administration dashboard. Once you click the “Add Media Library” button you will get the following page:
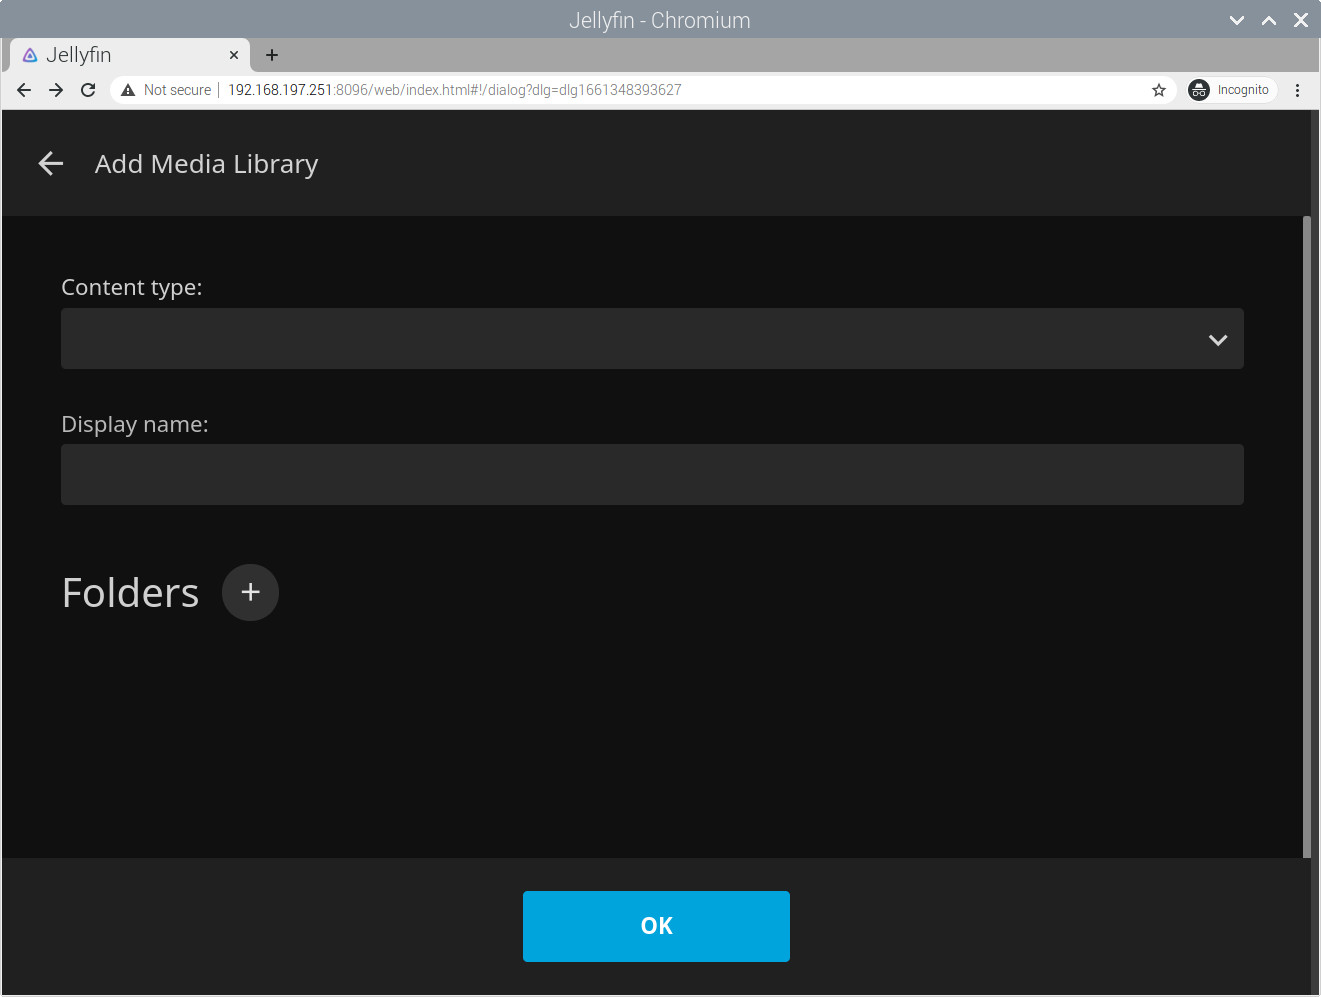
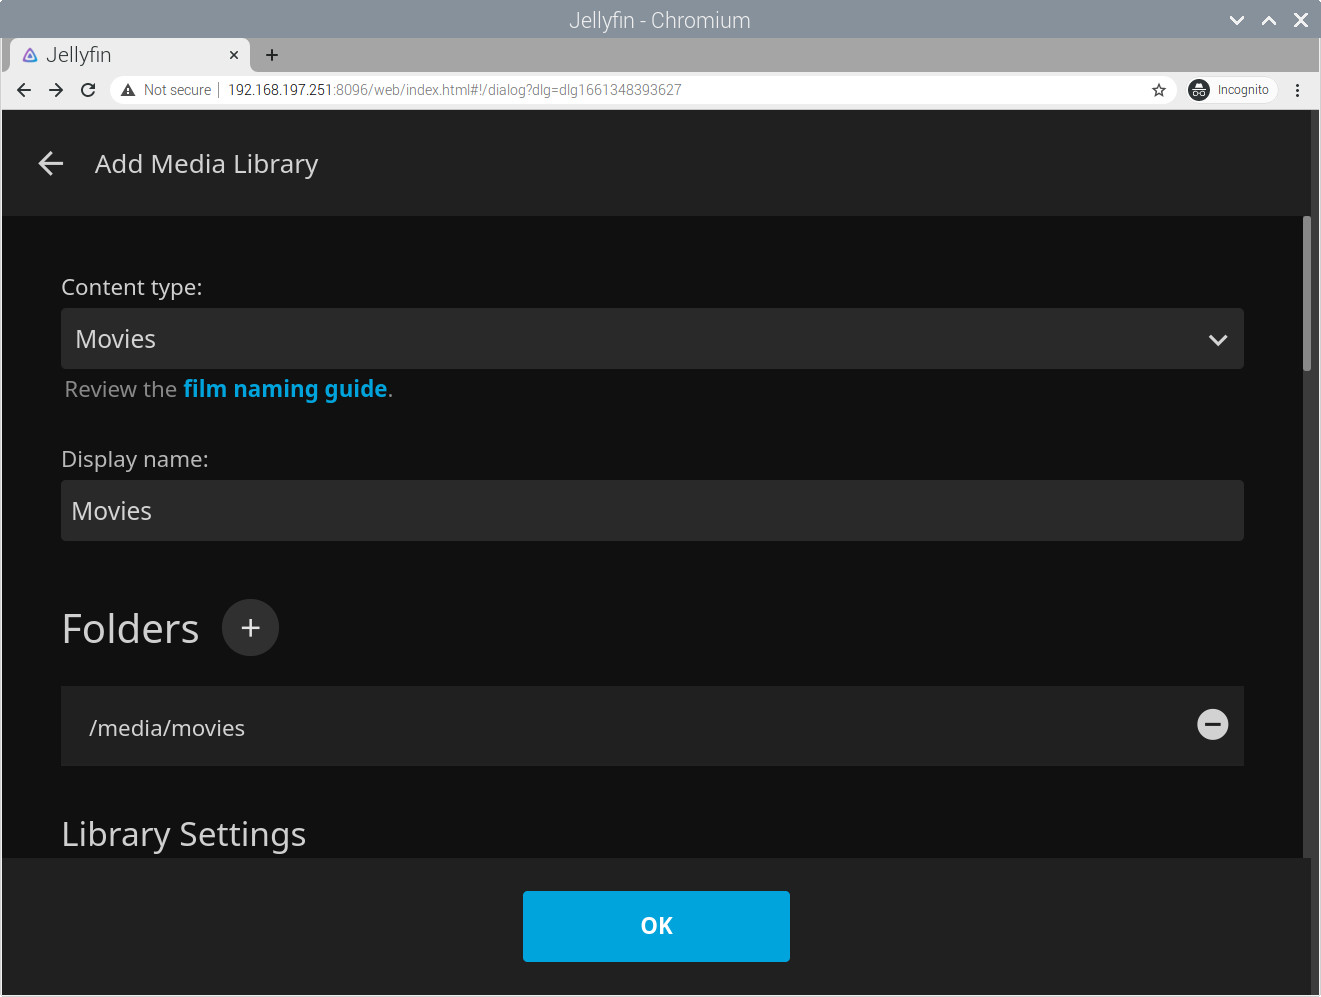
Based on the “Content type” selection, several options will open to let you fine-set your media. For example, now I’m going to configure a Movies content type. Set it to your first content type.
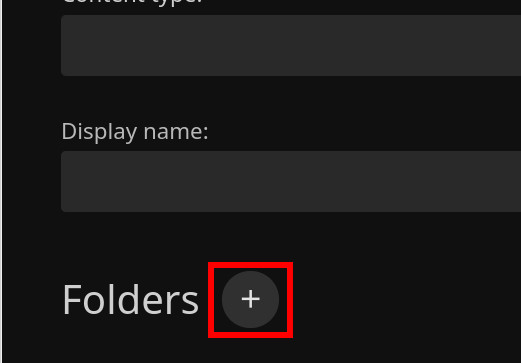
Besides setting the other options, we have to configure the folder(s) where our content will be stored. This can be achieved with the button at the right of the “Forders” label:
To set the folder path, please remember that with the docker run command we mapped the “/media/myUSB/media” path into the “/media” path visible from the container. So, the several folders created will be available from the container with this mapping (for example, the “/media/myUSB/media/movies” will become in this path selection tool “/media/movies“):
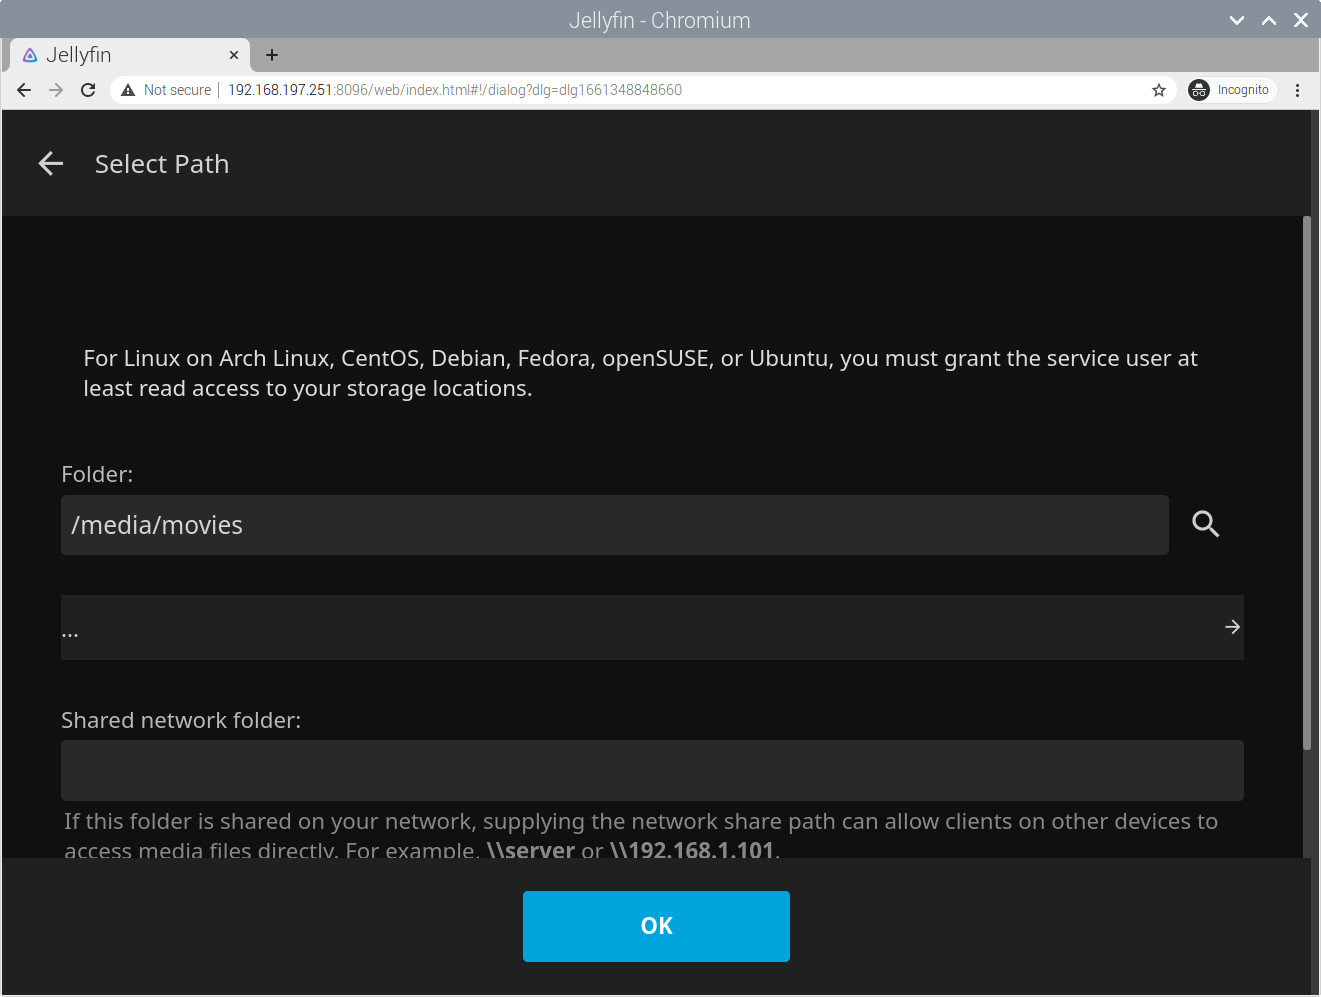
Press the OK button. Back to the “Add Media Library” page:
You can directly click the “OK” button. The following page will confirm the new Movies media library:
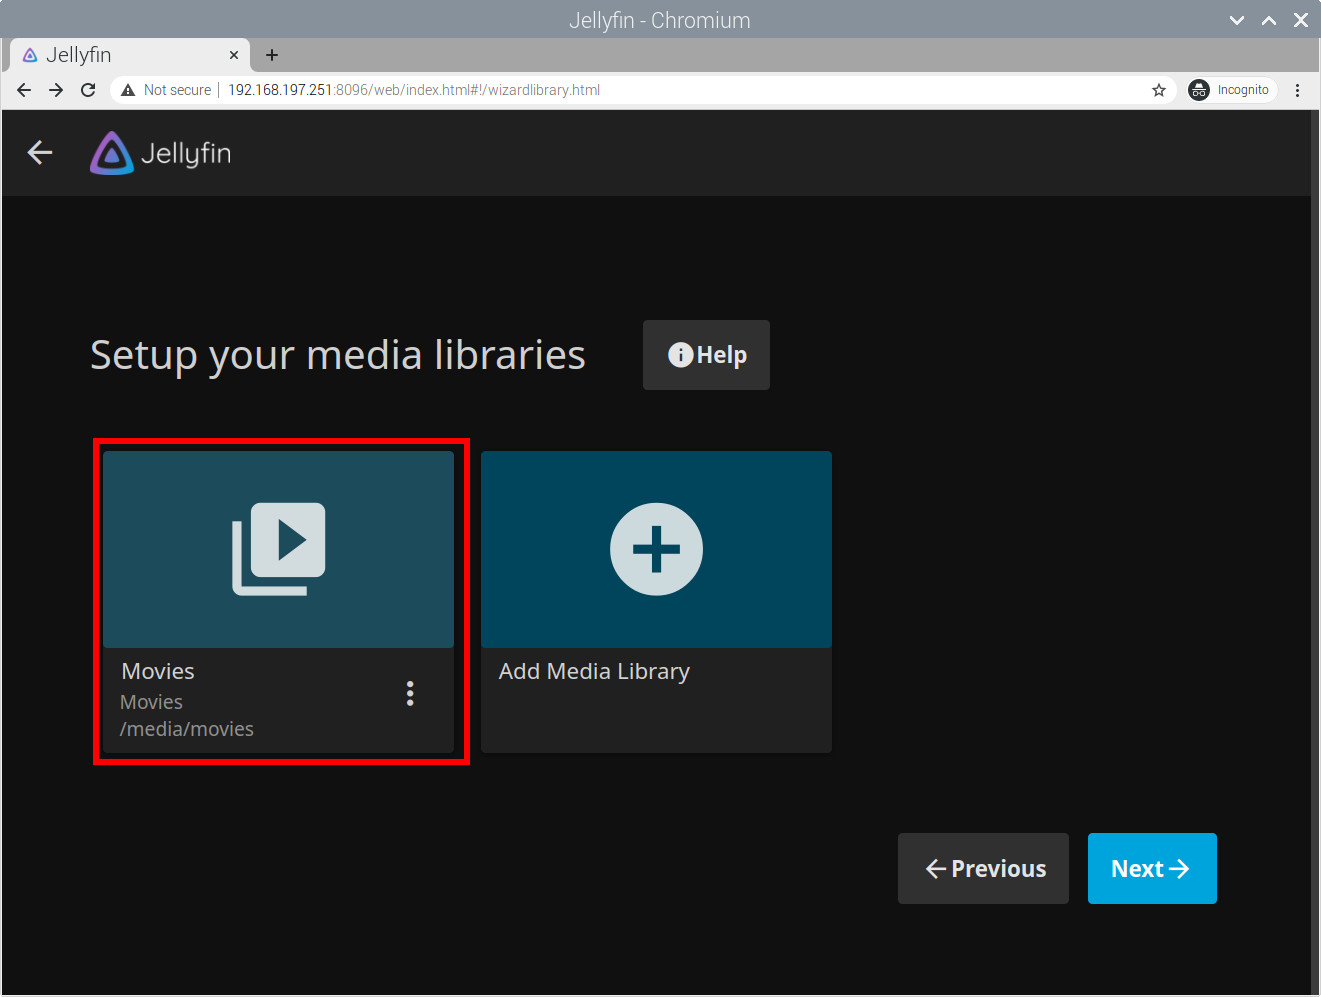
Press the “Next” button. The following page:
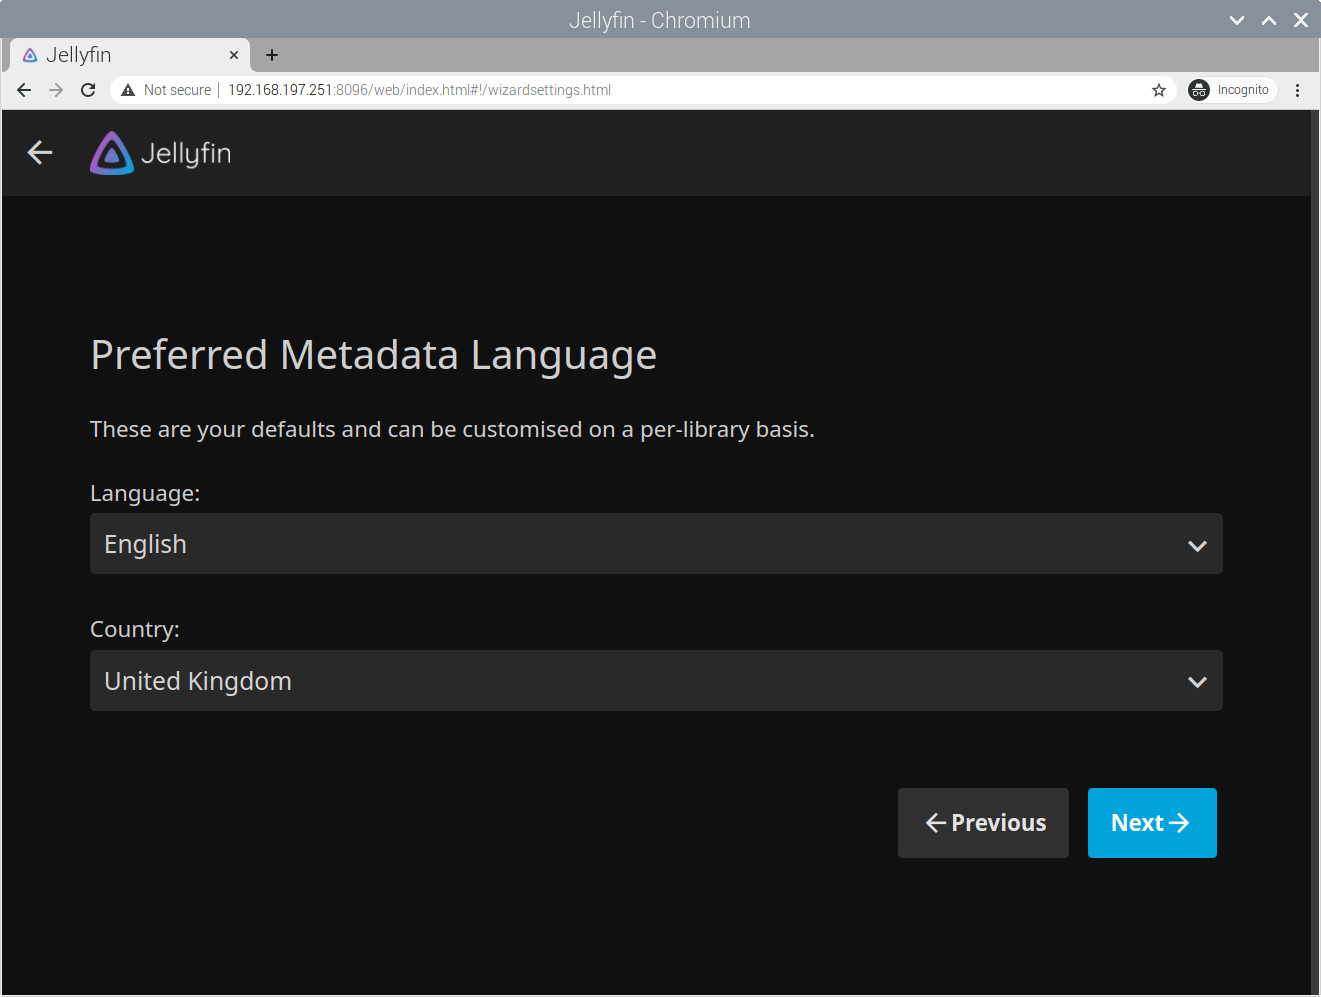
Will allow you to set the language for metadata. Choose your language and press “Next” to reach the remote access configuration:
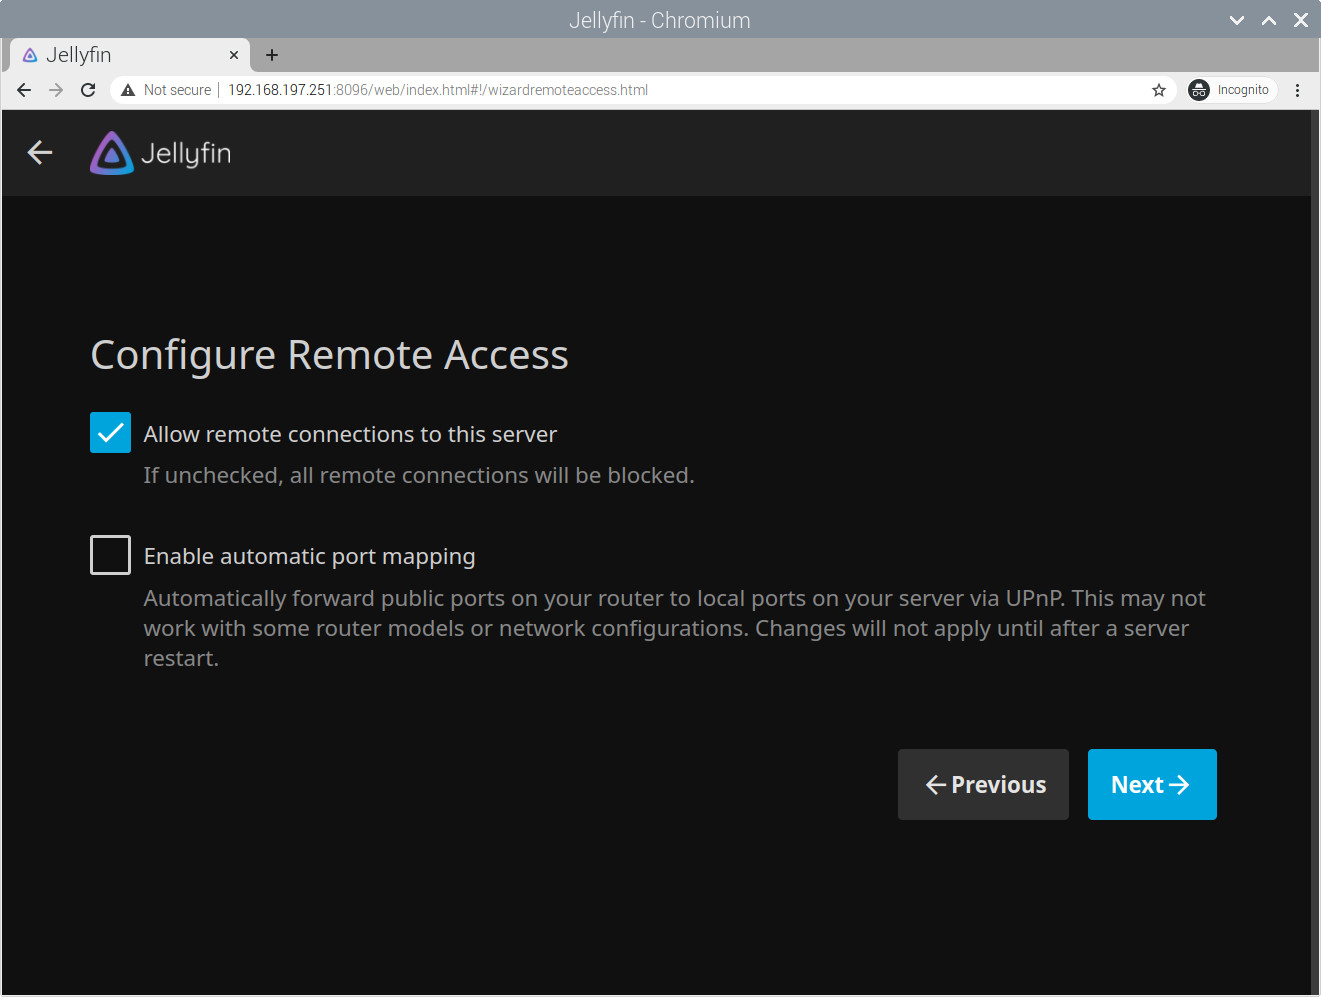
If you want to stream your media from Jellyfin, you have to leave the first option checked. The second one allows devices in your LAN, able to automatically use UPnP streams, to detect your Jellyfin server. Once set, press “Next” to reach the final setup confirmation page:
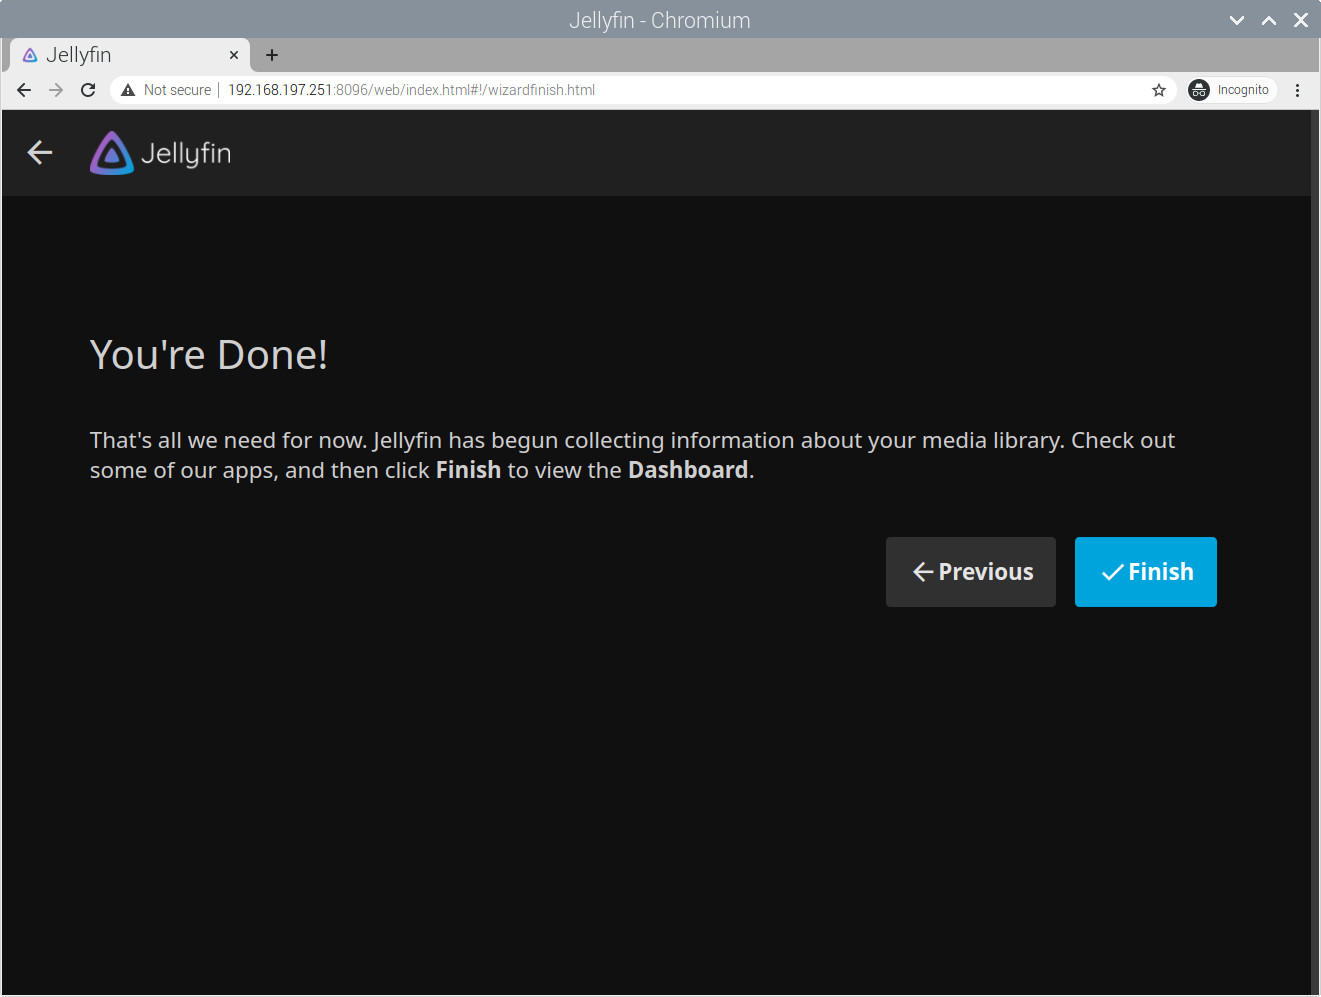
Confirm with the “Finish” button. You will be redirected to the Jellyfin sign-in page:
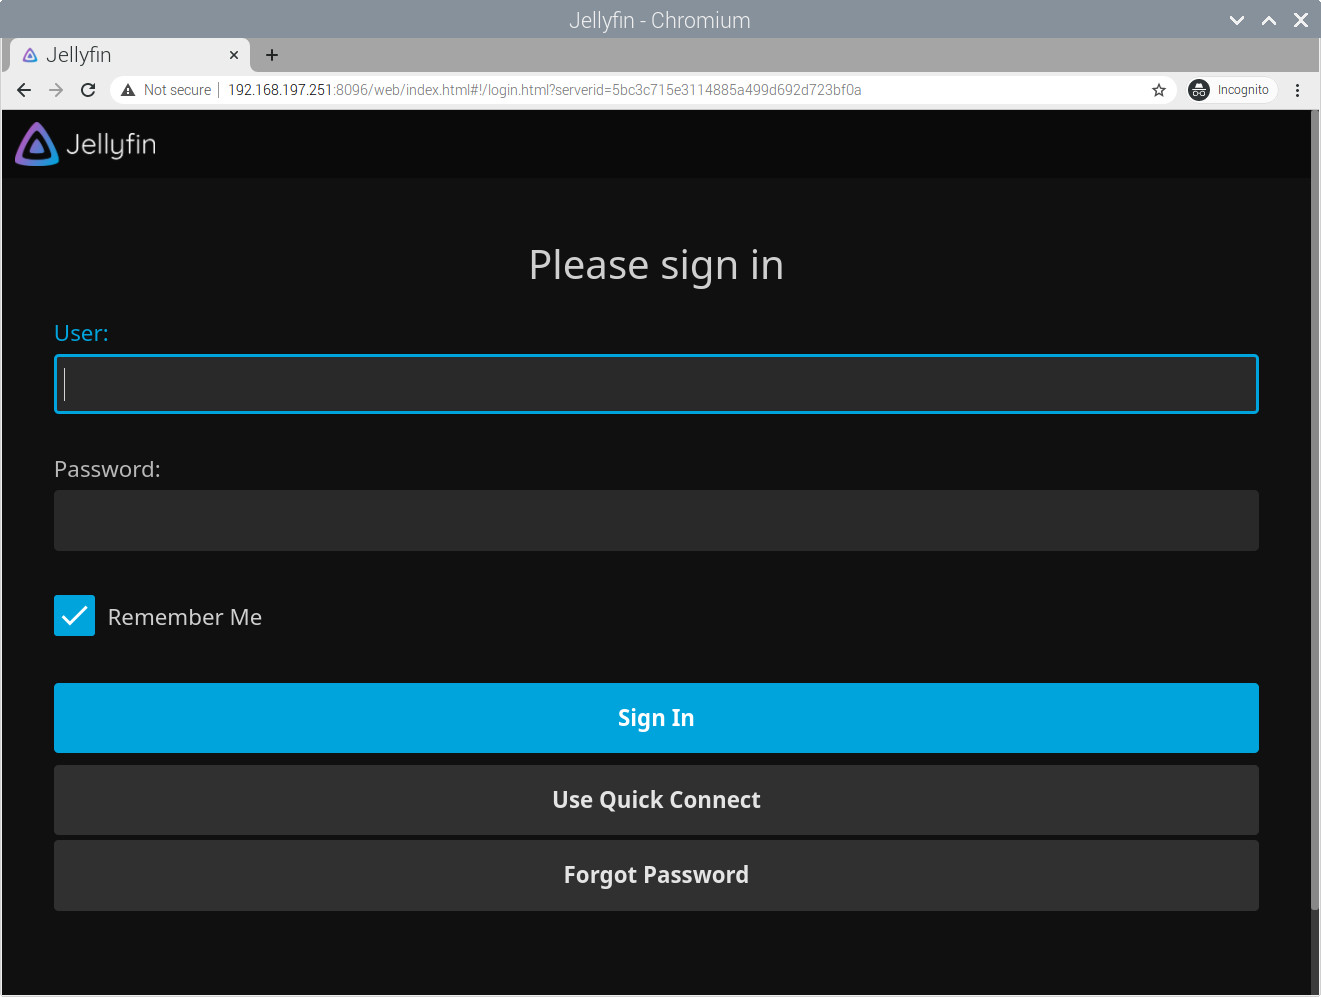
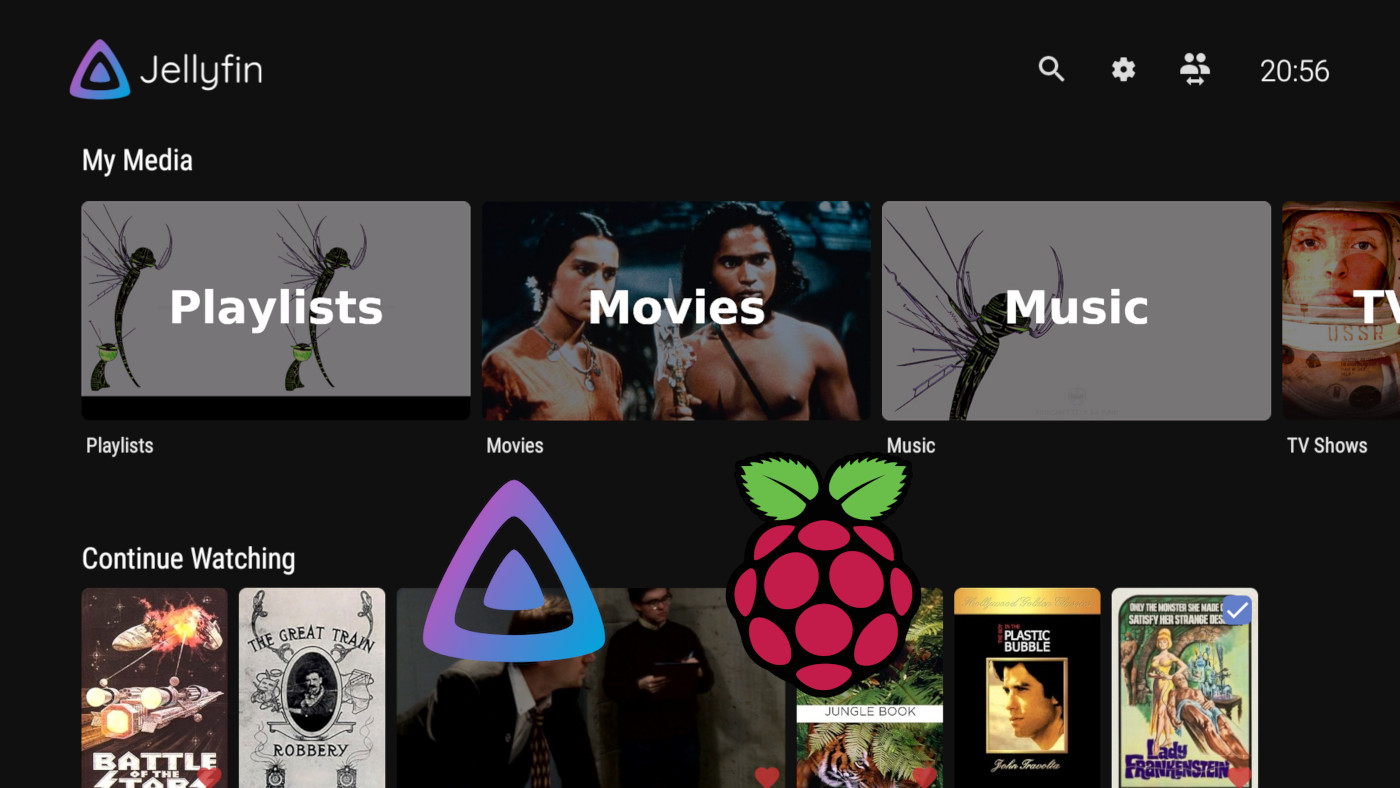
Use your credentials set in the previous steps to sign in and reach the Jellyfin home page:
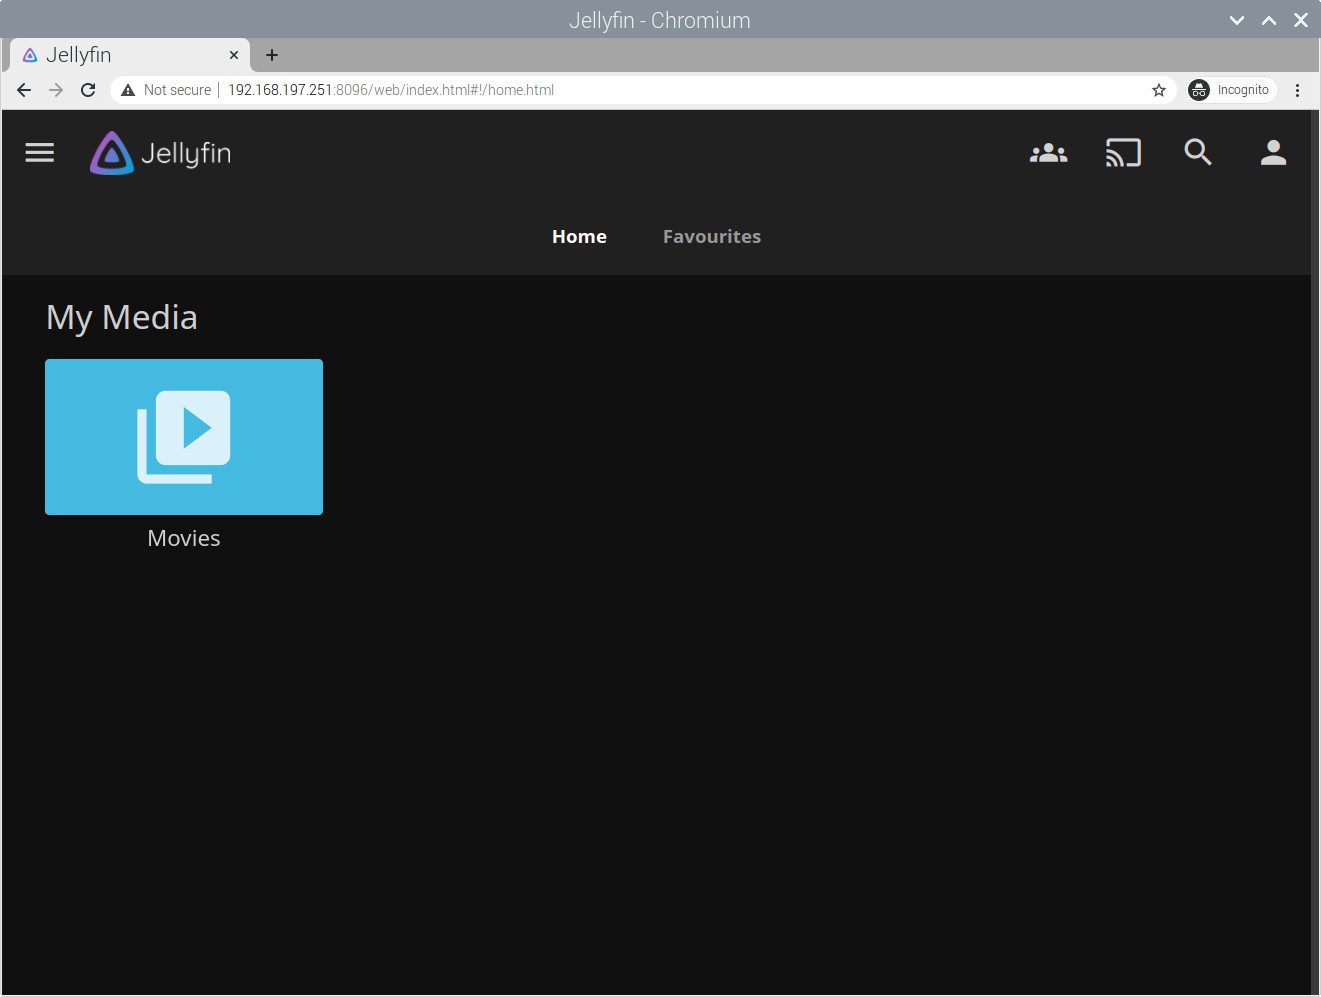
Add More Media Libraries
During our Jellyfin usage, we may need to add more Media Libraries. This chapter aims to help with this task.
With the Hamburger menu on top-left:
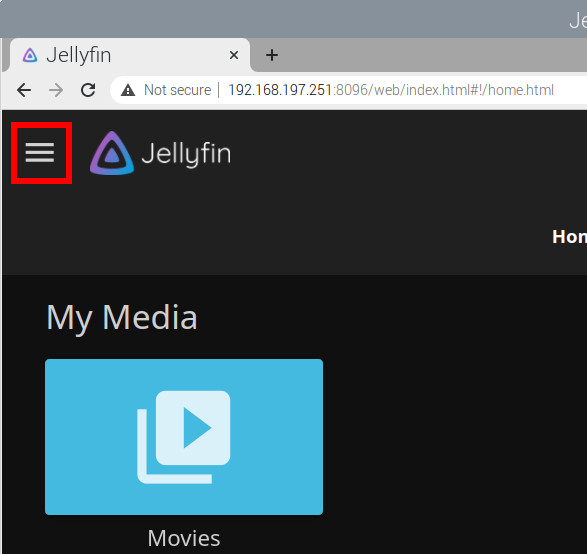
You can access the Jellyfin menu bar:
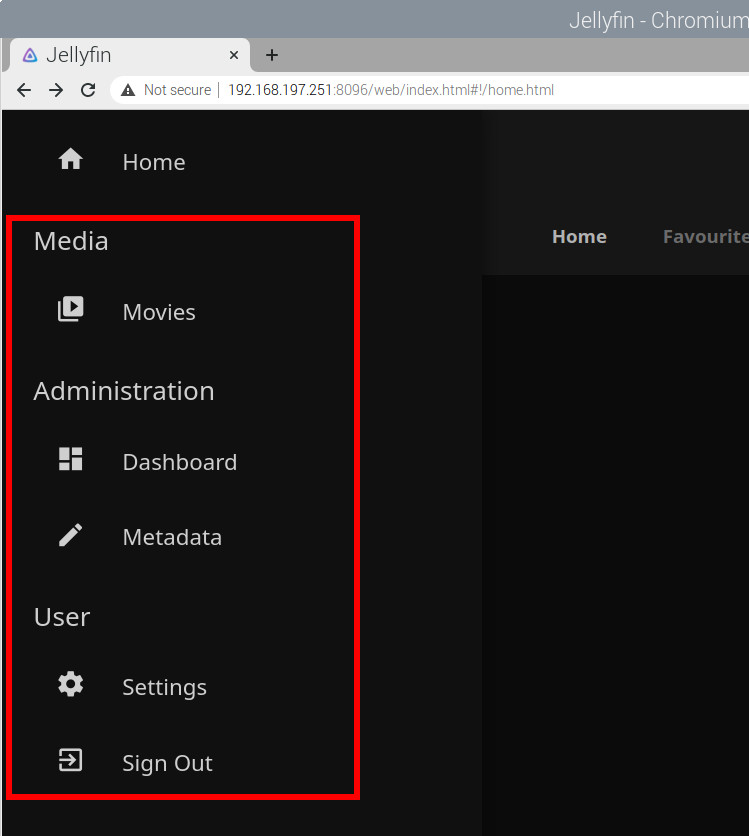
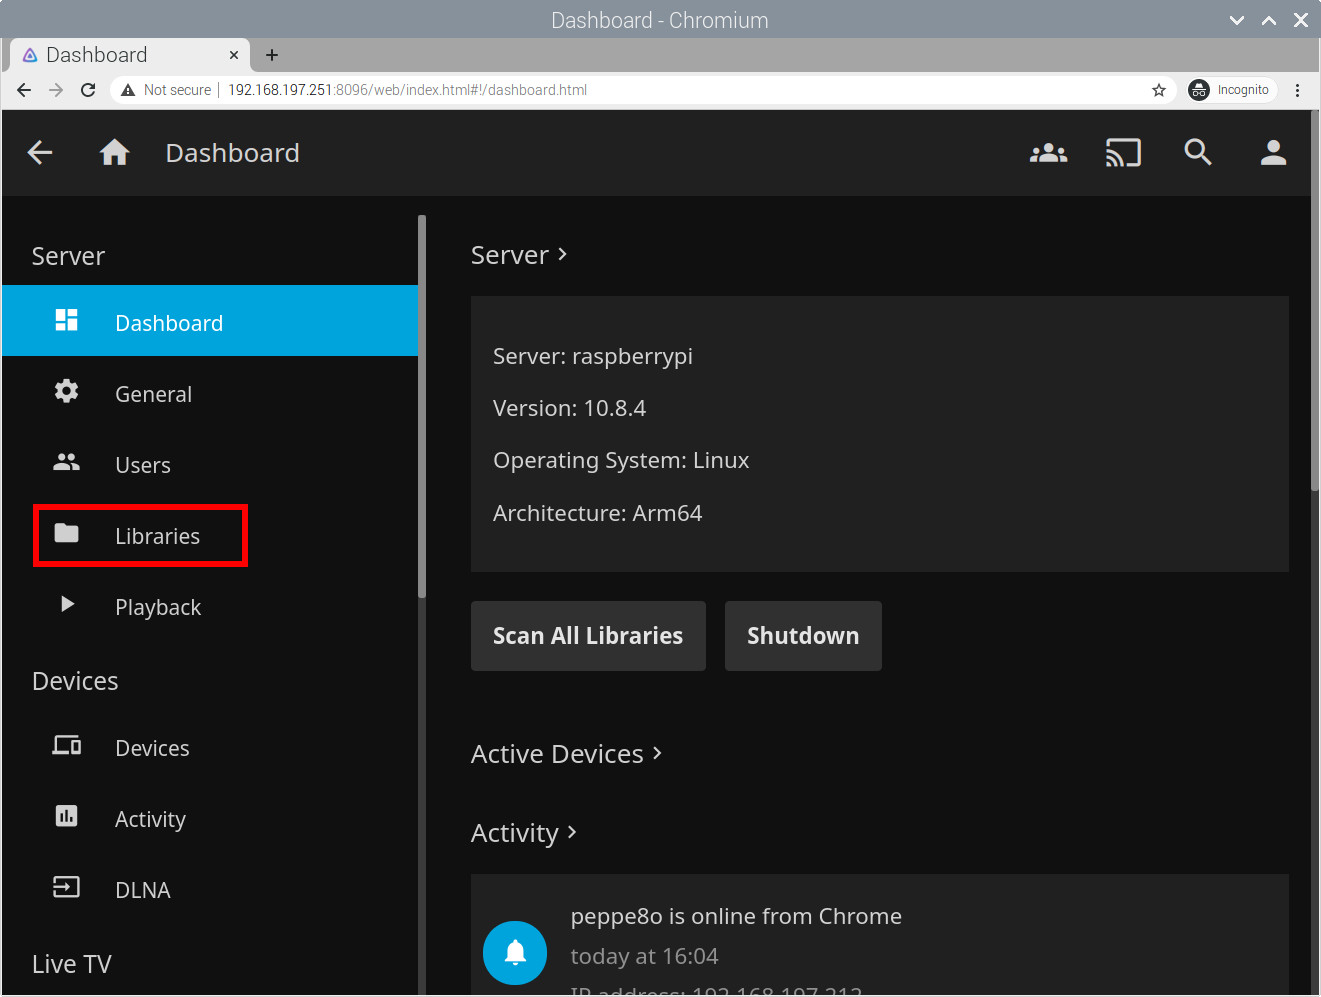
Go to Administration -> Dashboard and identify the Libraries link:
Select it and identify the “Add Media Library” button:
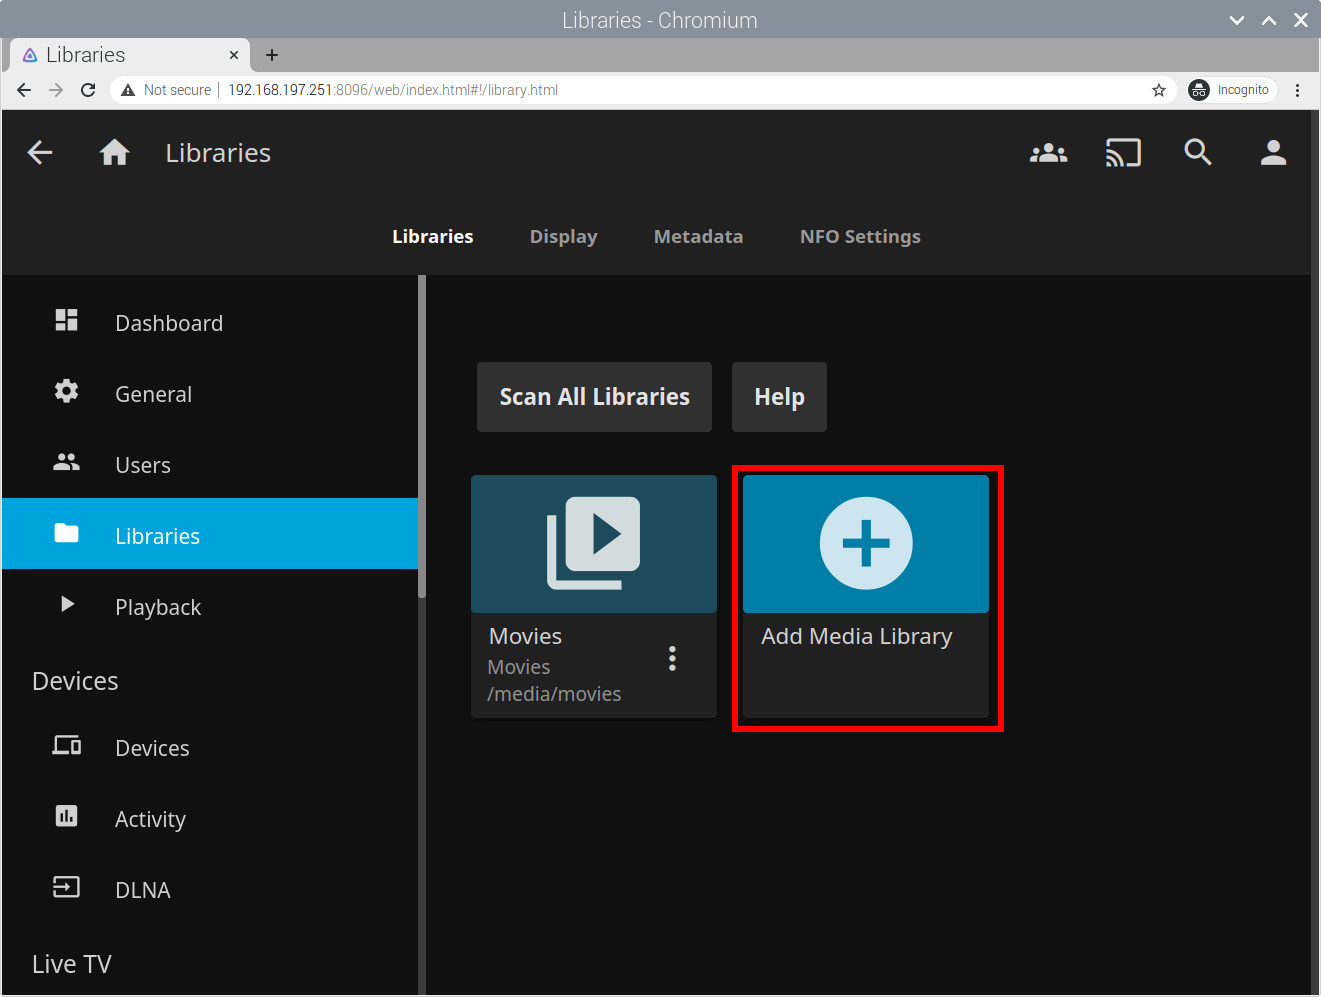
From here, you can add more media Libraries in the same way as done at the setup wizard time (see the previous chapter).
Add Media Files
In my opinion, Jellyfin is missing an important feature: the ability to add media files from a remote PC via a web interface. With Filebrowser we can fill this gap and, moreover, Filebrowser can be installed with Docker too!
We’ll use Filebrowser to access the media folder, as well as having access to cache and configuration files. Please note that in this case we’ll not explicit the host paths for our volumes. This will result in creating the Filebrowser db and settings files at the “/var/lib/docker/volumes/” path (accessible only with root permissions).
The command to install and run Filebrowser will be the following:
docker run -d \
    --name filebrowser \
    -v /media/myUSB:/srv \
    -v filebrowser.db:/database/filebrowser.db \
    -v settings.json:/config/settings.json \
    -e PUID=$(id -u) \
    -e PGID=$(id -g) \
    -p 8080:80 \
    --restart=unless-stopped \
    filebrowser/filebrowser
From your remote PC and your favourite browser, use again your Raspberry PI’s IP to reach the new service, this time with port “8080” (in my case http://192.168.197.251:8080). This will redirect you to the Filebrowser login page:
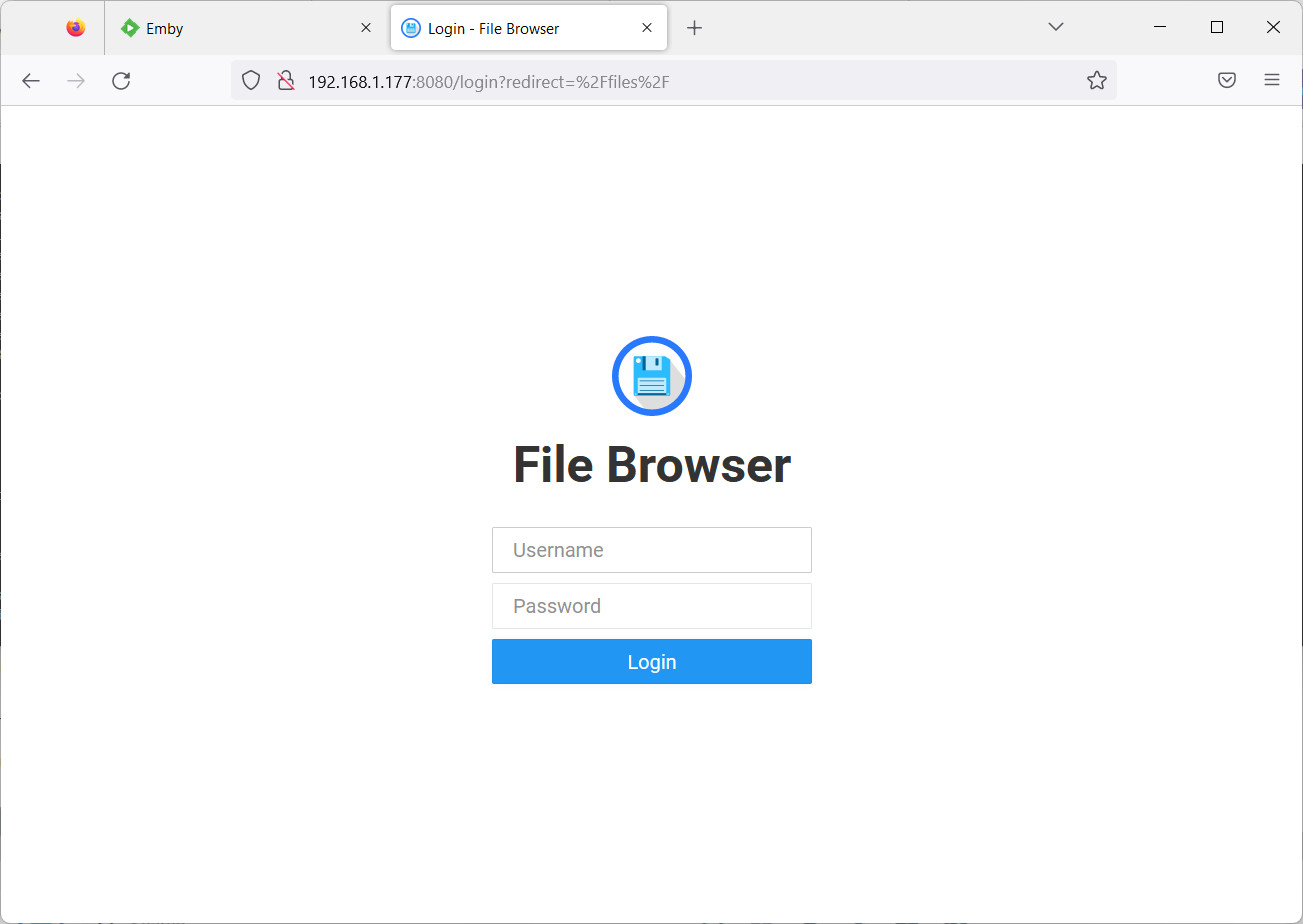
The Filebrowser default credentials are admin/admin (same for username and password). You can change it from the Filebrowser dashboard by clicking Settings -> User Management (tab) -> Pencil icon near the user to edit -> change the password.
The Filebrowser home page will get you the list of available folders, with commands to upload/delete/modify files and folders similar to many common cloud storage services:
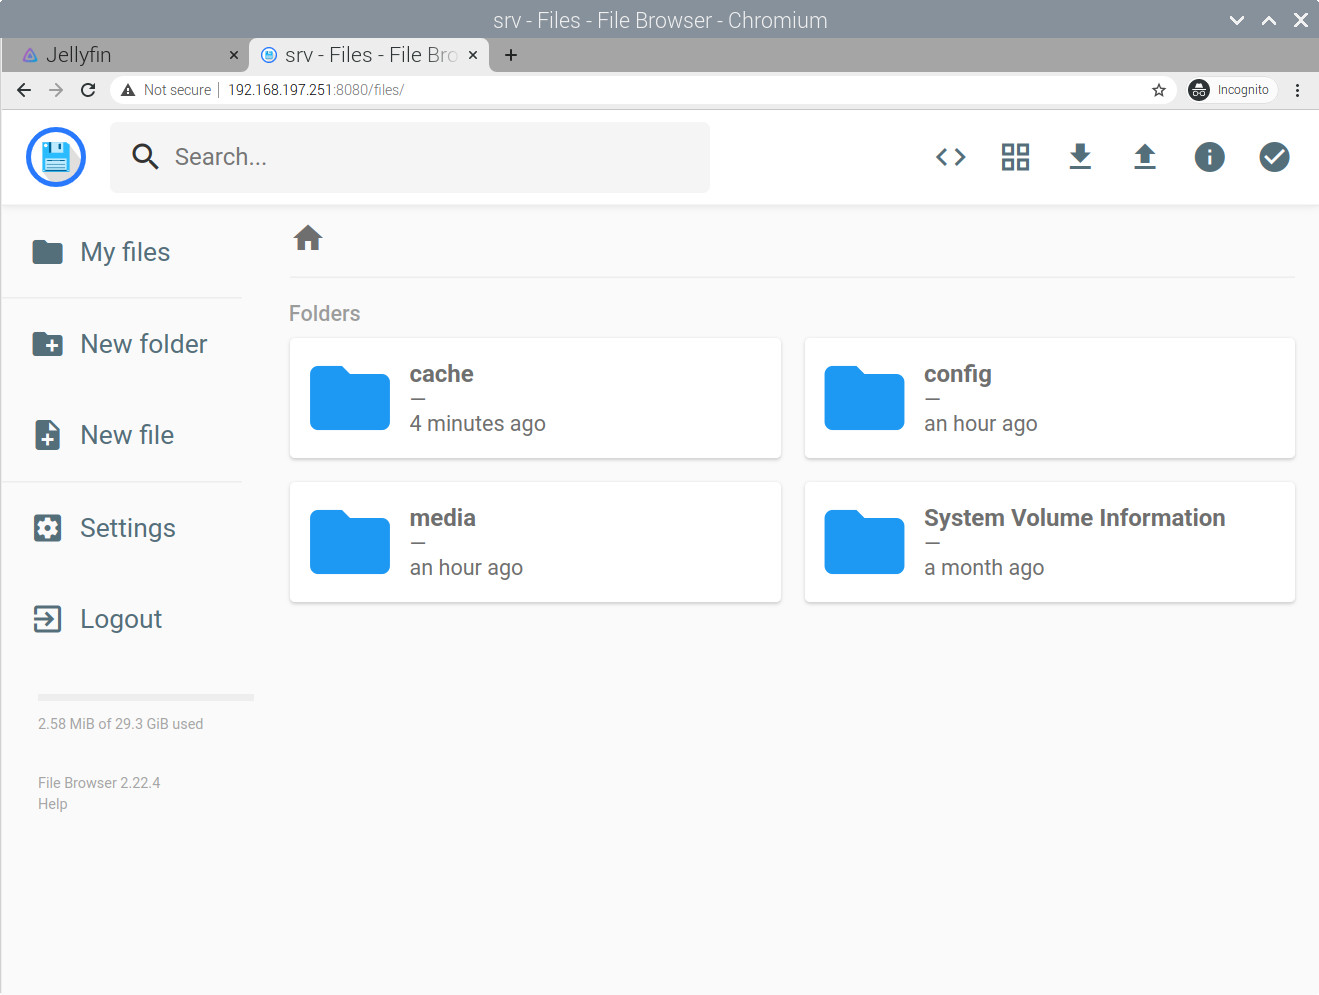
In this way, you will be able to upload/download/delete your media files from a browser, in a Google Drive-like manner.
More Jellyfin Info
The official Jellyfin administration docs can be found at https://jellyfin.org/docs/#administrator-documentation.
What’s Next
Are you interested in more cool projects for your Raspberry PI computer board? Take a look at peppe8o Raspberry PI tutorials.
Enjoy!

Open source and Raspberry PI lover, writes tutorials for beginners since 2019. He's an ICT expert, with a strong experience in supporting medium to big companies and public administrations to manage their ICT infrastructures. He's supporting the Italian public administration in digital transformation projects.
![]()
![]()
![]()
![]()
![]()
![]()
![]()


