
Last Updated on 13th March 2022 by peppe8o
This guide will provide us with a very simple way to have a personal cloud with Raspberry Pi. We’ll use a Raspberry Pi 3 Model B+, with an external USB drive that will store all our data. Our USB disk will be formatted in this procedure in order to assure that it will work. So be aware to use a free USB disk in order to avoid loss of data at format time.
From the software side, we’ll use Docker to have the enhancements obtained from the container and NextCloud.
What We Need
As usual, I suggest adding from now to your favourite e-commerce shopping cart all the needed hardware, so that at the end you will be able to evaluate overall costs and decide if to continue with the project or remove them from the shopping cart. So, hardware will be only:
- Raspberry PI (including proper power supply or using a smartphone micro usb charger with at least 3A)
- high speed micro SD card (at least 16 GB, at least class 10)
Step By Step Guide
Prepare OS environment
Our private cloud will be installed on the official lite operating system. Use install Raspberry PI OS Lite guide to accomplish this task. Once done, remember to update from the terminal:
sudo apt update -y && sudo apt upgrade -yWe are now ready to install Docker in Raspberry Pi.
Prepare USB Storage
Please note that your USB Storage must be formatted with ext4 FS. You can achieve it with the following command, assuming that your Storage is recognized as “/dev/sda”:
sudo umount /dev/sda && sudo mkfs.ext4 /dev/sdaYou have to get assured that your USB storage will be available on every boot at the same mount point. This isn’t granted with Raspberry PI OS Lite (differently from RPI OS Desktop).
Let’s assume that this mount point will be “/media/myUSB/”, you can get it working after every reboot by using my Automount USB storage with Raspberry PI OS Lite: fstab and autofs tutorial.
Please note that the ext4 file system doesn’t allow setting uid and gid in your mount options, as it automatically manages permissions. For this reason, both for fstab and autofs you have to use the following mount options:
-fstype=auto,rwInstall Nextcloud Container
It’s time to use Docker. As usual, it allows us to install and prepare the container with 1 row (copy and paste the entire following command):
docker run -d -p 8080:80 --name nextcloud --restart unless-stopped \
    -v /media/myUSB/nextcloud:/var/www/html \
    -v /media/myUSB/apps:/var/www/html/custom_apps \
    -v /media/myUSB/config:/var/www/html/config \
    -v /media/myUSB/data:/var/www/html/data \
    -v /media/myUSB/theme:/var/www/html/themes \
     nextcloud
this simple command will map all main volumes on your USB key and initialize Nextcloud container. Be patient, because slow USB disks will require a while to prepare the container. You will be able to monitor the installation process by typing:
docker logs nextcloudor simple monitoring increasing USB disk space used from Nextcloud (on /media/usb0):
watch df -Hat the end of the process, it should have used about 500MB of space.
Login to NextCloud and Last Settings
Once the initialization has been completed, open with your browser the address http://<<YOUR_RPI_IP_ADDRESS>>:8080. You will see the following homepage (in your language, depending on your browser settings):
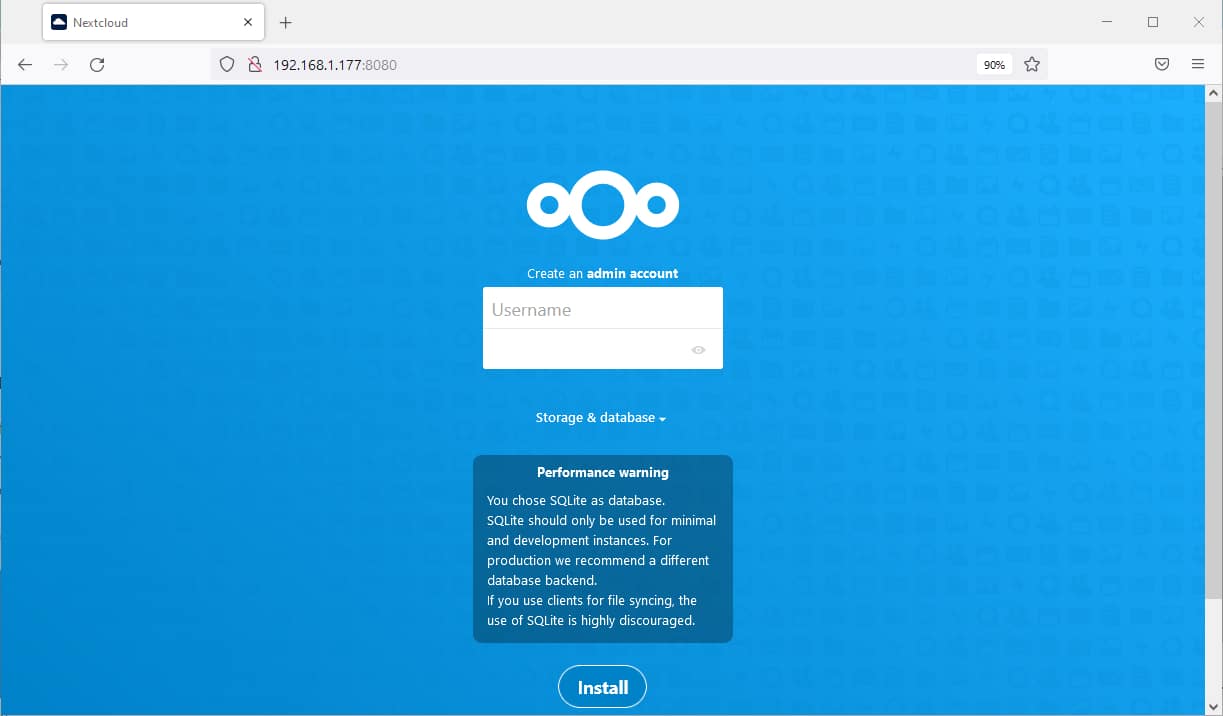
NextCloud already brings with the docker container a SQLlite database, but if you want to use an external one, you can set it by clicking the “Storage & Database link”:

Fill in the username and password that you want to create for your admin account and click on “Install”.
After a while to complete more settings, the screen will show you a suggestion to install the recommended apps:
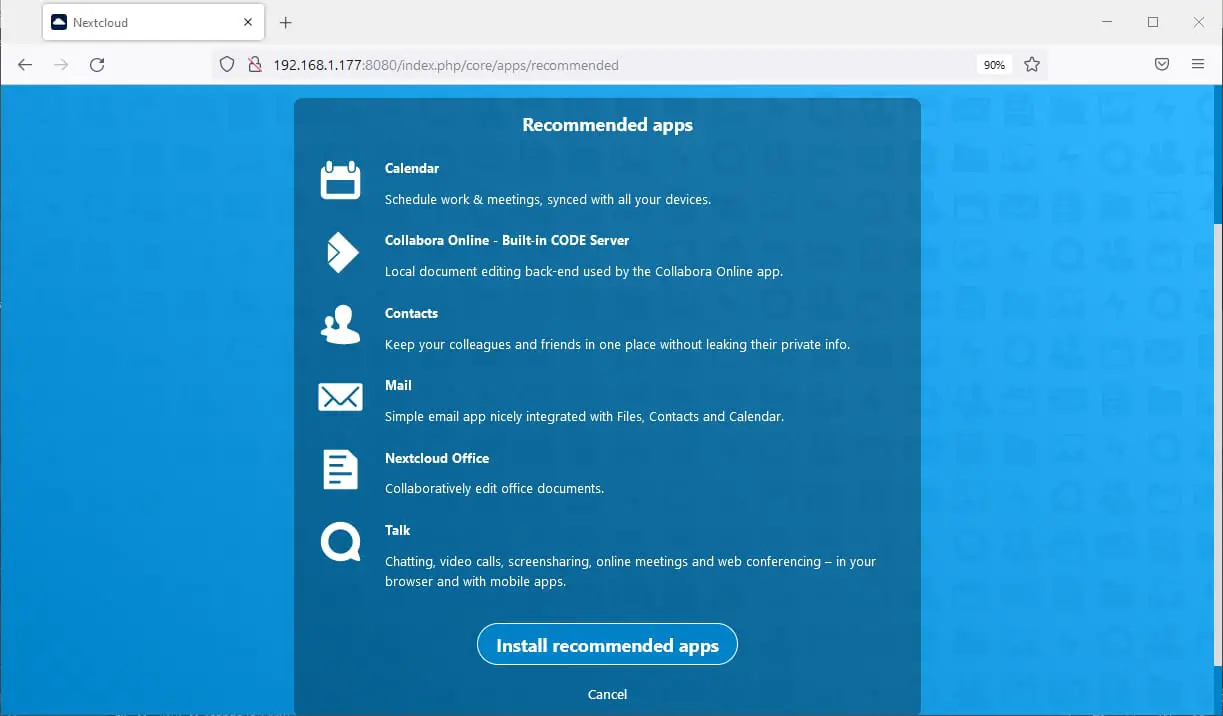
You can choose to install them or simply use the “Cancel” link to go on our installation and install them in a second moment. The next screen will show you the main features of NexCloud. You can scroll them with the side arrows:
Finally, we get to NextCloud dashboard:
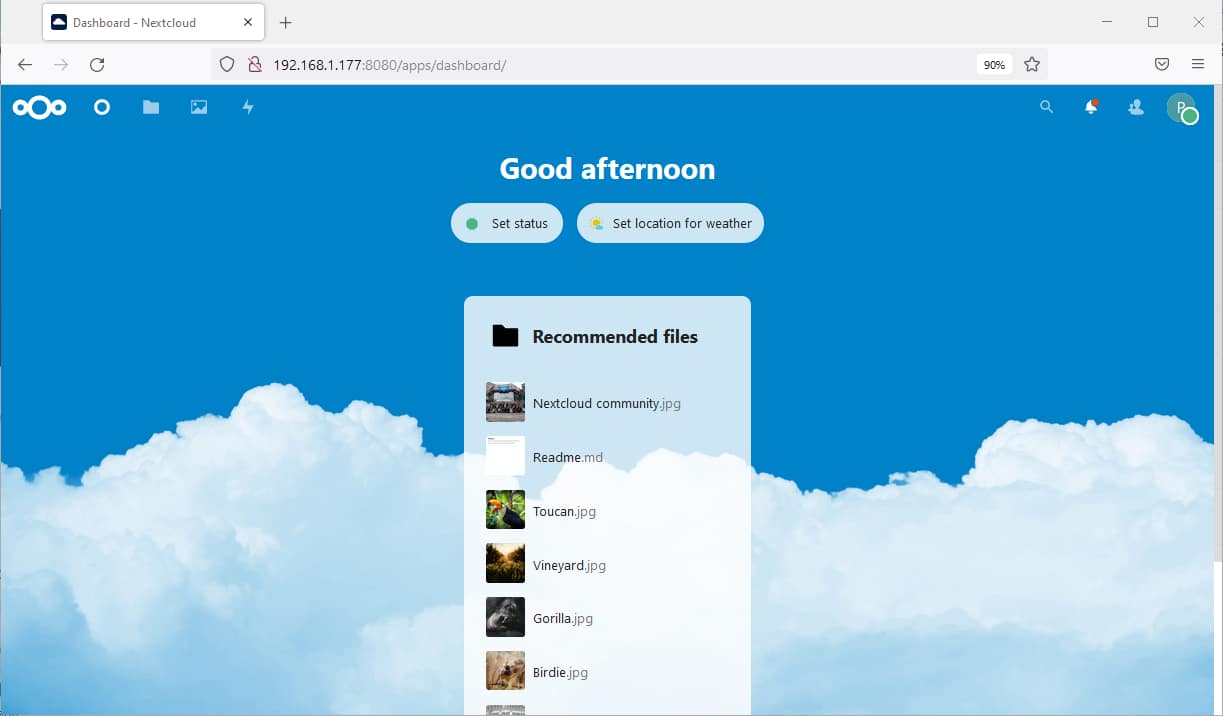
As you can see, you already have a number of files preloaded that you can test.
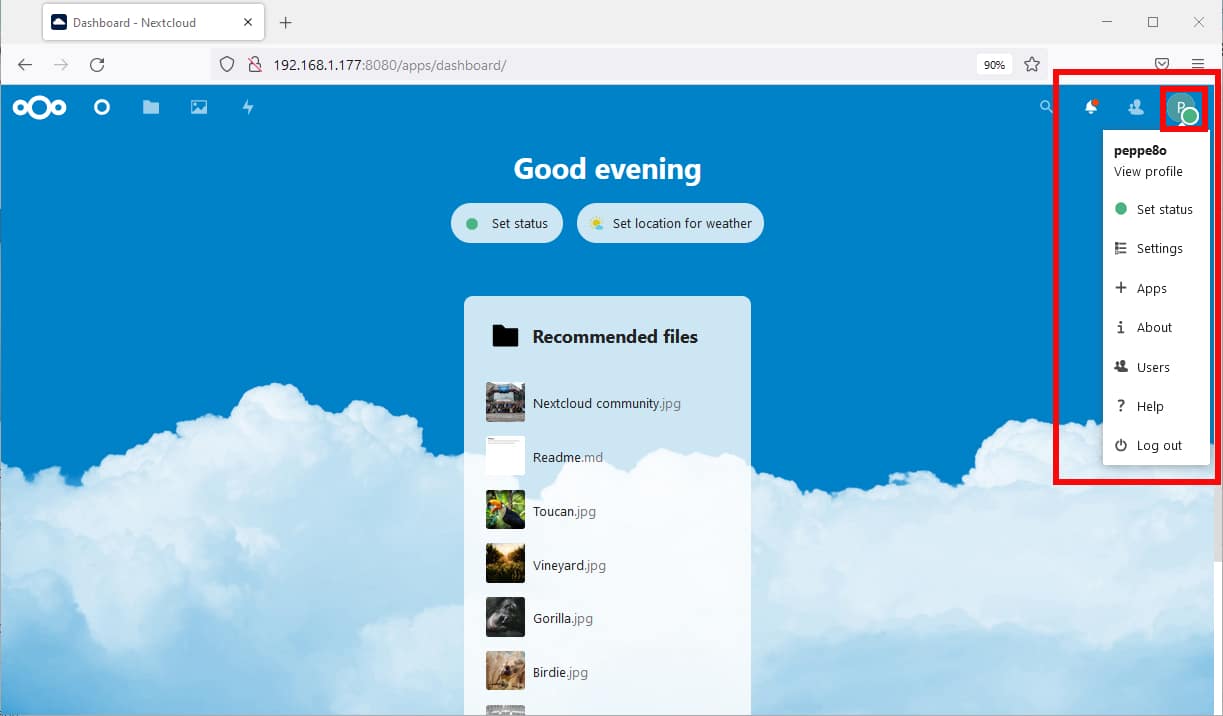
From the admin user, with the menu on the top-left side of the screen you can add apps and users to add your NextCloud installation with more features and/or more users.
What’s Next
Interested in more projects for your RPI computer board? Take a look at peppe8o Raspberry PI tutorials!
Enjoy!

Open source and Raspberry PI lover, writes tutorials for beginners since 2019. He's an ICT expert, with a strong experience in supporting medium to big companies and public administrations to manage their ICT infrastructures. He's supporting the Italian public administration in digital transformation projects.
![]()
![]()
![]()
![]()
![]()
![]()
![]()


Is there a wasy way to add a ssl layer to this install?
Hi Aaron,
to add SSL encryption to your connection, Nextcloud suggests to use a reverse proxy in front of nextcloud container. This means that reverse proxy is https termination and forwards calls to nextcloud container. Some examples are available in https://github.com/nextcloud/docker/tree/master/.examples
Hi, awesome tutorial. I have some other apps running through containers and I need to change the ports. I put 8085:85 but it’s not working, do you know if changing the ports is possible or it should be always 8080:80?
Hi Axel.
You found the right parameter to change. First number is the port binded externally (the one you use in your browser). The second number is the port (inside the container) where service is published (and should stay unchanged until you don’t change the web server configuration files). To be short, you have to use 8085:80 in order to get your goal.
Hope this helps
Hey, I know this has been posted for a while, but I referenced it today. Thanks. Where can I edit the apache VirtualHost for nextcloud? I’ve looked in the usual place “sites-available” but there’s just the default VirtualHost there. I usually use nginx, so not familiar with apache at all. Any suggestions? Just need to update some headers. Thanks!
Hi Clayton,
this installation runs inside a docker container. So, to edit them you need to enter the docker container running NextCloud and change it inside the container (by using the “
docker exec -it container_name bash“).But, in order to use the containers in the right way, it would be better to map the volumes containing the sites-available / sites-enabled. This strategy allows you to keep your configuration edits even moving to new container versions
Hi there, I get an error while the container starts and it reboots constantly. The themes folder was empty, so I downloaded manually the nextcloud zip and tried to copy files to the themes folder but the same error occurs. Any suggestions?
Initializing nextcloud 24.0.4.1 …
rsync: [generator] stat “/var/www/html/themes” failed: No such file or directory (2)
default_perms_for_dir: sys_acl_get_file(themes, ACL_TYPE_DEFAULT): No such file or directory, falling back on umask
rsync: [generator] recv_generator: mkdir “/var/www/html/themes/example” failed: No such file or directory (2)
*** Skipping any contents from this failed directory ***
default_perms_for_dir: sys_acl_get_file(themes, ACL_TYPE_DEFAULT): No such file or directory, falling back on umask
rsync: [receiver] mkstemp “/var/www/html/themes/.README.ipzcBz” failed: No such file or directory (2)
rsync error: some files/attrs were not transferred (see previous errors) (code 23) at main.c(1333) [sender=3.2.3]
Thanks,
Martin
Hi Martin,
where is the themes folder mounted? Locally or in a remote folder?
This was a helpful guide, though it glosses over Nextcloud’s built in recommendation to use an external database instead of the packages SQLite. The official image documentation (https://hub.docker.com/_/nextcloud/) recommends installing a MariaDB docker image, but then Nextcloud’s first time set up requires additional variables. Covering the set up of MariaDB for Nextcloud would be a big help!
the best nextcloud installation you have found on the internet could you please add about adding a fail2ban filter
best regards