
Last Updated on 22nd March 2024 by peppe8o
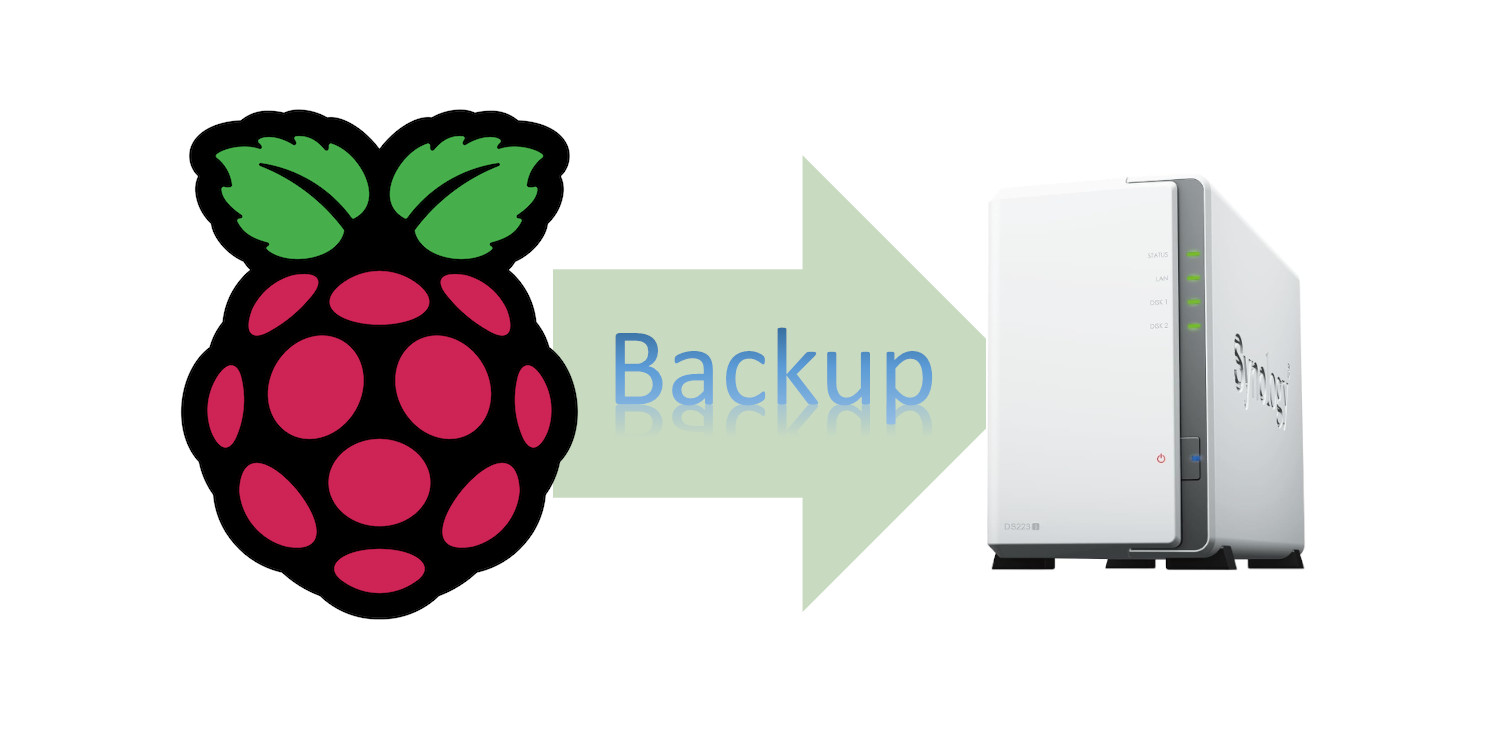
This tutorial will show you how to perform the backup of Raspberry PI (computer board) files with rsync, and how to automate it. It will use only your terminal commands, without the need for any additional software.
For this tutorial, I will use a remote NAS (Network Attached Storage) as file destination to keep a copy of my files in a safe second place. It will use the SMB service so that you can access these files from any device (like Windows and Linux).
Nowadays, NAS devices have affordable costs and anyone can use them to store any data. Moreover, those with multiple bays (HDD slots) have hardware capable of keeping data safe from hardware faults, as they usually include RAID configurations which make the Hard Disks capable of restoring all the data even if one of them breaks.
What We Need
As usual, I suggest adding from now to your favourite e-commerce shopping cart all the needed hardware, so that at the end you will be able to evaluate overall costs and decide if to continue with the project or remove them from the shopping cart. So, hardware will be only:
- Raspberry PI Computer Board (including proper power supply or using a smartphone micro USB charger with at least 3A)
- high speed micro SD card (at least 16 GB, at least class 10)
- A running NAS
Step-by-Step Procedure
Prepare the NAS
This part depends on the NAS device you have and you should check for its user manual to perform the preparation.
For the tutorial to be working, you must enable remote SMB access to your NAS. SMB isn’t the only way that NAS devices offer for access, but it’s so spread and easy to use that any NAS should allow you to perform this task. Moreover, you can access SMB services from any device running any operating system.
I also suggest creating a dedicated share for your backups, so that you can distinguish it from all the remaining data you may store in your NAS and keep them separated. For this tutorial, I’ve created a “backup” shared folder in my NAS, use your one instead of it.
Finally, I suggest creating a specific user and password for your backups. these credentials will be stored on plain text files in your Raspberry PI and creating a separate access will keep your personal data on NAS safer from unwanted accesses. In this tutorial, I will use generic “backup_user” and “backup_password”, use your one instead of them.
In the same way, if you use a different user from the old “pi”, please use your home path instead of “/home/pi”.
At this point, you should be able to reach your NAS space for backup from any computer in your local network. In my case, as my NAS’s IP is 192.168.1.50, I can reach the backup share with the following paths:
- \\192.168.1.50\backup (from Windows PCs)
- //192.168.1.50/backup (from Linux PCs)
This will usually require your credentials to see the folder content.
All the following operations will be performed from the Raspberry PI.
Prepare your Raspberry PI Operating System
Please start installing your favourite Operating System for Raspberry PI (must be Debian-based). I suggest using Raspberry PI OS Lite, as it provides a headless, faster environment for low-capabilities Raspberry PI computer boards. But you can also use Raspberry PI OS Desktop, in this case working from its internal terminal. You can check the difference between the two OS from my Raspberry PI OS Lite vs Desktop: comparison between the 2 distributions.
Make your OS up-to-date. From the terminal, please use the following command:
sudo apt update -y && sudo apt upgrade -yConnect the Remote NAS to a Local Raspberry PI Folder
We need to create a Raspberry PI local folder to connect the remote NAS (mount point). I will name it “my_nas” and put it into the standard “/mnt” Linux folder. To create it:
sudo mkdir /mnt/my_nas/Try mounting the NAS, by changing the parts highlighted in red with your own:
sudo mount -t cifs //192.168.1.50/backup -o username=backup_user,password=backup_password,vers=2.0 /mnt/my_nas/You may get a warning:
mount: (hint) your fstab has been modified, but systemd still uses
       the old version; use 'systemctl daemon-reload' to reload.
This is just a warning; everything will work even without reloading the daemon. Anyway, the following is the command to avoid the warning after we’ve mounted the shared folder:
sudo systemctl daemon-reloadYou can see that the remote folder is correctly mounted with the “df -H” command, which will give you something similar to the following (see last line):
pi@raspberrypi:~ $ df -H
Filesystem              Size  Used Avail Use% Mounted on
udev                    4.1G     0  4.1G   0% /dev
tmpfs                   845M  5.6M  839M   1% /run
/dev/mmcblk0p2           16G  2.9G   12G  20% /
tmpfs                   4.3G     0  4.3G   0% /dev/shm
tmpfs                   5.3M   50k  5.2M   1% /run/lock
/dev/mmcblk0p1          535M   66M  470M  13% /boot/firmware
tmpfs                   845M     0  845M   0% /run/user/1000
//192.168.1.50/backup  2.0T  389G  1.6T  20% /mnt/my_nas
Create a NAS folder which will include all the backup files of your Raspberry PI, so that you will be able to use this NAS space to make backups of multiple devices:
sudo mkdir /mnt/my_nas/my_rpiNow, we’re ready to perform our backups. For this tutorial, I will create a Raspberry PI folder to backup, but you don’t need to create it and you can use any folder of your choice, depending on your need and where you have the files to be saved:
mkdir backup_testWe’ll also create a simple file inside this folder so that you can see how the backup procedure places the files:
nano backup_test/test-file.txtWrite anything you want into this file, save and close.
Perform the Backup of Raspberry PI Files with Rsync
The command which takes care of performing the backup for all the files and subfolders is the following:
sudo rsync -az --delete /home/pi/backup_test/ /mnt/my_nas/my_rpi/backup_test
Where:
- “-az”: the “a” option makes the backup with the archive mode, which preserves all the subfolders (recursive), symlinks, permissions, modification times, groups, owners, device files, and special files. It equals to the “-rlptgoD” options into a single char. The “-z” option compresses the file data during the transfer.
- “–delete”: this option deletes those files coming from older backups if they are removed from your source folder
- “/home/pi/backup_test/”: is the source folder
- “/mnt/my_nas/my_rpi/backup_test”: is the destination folder
Please note that I suggest using full paths for the folders so that you can avoid any error depending on the path where your terminal is currently located. This will also be useful later in this tutorial.
Finally, you can unmount your NAS backup folder, so that you will avoid making unwanted changes there:
sudo umount /mnt/my_nasIf you have also a cron job running, you can now proceed with the following chapter. Otherwise, you can skip that and go to the next one.
Backup the Crontab
If your Raspberry PI has any automation running on specific days/times, you probably have prepared some cron jobs and you may want to backup also these.
The crontab can be exported to a file with the “-l” option. For this reason, you can export to a file your cron job and then backup it as any file.
Please note that you will have in your Raspberry PI at least 2 crontabs: one for your user and one for the root user. The following commands will export bot files to your pi user home:
sudo crontab -u pi -l > /home/pi/picron.backup # export the "pi" user cron
sudo crontab -l > /home/pi/rootcron.backup # export the root cron
After mounting again the NAS (if unmounted) and once you performed the previous export, you can easily backup them in your NAS and remove the export files from Raspberry PI storage after the data transfer finishes:
rsync -az --delete /home/pi/picron.backup /mnt/my_nas/my_rpi/crontabs/
rsync -az --delete /home/pi/rootcron.backup /mnt/my_nas/my_rpi/crontabs/
rm /home/pi/picron.backup
rm /home/pi/rootcron.backup
Create your Backup Script
Instead of manually performing all the Raspberry PI backup commands one by one, I suggest putting all the operations together into a script. This will assure you that won’t forget any folder.
Let’s create a new file, named “backup.sh”:
nano backup.shFill the file with the following lines:
# mount the remote share
mount -t cifs //192.168.1.50/backup -o username=backup_user,password=backup_password,vers=2.0 /mnt/my_nas/

# backup folders
rsync -az --delete /home/pi/Desktop/ /mnt/my_nas/my_rpi/Desktop
rsync -az --delete /home/pi/Documents/ /mnt/my_nas/my_rpi/Documents

# backup crontabs
crontab -u pi -l > /home/pi/picron.backup # export the "pi" user cron
crontab -l > /home/pi/rootcron.backup # export the root cron
rsync -az --delete /home/pi/picron.backup /mnt/my_nas/my_rpi/crontabs/
rsync -az --delete /home/pi/rootcron.backup /mnt/my_nas/my_rpi/crontabs/
rm /home/pi/picron.backup
rm /home/pi/rootcron.backup

# unmount the remote share
umount /mnt/my_nas
Save and close.
Please note that I’ve removed all the “sudo” because we’ll call the script execution already with the “sudo”, as we’ll see later.
In this script, I’ve included some common folders like the “Desktop” and “Documents” (if you have a Raspberry PI OS Desktop), but you can customize them according to your needs. Moreover, I’ve included also the crontab backups. Again, customize it according to your needs.
Before testing it, we must add the execution permissions to the file:
chmod +x backup.shNow, we can test it:
sudo ./backup.shAutomate the Rsync Operations for the Backup of Raspberry PI
As with any backup, you don’t want to mind every time to run manually. For this reason, we can set it to run at your required frequency with a cron job from the root user.
Please open the root crontab (root -> with the sudo) for this task. If this is the first time you open this crontab, it will ask you to choose your favourite text editor. I suggest the nano option as it’s the simplest for beginners:
pi@raspberrypi:~ $ sudo crontab -e
no crontab for root - using an empty one

Select an editor.  To change later, run 'select-editor'.
  1. /bin/nano        <---- easiest
  2. /usr/bin/vim.tiny
  3. /bin/ed

Choose 1-3 [1]: 1
Append the following line at the end of your crontab file:
0 0 * * * sh /home/pi/backup.shSave and close.
The provided cron job will run every day at midnight (0 0 * * *), but you can set your favourite frequency by modifying this part of the string and calculating your one with this great online page: https://crontab.guru.
What’s Next
If you want to discover many other projects for your Raspberry PI, you can take a look at peppe8o Raspberry PI computer tutorials.
Enjoy!

Open source and Raspberry PI lover, writes tutorials for beginners since 2019. He's an ICT expert, with a strong experience in supporting medium to big companies and public administrations to manage their ICT infrastructures. He's supporting the Italian public administration in digital transformation projects.
![]()
![]()
![]()
![]()
![]()
![]()
![]()


Hiya, I’ve tried this before and it worked really well until the NAS wasn’t available. At that point when rsync ran it copied the contents of my 4tb drive to my 120gb OS drive, as that’s where I’d mounted the NAS. That caused obvious issues when the Operating System directory had no free storage left.
Is there a way to do this, but to check if the NAS is mounted before files are copied?
Brilliant tutorial though, I wish I’d used this when I set mine up a few years ago! Would have saved me a lot of bother.
Uhm. Rather than using rsync to cot to a local, mounted drive, is it possible to use rsync to copy to a remote server address & share???
Hope to hear from you soon.
Pete
Hi Pete,
thank you for your feedback. You can improve the bash script by adding a check if the initial mount commands fails and executing a fallback action.
For example, you can define 2 custom functions:
mount_ok() {rsync *****
rsync *****
***********
umount /mnt/my_nas
}
mount_fail() {
echo "Mount failed" >&2
# you can add notifications here
}
and then execute the following IF statement where the mount_ok() actions are performed when the mount task succeeds, the mount_fail() actions when it fails:
if mount -t cifs //192.168.1.50/backup \-o username=backup_user,password=backup_password,vers=2.0 \
/mnt/my_nas/
then
mount_ok
else
mount_fail
fi
Finally, this command already copies directly to a remote drive (with CIFS). I suspect that it filled your disk when it doesn’t mounted the remote drive and, in this scenario, the OS considered the /mnt/my_nas/ folder as a local folder. With the above check you should avoid this problem.
Hope this can help you.
Best regards,
Giuseppe