
This tutorial will show you how to monitor devices in your home network with Raspberry PI and LiberNMS, with instructions to install it with a Docker container. Please note that you need a Raspberry PI computer board and that I’ve tested it only with a 64-bit Raspberry PI OS. So, those Raspberry PI computer boards not supporting the 64-bit OS could not work with the following instructions.
With this tutorial, you will be able to remotely check the status of your devices both with SNMP (Simple Network Management Protocol) or with a simple ping.
What is LibreNMS
LibreNMS is an open-source monitoring software that aims to keep controlling devices in your network.
It also has a lot of features like autodiscovery, alerting, and mobile apps that can be helpful both for private and professional usage.
LibreNMS can run both with a classic host installation or with Docker containers.
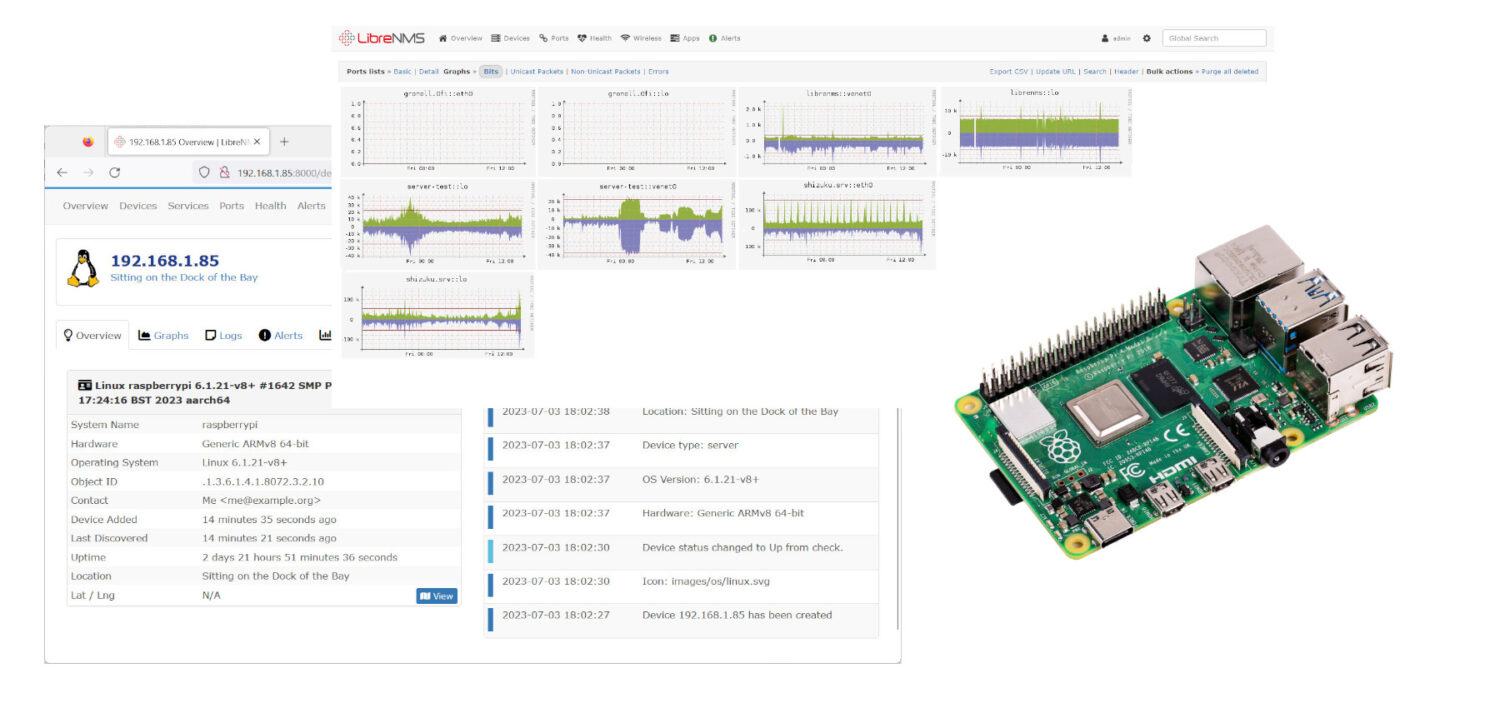
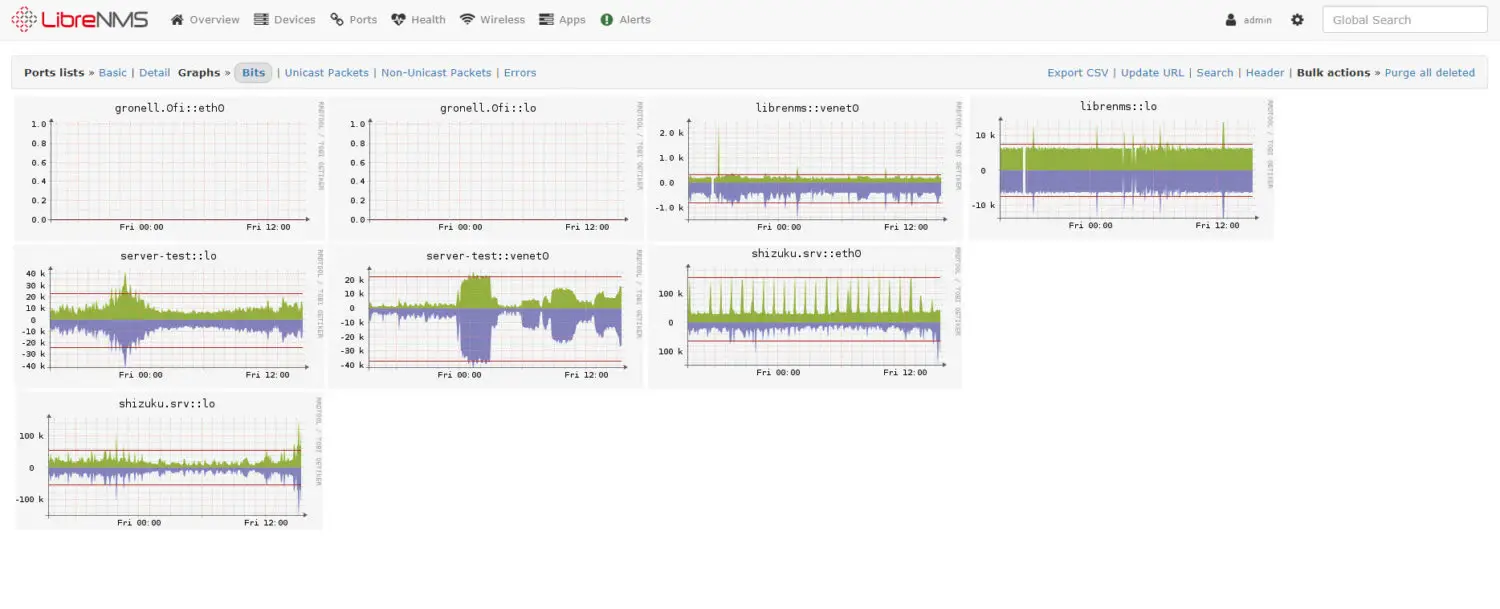
It creates complete charts based both on availability and device info, which will track the history of your monitored items:
In order to get detailed info, you will need to enable SNMP protocol in your devices.
For this post, I will show you how to install and configure LibreNMS in Raspberry PI using Docker, explaining a simple way to enable SNMP on your Raspberry PI computer board and showing how to perform automatic network discovery.
What We Need
As usual, I suggest adding from now to your favourite e-commerce shopping cart all the needed hardware, so that at the end you will be able to evaluate overall costs and decide if to continue with the project or remove them from the shopping cart. So, hardware will be only:
- Raspberry PI Computer Board (including proper power supply or using a smartphone micro USB charger with at least 3A)
- high speed micro SD card (at least 16 GB, at least class 10)
I will use a Raspberry PI 4 model B, but this should work also with older Raspberry PI computer models supporting the 64-bit OS, as previously mentioned.
Step-by-Step Procedure
Prepare Raspberry PI Operating System
Please start installing the Operating System for your Raspberry Pi computer board. You can use both Raspberry Pi OS Lite (for a fast, headless OS) or Raspberry Pi OS Desktop (in this case, using its internal terminal).
Get your OS up to date. From the terminal, please use the following:
sudo apt update -y && sudo apt upgrade -yWe also need to install Docker and docker-compose. You can achieve this goal with my Setup a Docker environment with Raspberry PI OS Lite tutorial.
Prepare LibreNMS Container Files
We are now quite ready to install LibreNMS. Please create a folder which will include all the required files to build the service and enter the folder:
mkdir libreNMS
cd libreNMS
We can use the docker-compose file and environment files according to the templates provided from the LibreNMS GitHub page, in the example/compose subfolder.
The wget command will allow us to get directly in our Raspberry PI the raw files:
wget https://raw.githubusercontent.com/librenms/docker/master/examples/compose/.env
wget https://raw.githubusercontent.com/librenms/docker/master/examples/compose/docker-compose.yml
wget https://raw.githubusercontent.com/librenms/docker/master/examples/compose/librenms.env
wget https://raw.githubusercontent.com/librenms/docker/master/examples/compose/msmtpd.env
The “.env” file will allow us to set some preferences. Open it for editing with your preferred text editor (nano is mine one):
nano .envEdit TimeZone, MySQL database, and MySQL credentials in order to use your preferred ones.
Save and close.
In order to send emails from LibreNMS, we need to set up our account. If you use Google, you have to create a Google App password as explained in the related chapter of my Send Email from Raspberry PI with Python tutorial (see there only the steps on Google profile pages).
Open the msmtp.env file for editing:
nano msmtpd.envEdit the email credentials in order to use your personal ones. In case of Gmail accounts, you can just change the following settings:
SMTP_USER=foo
SMTP_PASSWORD=bar
SMTP_FROM=foo@gmail.com
Otherwise, you have to set also the other SMTP settings according to your email provider.
Close and save the file.
Install LibreNMS on Raspberry PI
We can now start the LibreNMS installation. It can be achieved with the docker compose command (please note that this command must be run inside the folder where the env files and yaml file are stored):
docker compose up -dDepending on your internet speed, it will fastly create the service:
[+] Building 0.0s (0/0)
[+] Running 8/8
✔ Network librenms_default Created
✔ Container librenms_msmtpd Started
✔ Container librenms_db Started
✔ Container librenms_redis Started
✔ Container librenms Started
✔ Container librenms_snmptrapd Started
✔ Container librenms_syslogng Started
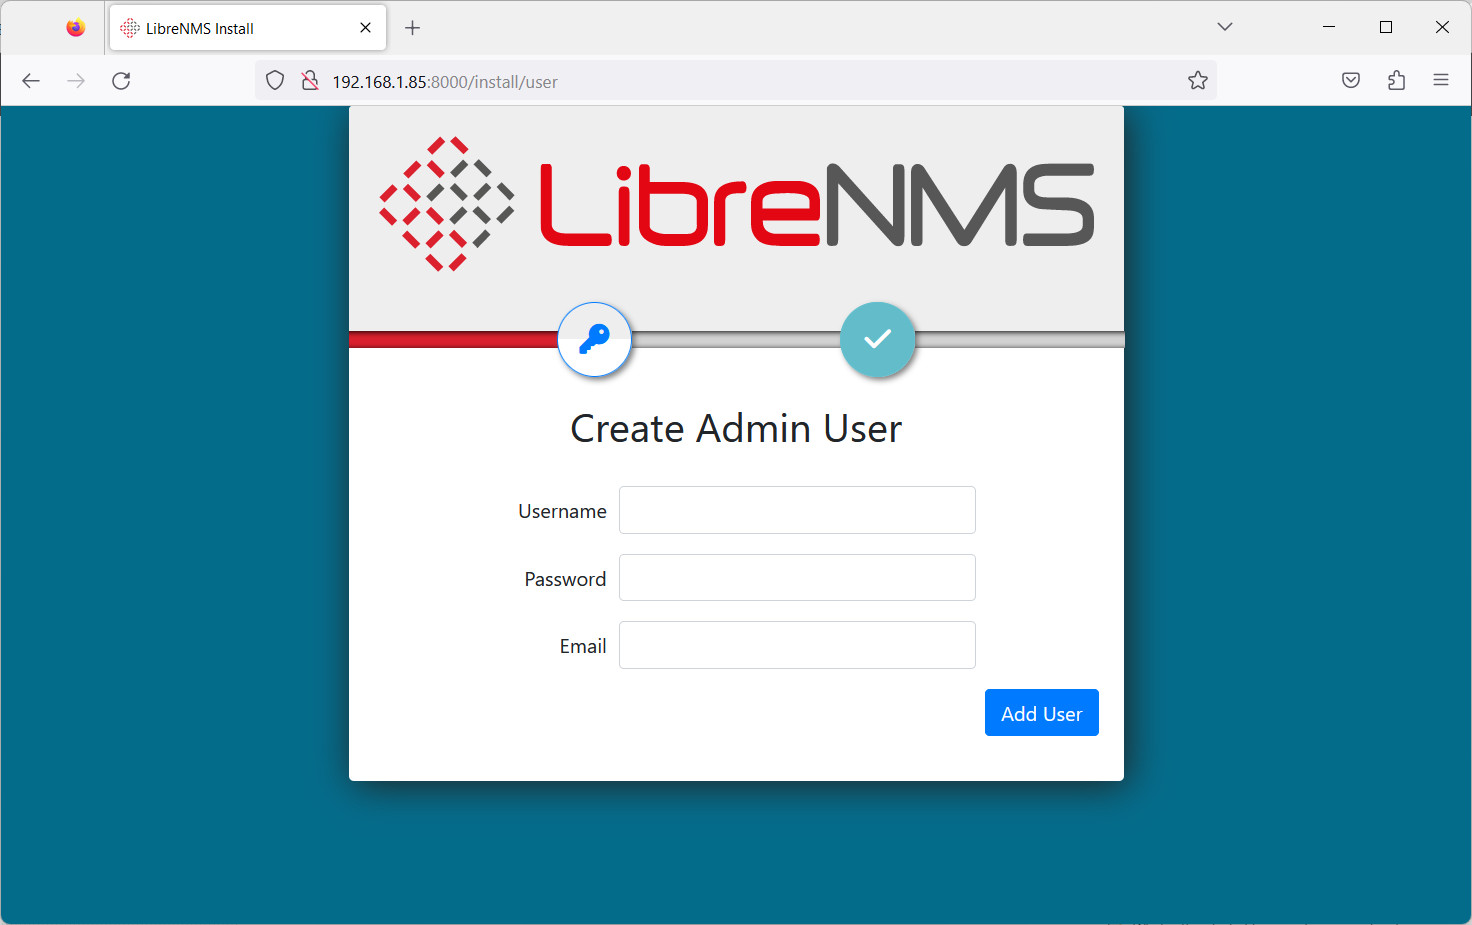
✔ Container librenms_dispatcher Started When all the previous rows are marked as “Started”, you can proceed with the setup completion on a browser. Use your Raspberry PI’s IP address (mine one is 192.168.1.85 for this tutorial) with the port 8000 and “/install/user” suffix to reach the wizard. In a few words, use your address in this URL string: “http://192.168.1.85:8000/install/user”. It will show you the following page.
Please note that the web GUI may take a few seconds before becoming reachable.
In order to set your Admin user, please choose your favourite username, password and email and click the “Add User” button:
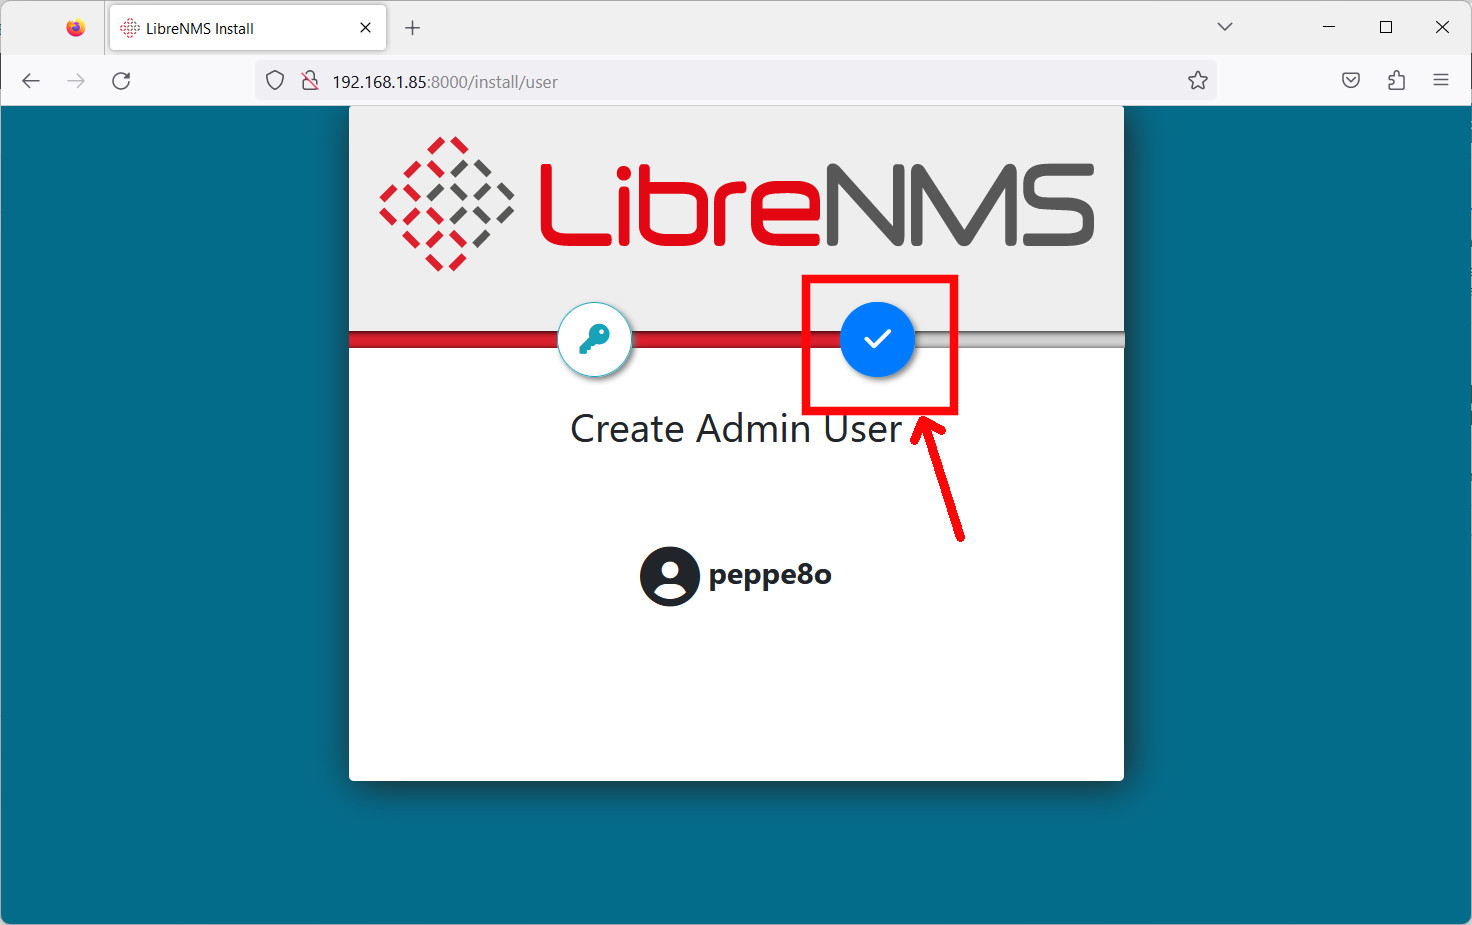
In the next screen you have to click the highlighted flag button in order to confirm your user:
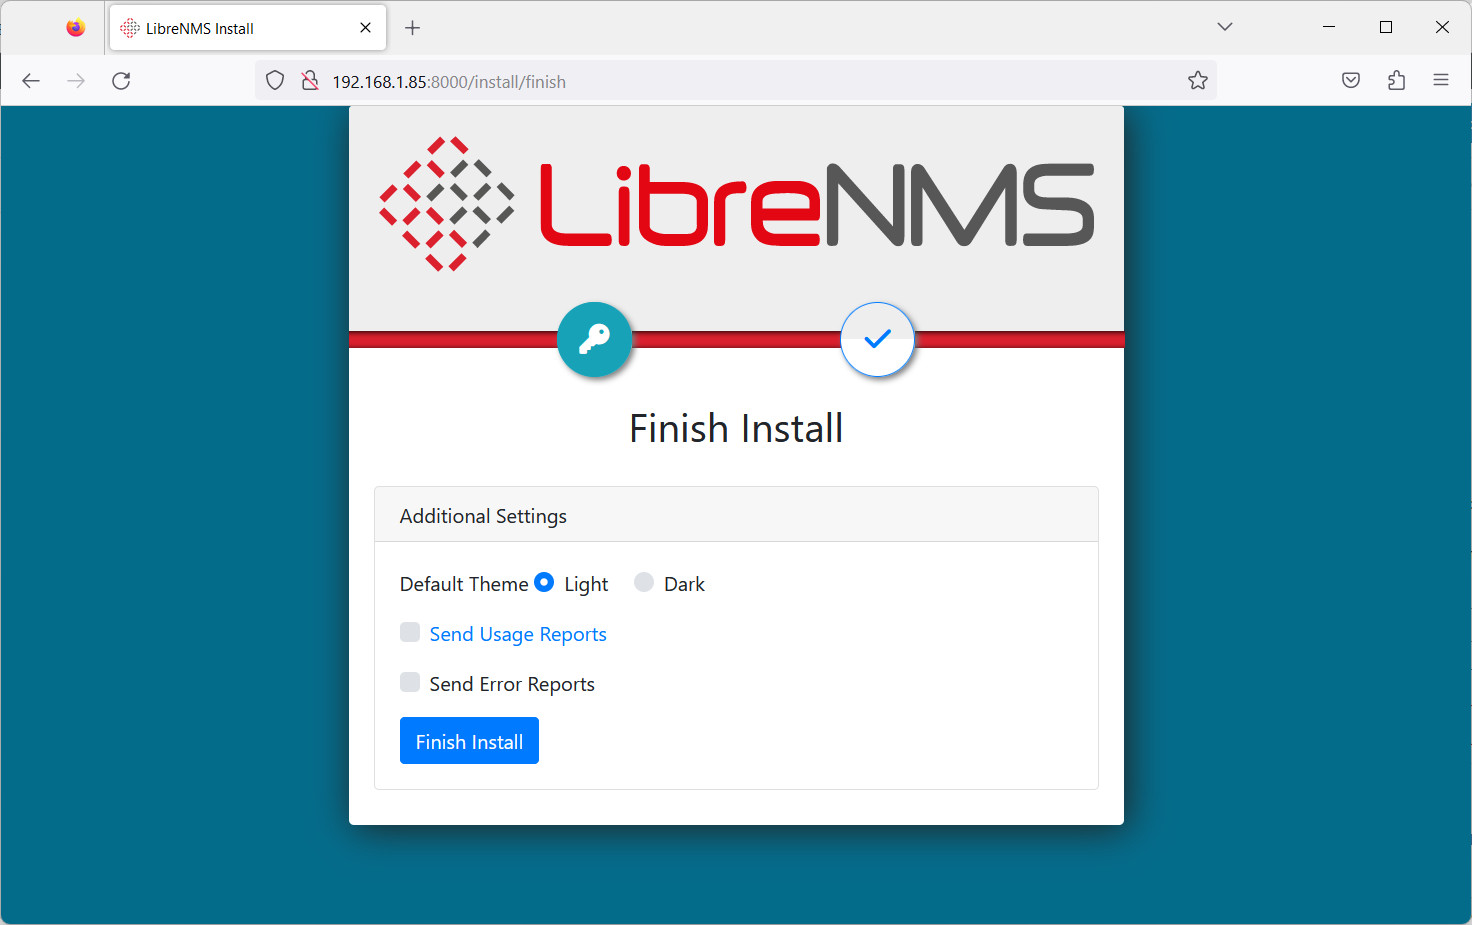
Next, please select your favourite default theme and, optionally, you can select or not to send reports to the developers. Then click “Finish install”:
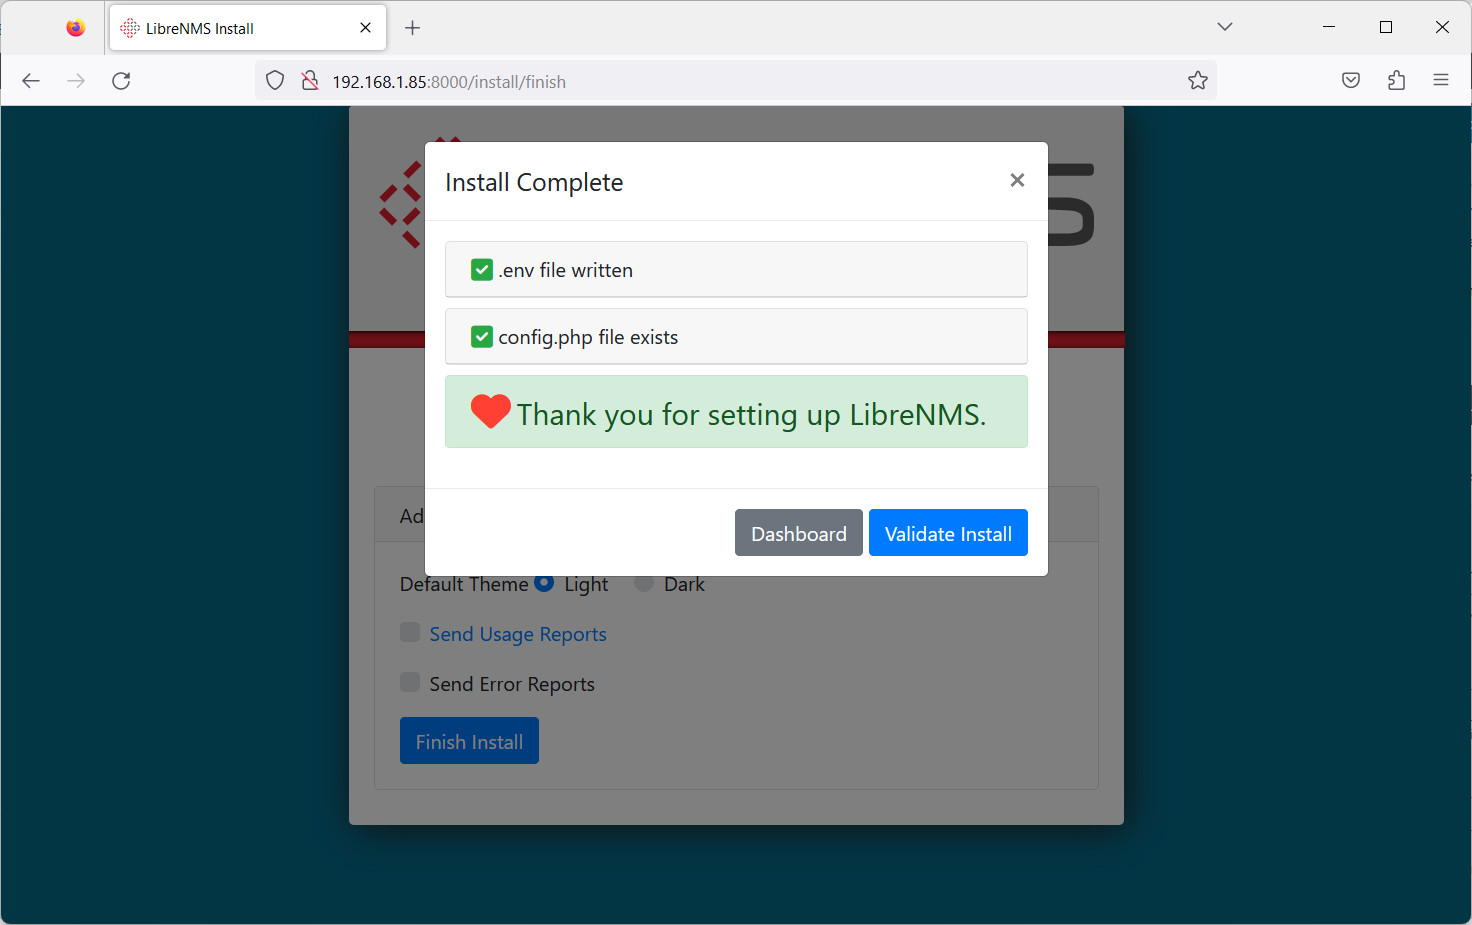
The following screen will confirm the installation completion. Besides validating the installation, you can also click the “Dashboard” button in order to go directly to your homepage:
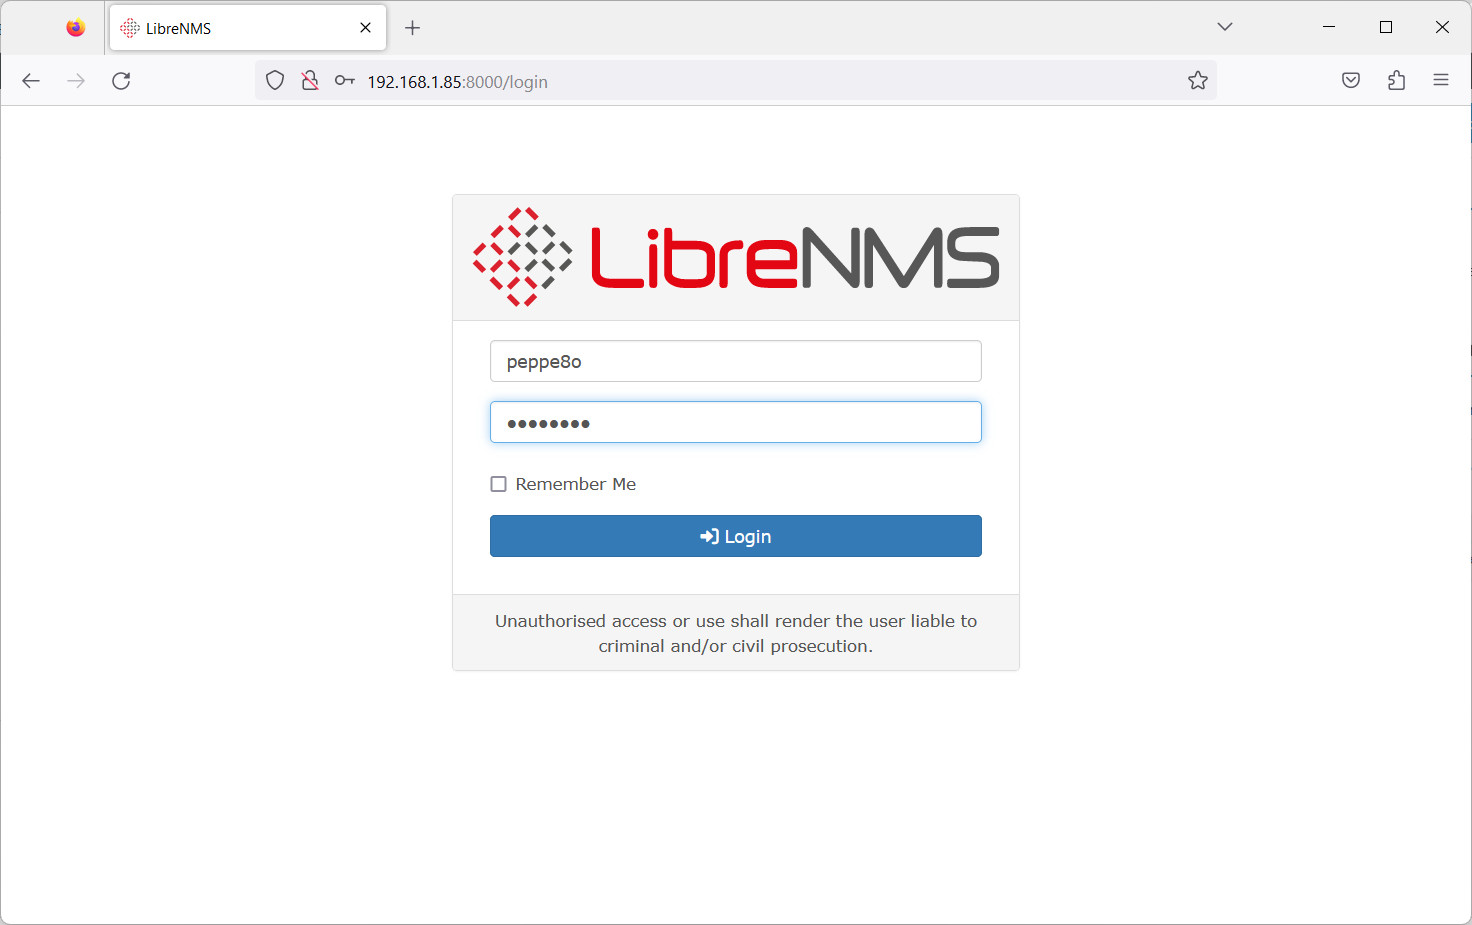
You will see the login screen. Please enter your admin user credentials, previously set and the “Login”:
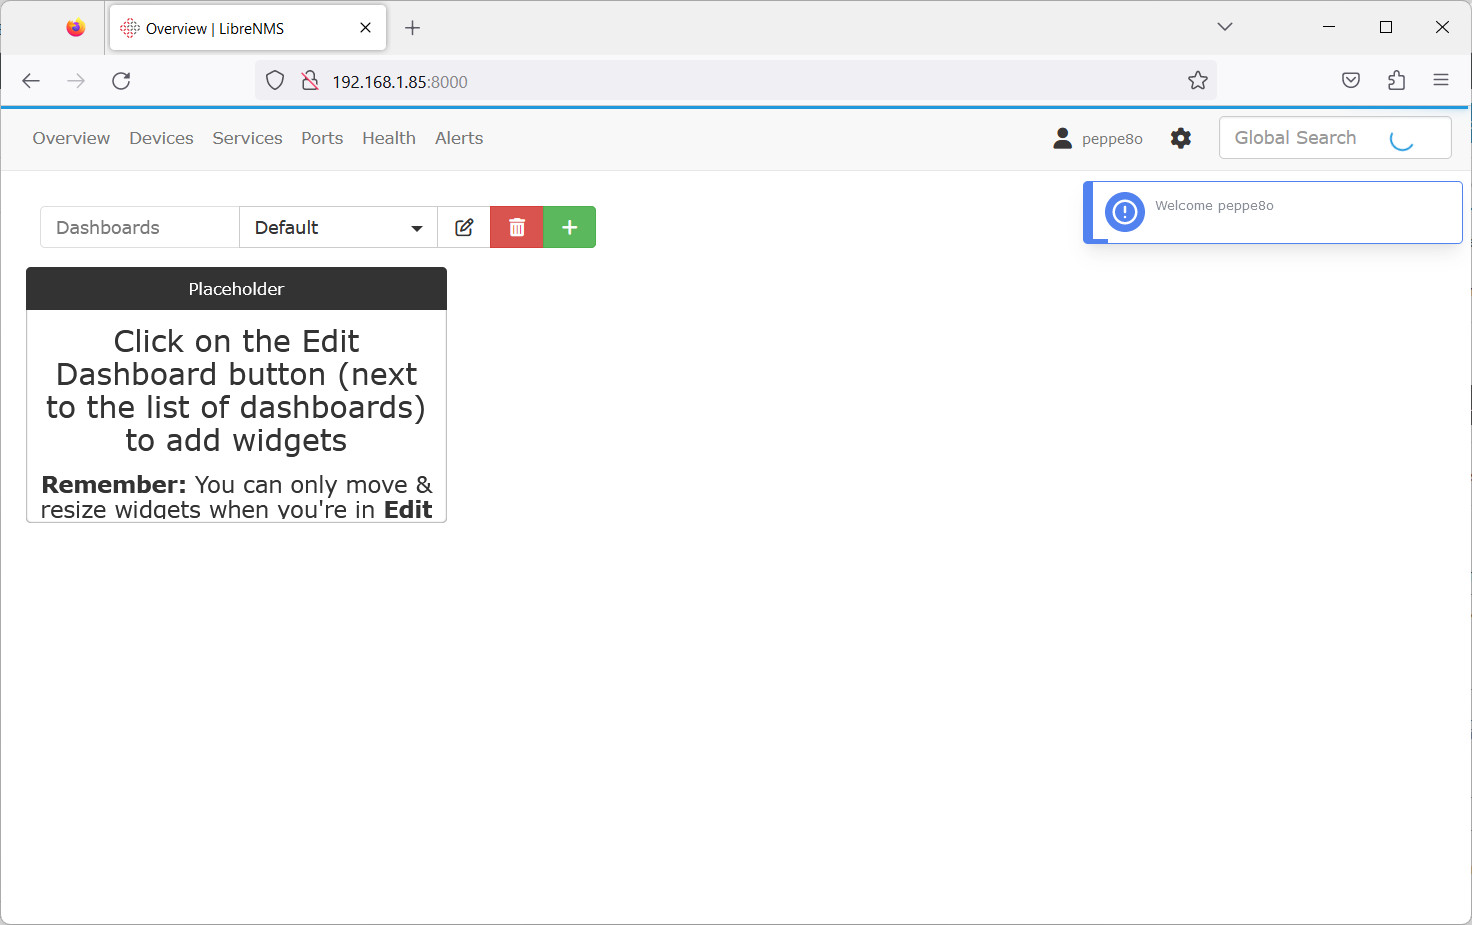
You will finally reach your dashboard, which is currently empty as we are on a fresh instance:
Add a Monitored SNMP Device
You can add monitored devices to LiberNMS with the web GUI, according to what is shown in docs.librenms.org adding a Device. But I found it not completely working in my case, so I was able to work better with the terminal console, as the commands to add a device are really simple (and they worked for me).
You can monitor devices with a simple Ping or you can setup the SNMP protocol in your monitored device in order to get more detailed info about the device status. It is important to note that the SNMP Community, a free text label, must be set with the same value both on the monitored device and on LiberNMS.
In order to add our very first device to monitor, I will use the same Raspberry PI where LibreNMS containers are running. By default, Raspberry PI OS Lite doesn’t have SNMP installed, so we need to install it and stop the related service (because we’ll soon configure it) with the following terminal commands:
sudo apt install snmpd snmp -y
sudo systemctl stop snmpd.service
We need to add a bit of configuration to our SNMP conf file. Create a copy of the original “snmp.conf” file with the cp command and then edit the running file:
sudo cp /etc/snmp/snmpd.conf /etc/snmp/snmpd.conf.backup
sudo nano /etc/snmp/snmpd.conf
Identify the following line:
agentaddress 127.0.0.1,[::1]and comment out it by adding the hashtag (“#”) at the begin of the line:
#agentaddress 127.0.0.1,[::1]This line should be configured with the IP address to bind, but it results in problems at the Raspberry PI boot with the SNMP service failing to start with the “Error opening specified endpoint” error. Commenting it out will allow the Raspberry PI to answer SNMP requests on any of its interfaces. If you are in a home / secure network, it’s enough secure for your purposes. Moreover, you can create password-based communities in order to increase security, if needed, but it’s not the topic of this tutorial.
Moreover, you can also change the default “Sitting on the Dock of the Bay” location with your real one.
Finally, you can find the SNMP community string in this file at the line:
rocommunity public default -V systemonlyThis line means that it is set to “rocommunity”. For this example, I will keep it with the default value.
Close and save the file, then start the SNMP daemon:
sudo systemctl start snmpd.serviceCheck that SNMP works (please remember to use your RPI’s IP Address):
snmpwalk -v 2c -c public 192.168.1.85It will return the list of published SNMP MIBs (Management Information Base).
We can now configure the Raspberry PI monitoring on LibreNMS. We can do it from a bash session inside the LibreNMS container. The “docker exec” command will create this session:
docker exec -it librenms bashAdding the Raspberry PI to the monitored devices list is as simple as using the following terminal command:
lnms device:add -2 -c rocommunity 192.168.1.85We can now exit from the container bash and go back to our Raspberry PI bash:
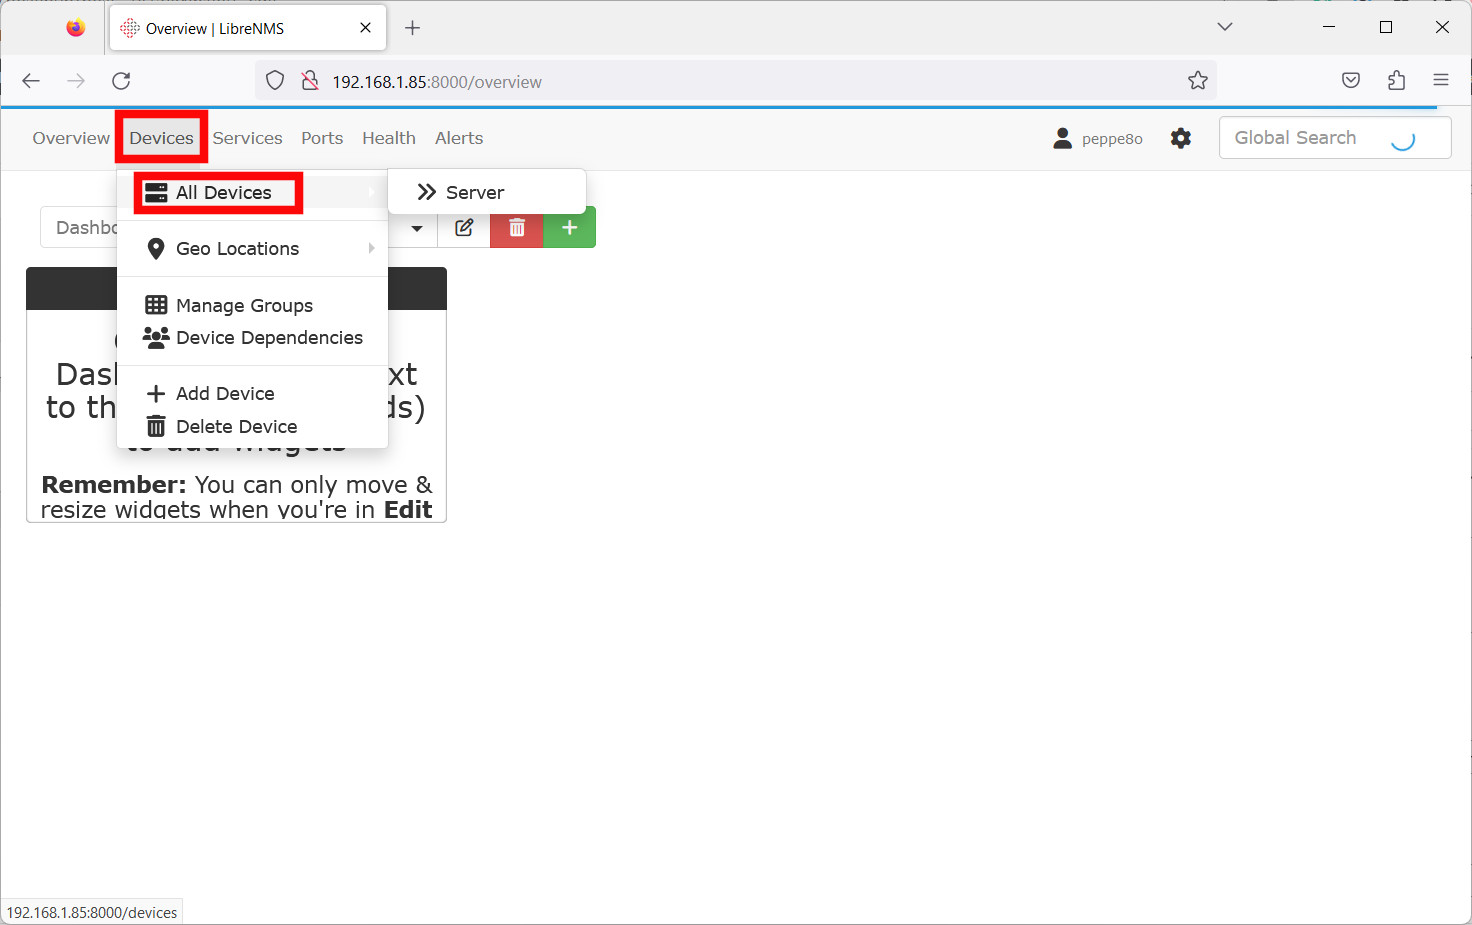
exitNow, please refresh the dashboard page on your browser. you will find the Devices menu with the enabled link to “All Devices”. Please click it:
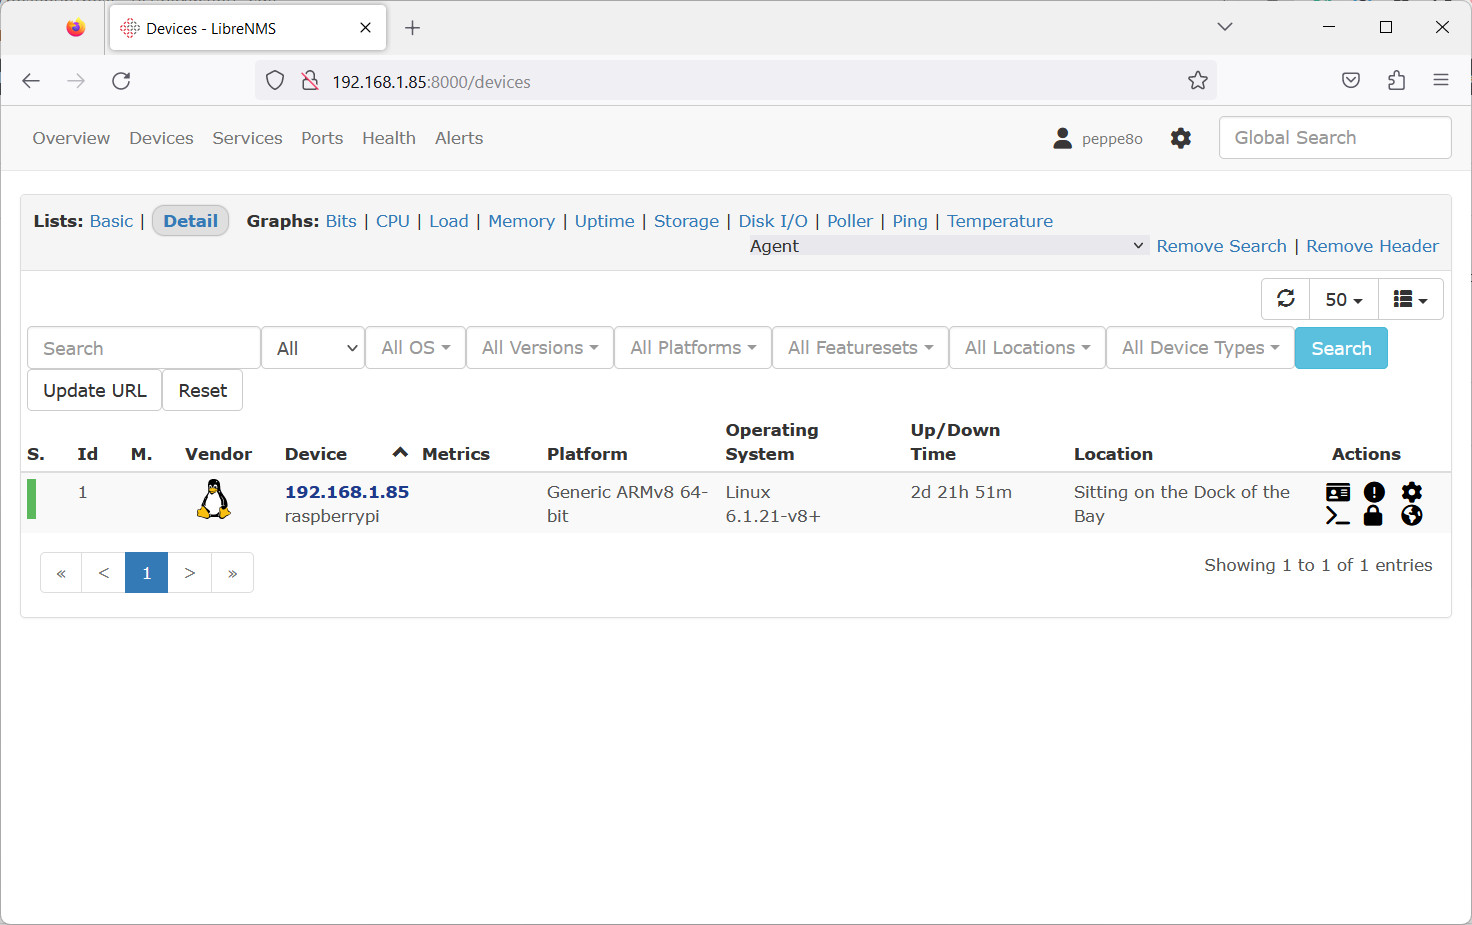
Here you will find the Raspberry PI record:
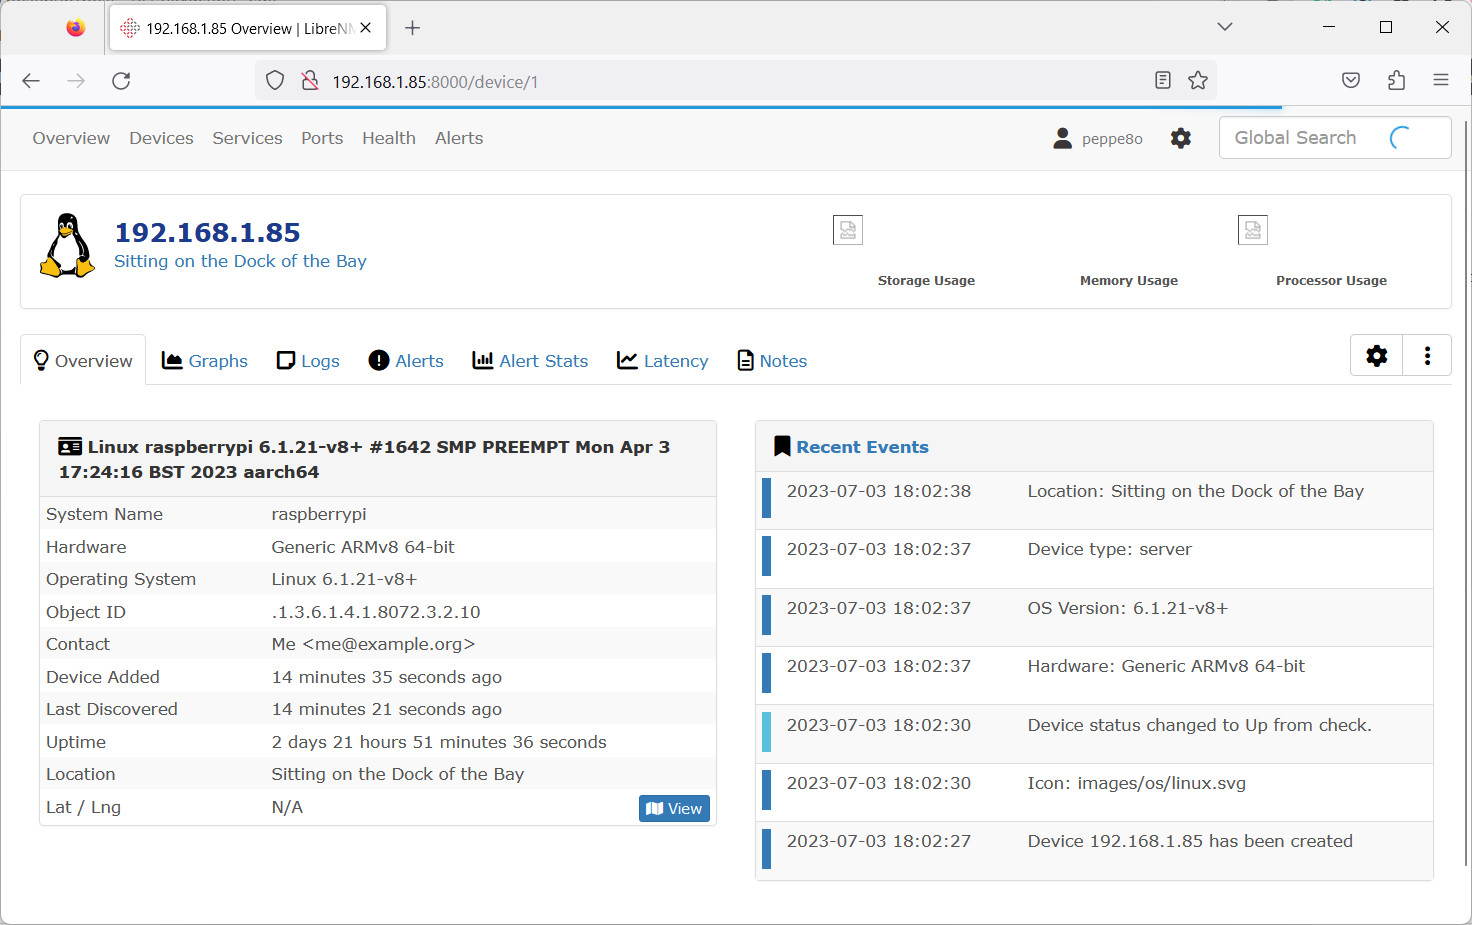
Clicking on the link with the RPI address you can access more detailed info, according to the SNMP library:
Network Discovery and Monitoring
Manual device addition may be a boring job and this will not allow you to discover all the devices running in your network. In order to automatically discover devices in your LAN, you can use the related LibreNMS feature.
Before doing this, we need to make LibreNMS aware of the network to check. In this example, I will configure a whole “192.168.1.xxx” network (with subnet mask 24, which is the most common subnet mask for home routers). With the Raspberry PI terminal, enter again the LibreNMS container with a bash session:
docker exec -it librenms bash
From here, please use the following command to add your network to the monitoring list:
lnms config:set nets.+ '192.168.1.0/24'
We are now ready to perform a simple scan. From the container session already established, please use the following command:
./snmp-scan.py -v -t 10 --ping-fallbackIt will take some time to check the whole network, in the meanwhile … the following will explain the options we set with the “snmp-scan” program:
- “-t 10”: scans 10 IP addresses at a time (default 32, but it’s too much for a Raspberry PI 4). Reduce this number for lower RPI models
- “-v”: the shell will run in verbose mode, which means that you will see progress details
- “–ping-fallback”: add the devices if they answer to a ping command, even if the device doesn’t answers to the SNMP request
At the end of this process, please refresh the devices page in your LibreNMS web GUI to find all the discovered devices:
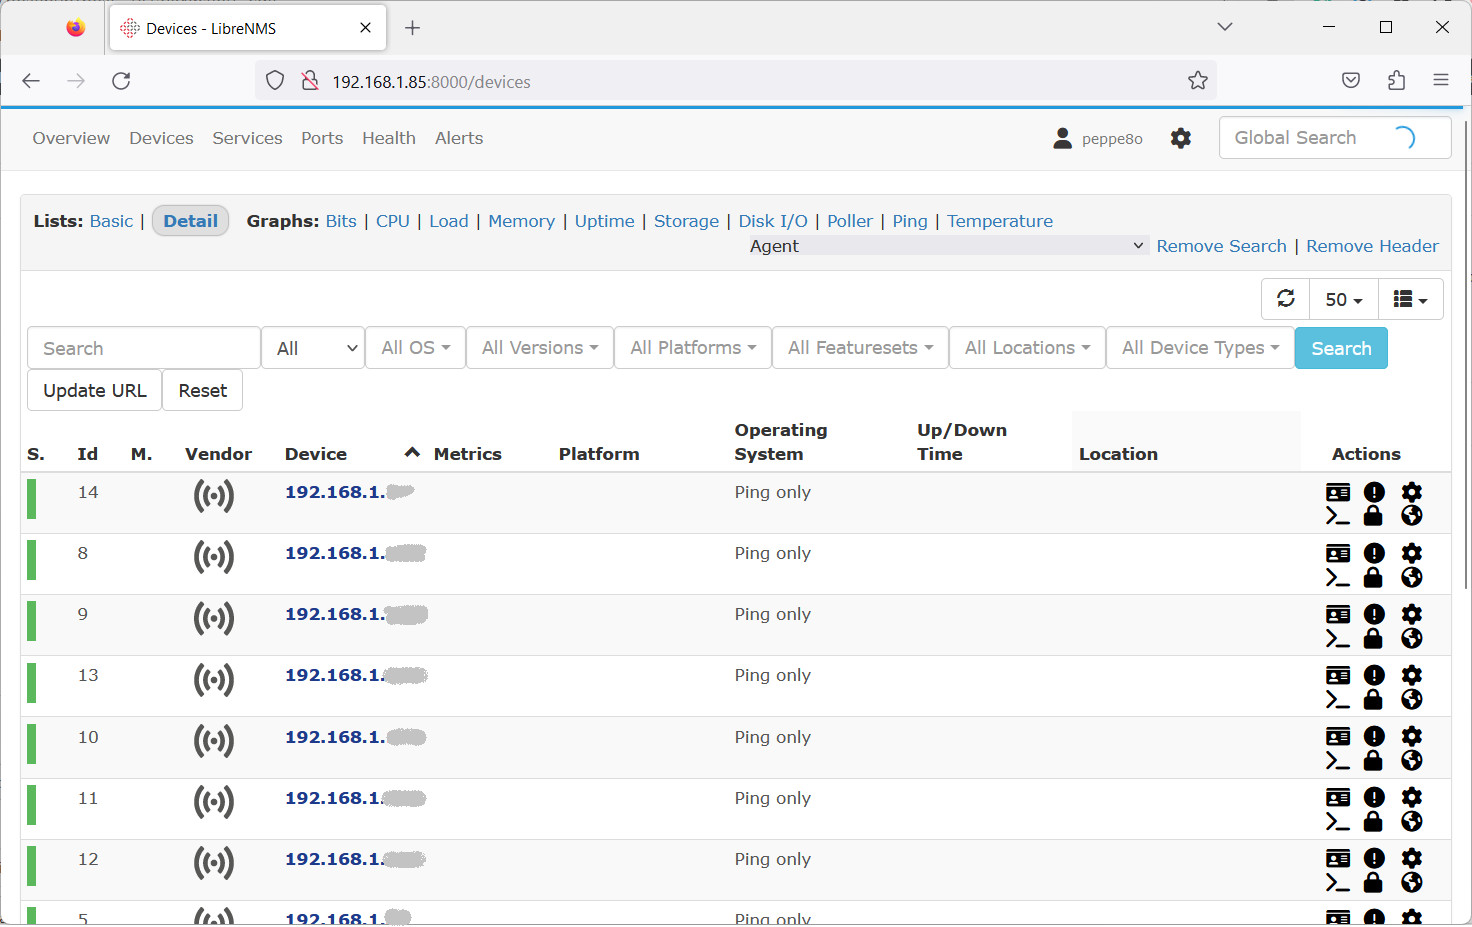
From here, you can enter and edit each device in order to customize it, for example, with a more clear name label or with proper SNMP configuration (if you have different cases).
All of the discovered devices will show a small Status label on the left side of its rows, showing with different colors the device status (Green/Orange/Red).
Automate the LibreNMS Network Scan
LibreNMS is able to perform automatic discovery at a defined frequency. But, to say the truth, I wasn’t able to get it working. A more practical way to automate it is by a cron job.
So, open your user crontab with the following command (remember to change the “pi” user with your one if different):
crontab -u pi -eif required, you can choose your favourite text editor, like nano. Append a cron job like the following:
*/30 * * * * docker exec -i librenms bash -c "/opt/librenms/snmp-scan.py -t 5 --ping-fallback && exit" >/dev/null 2>&1This example will run the scan job every 30 minutes. Save and exit.
LibreNMS User Guide
You can find more info to setup your LibreNMS at the official LibreNMS Docs page.
Next Steps
Are you interested in more projects with your RPI computer board? Take a look at peppe8o Raspberry PI computer tutorials pages.
Enjoy Your LibreNMS on Raspberry PI!

Open source and Raspberry PI lover, writes tutorials for beginners since 2019. He's an ICT expert, with a strong experience in supporting medium to big companies and public administrations to manage their ICT infrastructures. He's supporting the Italian public administration in digital transformation projects.
![]()
![]()
![]()
![]()
![]()
![]()
![]()


Where is the instructions to install directly on RPi? All your provided is docker instructions.
Hi MattyD, in the Chapter “Prepare Raspberry PI Operating System” there’s the link to install Docker in your Raspberry PI. Once installed, then you can build the service in your Raspberry PI with Docker (which runs in your Raspberry PI).
Don’t exitate to tell me if you need more help with this tutorial.
Giuseppe