
Last Updated on 22nd March 2024 by peppe8o
This tutorial will show you how to install Honeygain on a Raspberry PI computer board to share your internet connection and get a passive income.
Before starting, please let me be clear: this will not make you rich and this will not let you leave your job (if any) and live of this income, but it will probably allow you to get a bit of money to buy new low-cost sensors or accessories for your Raspberry Pi if you already have it running in your home for any service. If you have to keep your Raspberry PI powered on only for this income, hardly you will pay the electricity bills only with this project.
About Honeygain
Honeygain is a service that allows you to share your internet connection with companies that need an external proxy to do marketing or scientific research like web crawling and data intelligence tasks.
It claims to use secured tools to protect your privacy while getting your unused bandwidth.
Honeygain app runs in the background, so you don’t need to start it every time.
It works with a credit system, where you earn credits by sharing your internet connection. As more MB of your internet connection is used, as many credits you will earn. Usually, the country of your internet connection has an important role in the required connections for apps with this scope. So, depending on your country you can get a lot of traffic or a really low traffic.
You can convert your credits into real money, where 1000 credits are equal to 1$. The minimum payout threshold is $20.
Besides the list of industry experts who trust Honeygain, according to the Honeygain pages, it has a great review score on Trustpilot. This means that people are feeling happy with this service and there’s good trust in this brand.
It has apps for Linux, Windows, Android, and MacOS. So you can install the app on different devices and connect all of them to your account. The Linux installation also includes an easy setup with Docker. I will use this installation method as it grants a very easy way and you can completely remove the Honeygain container with the trust that your system will remain clean if you decide to opt out.
Finally, Honeygain offers a referral program. If you share your invite link with your friends and they subscribe to Honeygain, they will get an invitation bonus and Honeygain will share 10% of its profits with you.
What We Need
As usual, I suggest adding from now to your favourite e-commerce shopping cart all the needed hardware, so that at the end you will be able to evaluate overall costs and decide if to continue with the project or remove them from the shopping cart. So, hardware will be only:
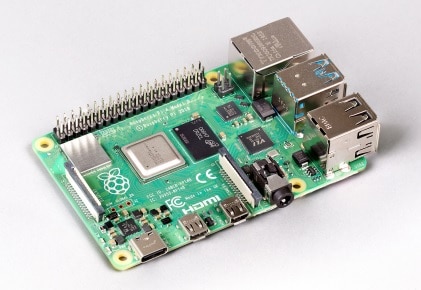
- Raspberry PI Computer Board (including proper power supply or using a smartphone micro USB charger with at least 3A)
- high speed micro SD card (at least 16 GB, at least class 10)
Step-by-Step Procedure
Register your Honeygain Account
Registering a new account in Honeygain is a simple task. But there are a few suggestions from my side before doing it.
Honeygain allows you to register with your Facebook or Google accounts. Do NOT use these registration methods as it may create problems with the docker method. Instead, I suggest using directly your email with your favourite password.
My second suggestion is to avoid special characters in your password. Make it long and secure, but avoid special characters like dots, points, slash, and so on.
Prepare your Raspberry PI Operating System
Please start installing your favourite Operating System for Raspberry PI (must be Debian-based). I suggest using Raspberry PI OS Lite, as it provides a headless, faster environment for low-capabilities Raspberry PI computer boards. But you can also use Raspberry PI OS Desktop, in this case working from its internal terminal. You can check the difference between the two OS from my Raspberry PI OS Lite vs Desktop: comparison between the 2 distributions.
Make your OS up-to-date. From the terminal, please use the following command:
sudo apt update -y && sudo apt upgrade -yWe need also to install Docker. This task can be performed with my Setup a Docker environment with Raspberry PI OS Lite, where the Portainer installation is optional.
Install Honeygain on Raspberry PI
With docker installed, getting Honeygain work on Raspberry PI is really simple.
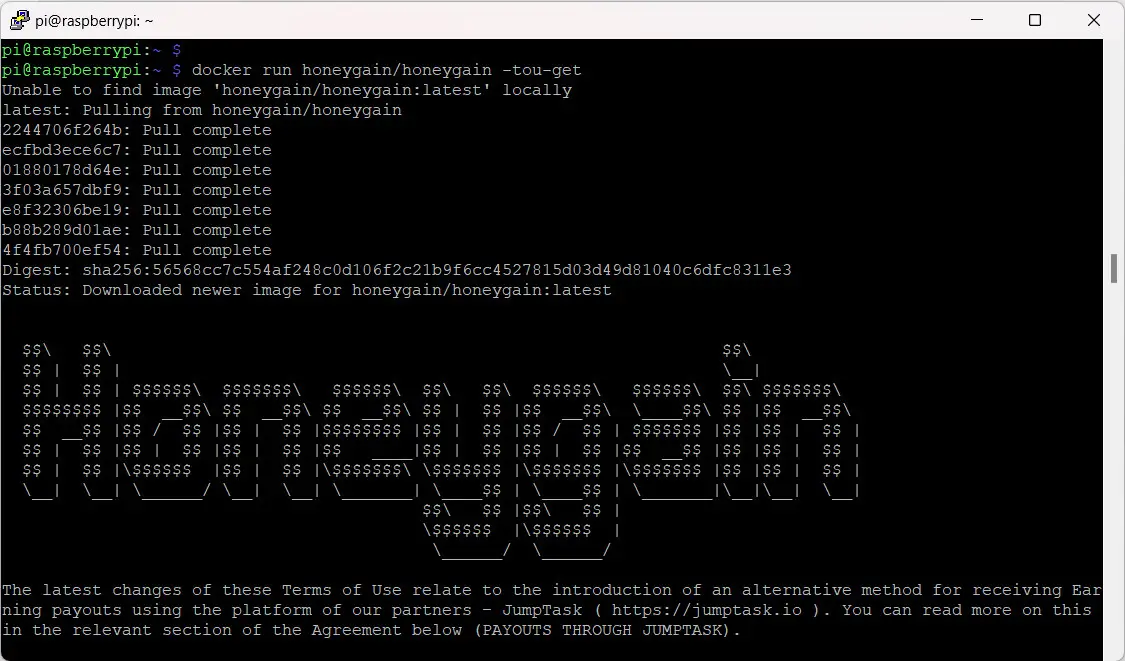
The first step, for your privacy, is reading the Terms Of Use (“tou”), which you can get by running the following command:
docker run honeygain/honeygain -tou-getThis will pull the Honeygain container image from the Docker official registry and it will show you the TOU (scroll up/down):
Then, you can get your Honeygain up and running with the following docker command, where you must use your email address and password set at the Honeygain registration stage instead of the highlighted ones. You can also create your preferred device name instead of “my_raspberry_pi”: this will only help you identify the device performances in your Honeygain dashboard:
docker run -d --name honeygain --restart unless-stopped honeygain/honeygain -tou-accept -email your_email@example.com -pass your_passwd -device my_raspberry_piThis Docker command slightly differs from the official one. It adds a custom name to your docker container and adds the restart policy to make the container running also across reboots of your Raspberry PI. The following explains the options:
- docker run -d: gets the container run as a daemon (in background)
- –name honeygain: sets the container name to “honeygain” while running in your local Raspberry PI
- –restart unless-stopped: automatically restarts the container eve after the Raspberry PI reboot, unless you decide to manually stop it
- honeygain/honeygain: uses the Honeygain official container image
- -tou-accept: runs the Honeygain container accepting the Terms Of Use
- -email your_email@example.com: sets the email variable to the one you used at the Honeygain registration
- -pass your_passwd: sets the password variable to the one you used at the Honeygain registration
- -device my_raspberry_pi: sets the device name to your favourite
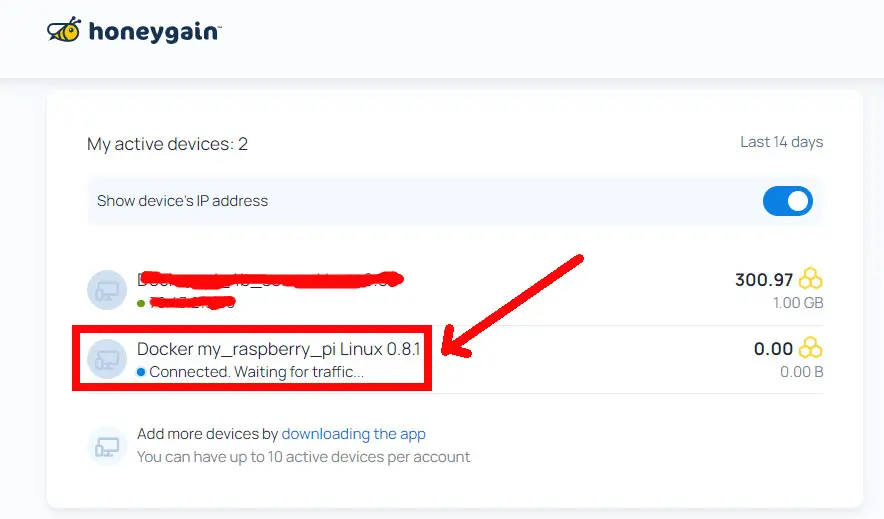
Check your Dashboard on Honeygain for Raspberry PI device
At this point, your Honeygain dashboard will show you the added device waiting for traffic:
What’s Next
If you want to discover many other projects for your Raspberry PI, you can take a look at peppe8o Raspberry PI computer tutorials.
Enjoy!

Open source and Raspberry PI lover, writes tutorials for beginners since 2019. He's an ICT expert, with a strong experience in supporting medium to big companies and public administrations to manage their ICT infrastructures. He's supporting the Italian public administration in digital transformation projects.
![]()
![]()
![]()
![]()
![]()
![]()
![]()


how long does it sit at the waiting for traffic screen? Has been several hours.
Hi Brian, it depends on your Country and the requests for proxy traffic in it. You can ask the honeygain team for this. In the meanwhile, you can also try Pawns and EarnApp as they can work all together in your Raspberry PI to test even more bandwidth sharing apps