
Last Updated on 5th March 2023 by peppe8o
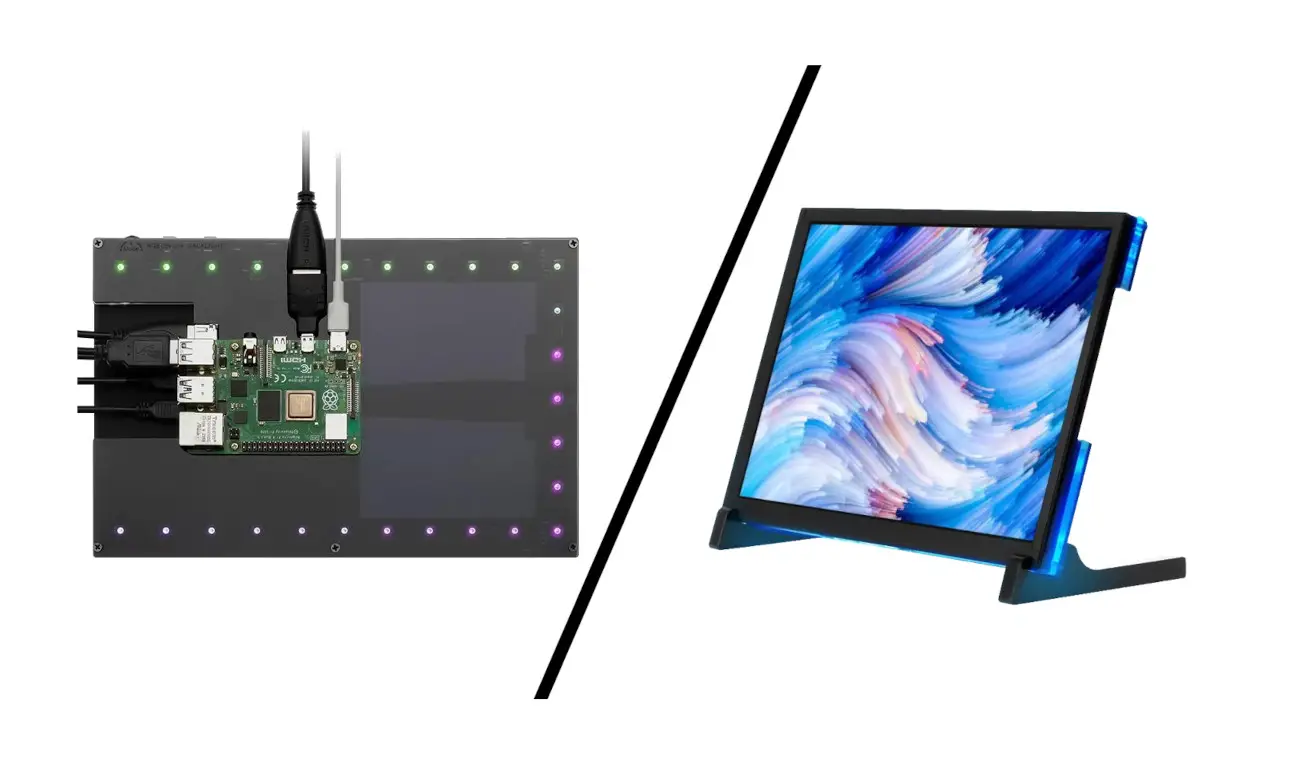
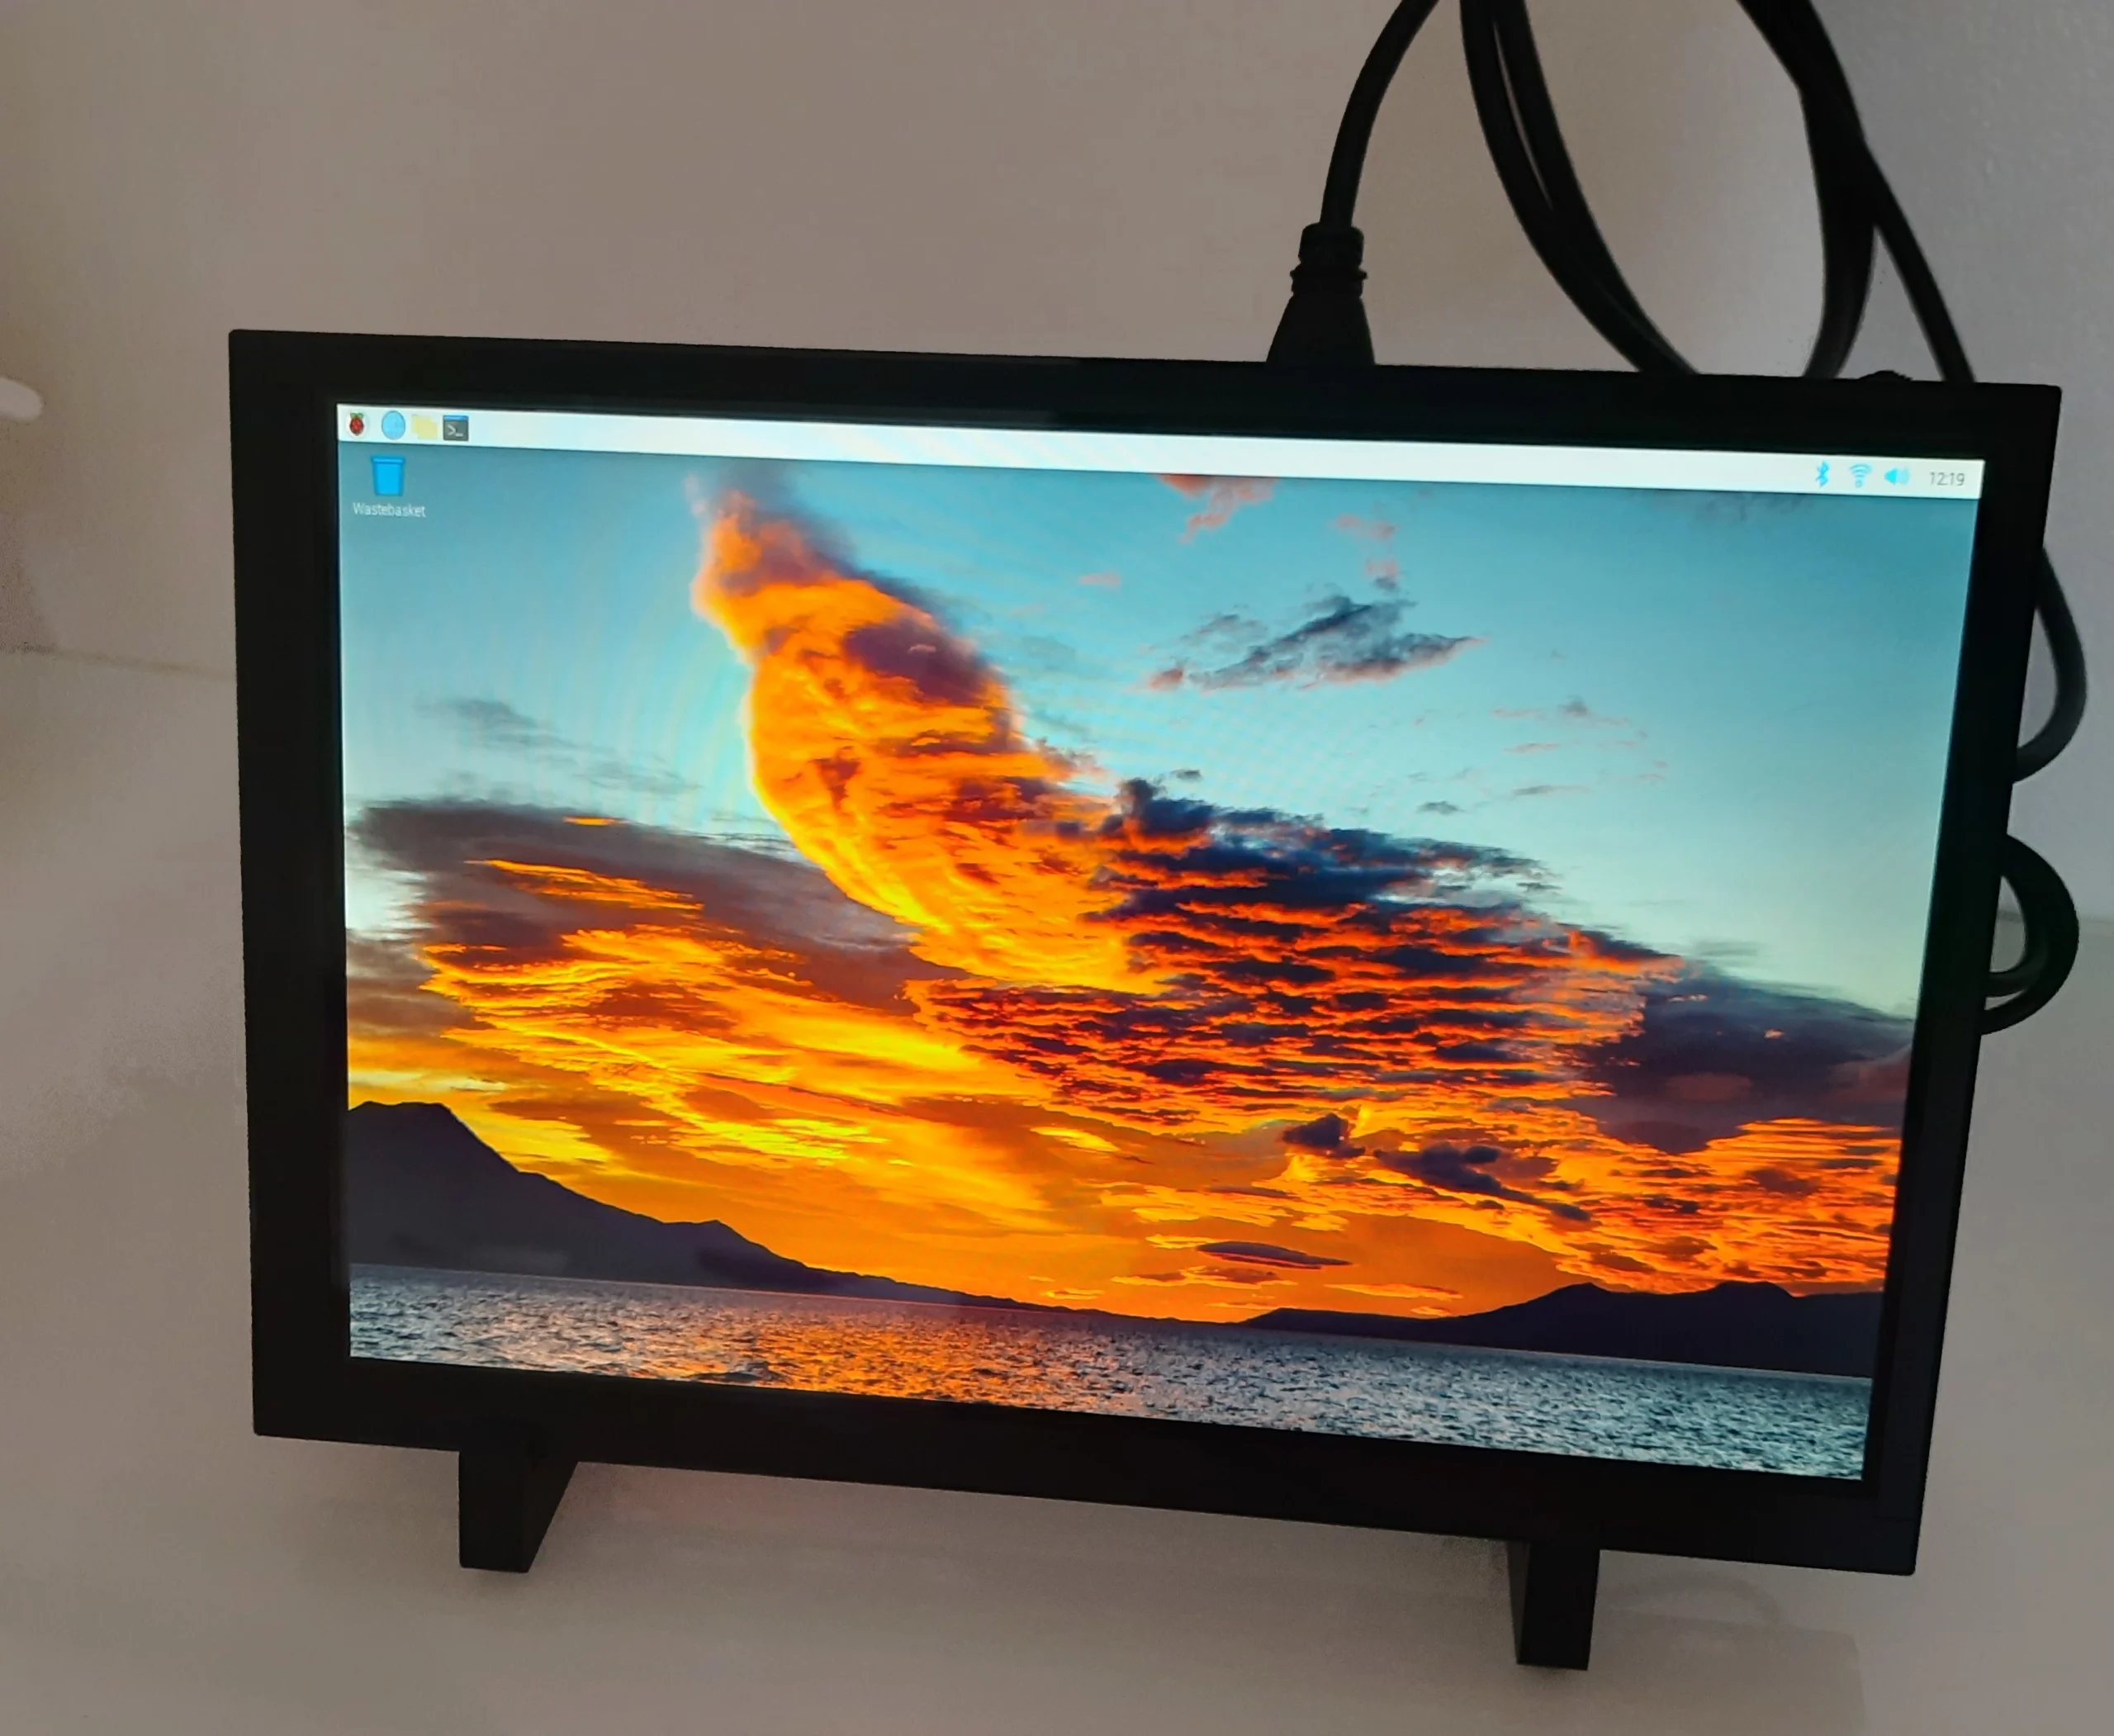
In recent days, I get hands on an interesting touch monitor for my Raspberry PI: the Elecrow Meteor Screen. This is a great device when your project needs a medium-sized output/input device. Typical applications are portable gaming consoles, home automation, IoT monitor, and so on.
Let’s see more in detail the technical details of this monitor and some pictures.
Elecrow Meteor Screen Technical Specs
Please find below the technical specifications available from the Elecrow page:
- Display Type: IPS (In-Plane Switching) LCD
- Screen Size: 10.1 inches (diagonal)
- Resolution: 1280 x 800 pixels
- Touchscreen Type: Capacitive (supports 5-point touch)
- Interface: HDMI
- Compatibility: Raspberry Pi 3B/3B+, Raspberry Pi 4B, Jetson Nano, BeagleBone Black, and other devices with HDMI output
- Power Input: 5V DC
- Power Consumption: 2A (max)
- Dimensions: 239*157.5*12.6mm (external) / 216.57*135.36mm (display area)
- Weight: 540g
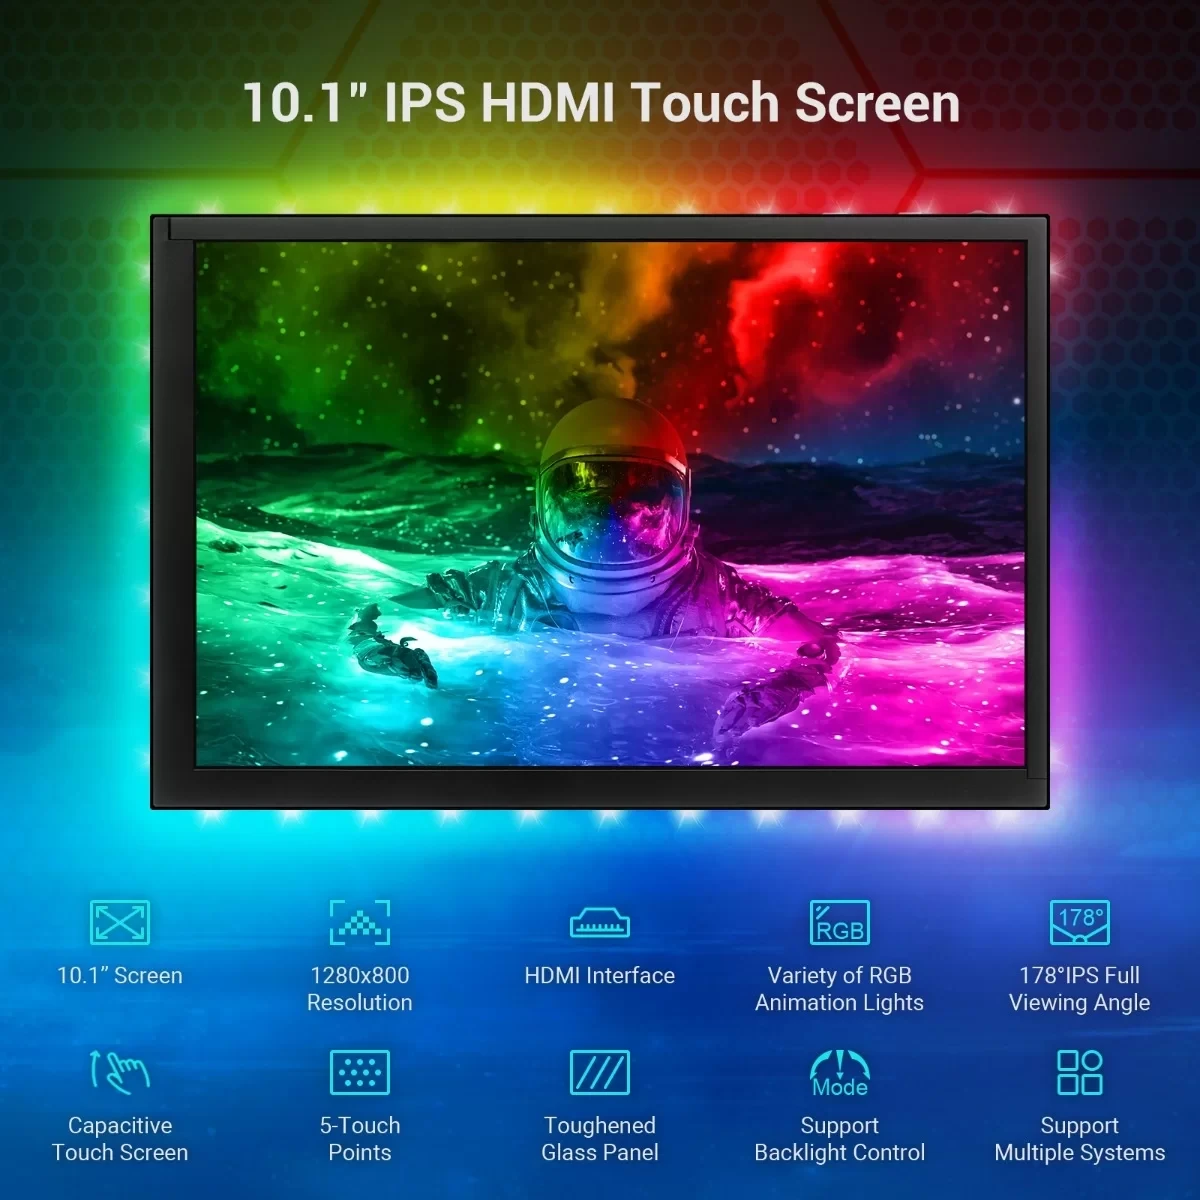
The IPS panel provides good color reproduction and viewing angles (178°), making it suitable for a range of applications and an excellent image angle.
The capacitive touch screen supports 5-point touch, which means it can detect up to 5 simultaneous touches, making it useful for multi-touch applications. The touch input can be passed to our Raspberry PI by connecting it with the micro USB to USB cable, using the Touch port from the monitor back panel. The monitor connects to devices via HDMI, which is a common and widely supported interface.
The monitor is designed to be compatible with several popular embedded devices, including the Raspberry Pi, Jetson Nano, and BeagleBone Black. But it’s also a great solution as a secondary laptop display to keep monitored emails incoming, real-time graphs, and alarm dashboards.
What We Need
As usual, I suggest adding from now to your favourite e-commerce shopping cart all the needed hardware, so that at the end you will be able to evaluate overall costs and decide if to continue with the project or remove them from the shopping cart. So, hardware will be only:
- Raspberry PI computer board (including proper power supply or using a smartphone micro USB charger with at least 3A). Please remember that only RPI 3/4 model B are supported
- high speed micro SD card (at least 16 GB, at least class 10)
- Elecrow Meteor Screen
What’s Included in the Package
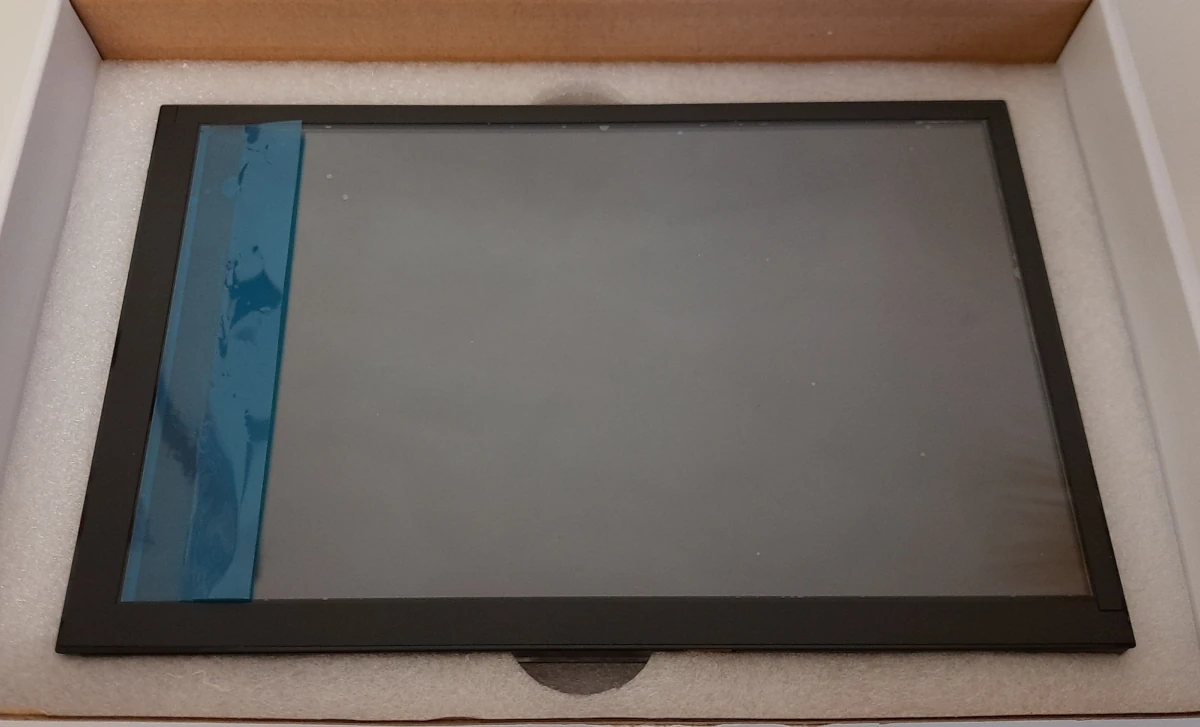
The packaging comes in one small box:
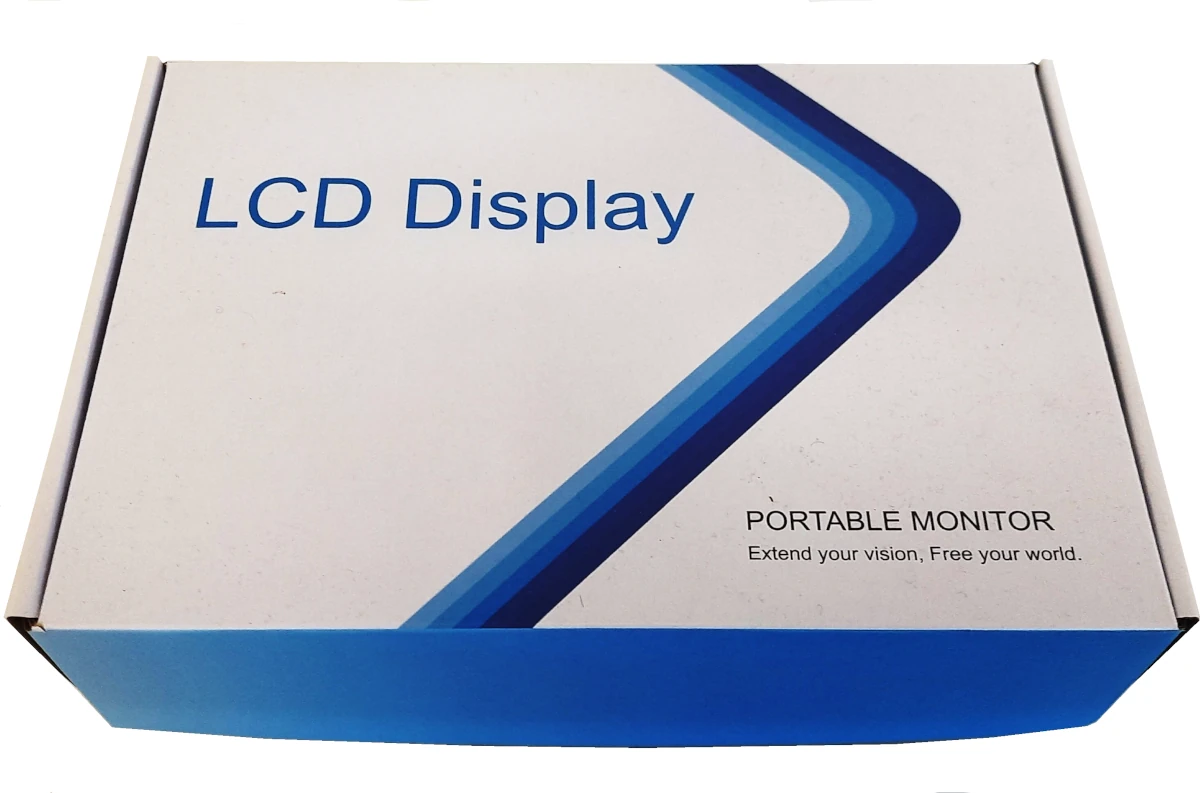
Opening it, we’ll find the monitor placed in the foreground and protected from shipment stress:
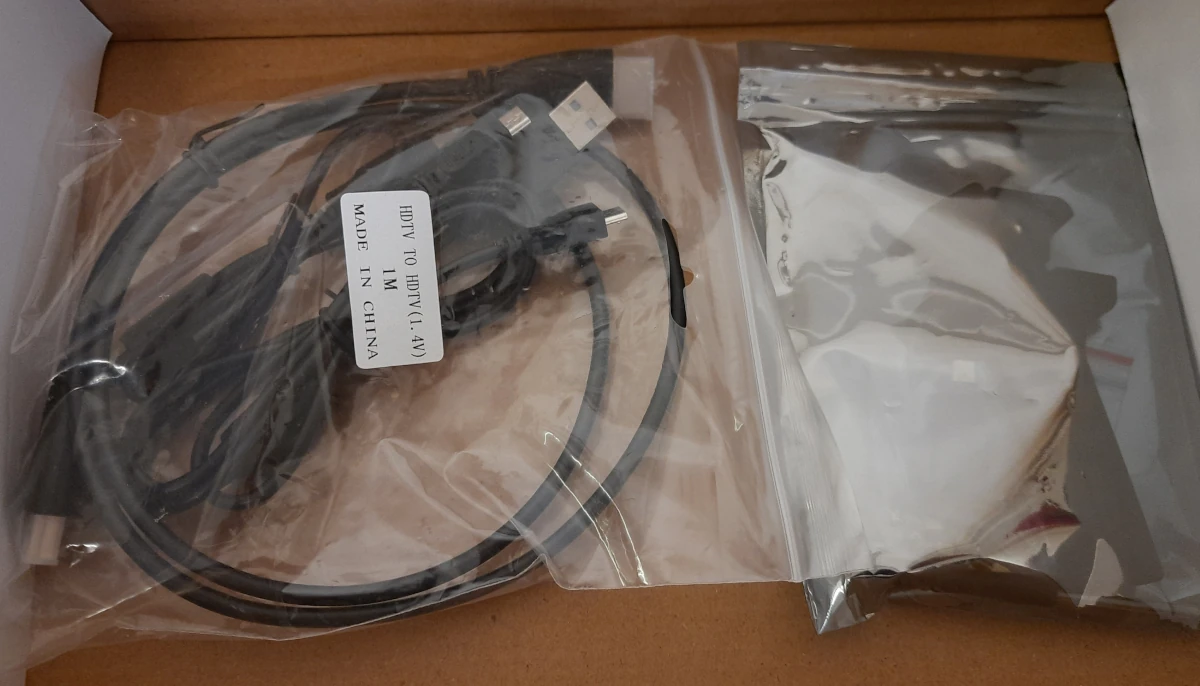
All the kit parts are bagged and placed just below the monitor:
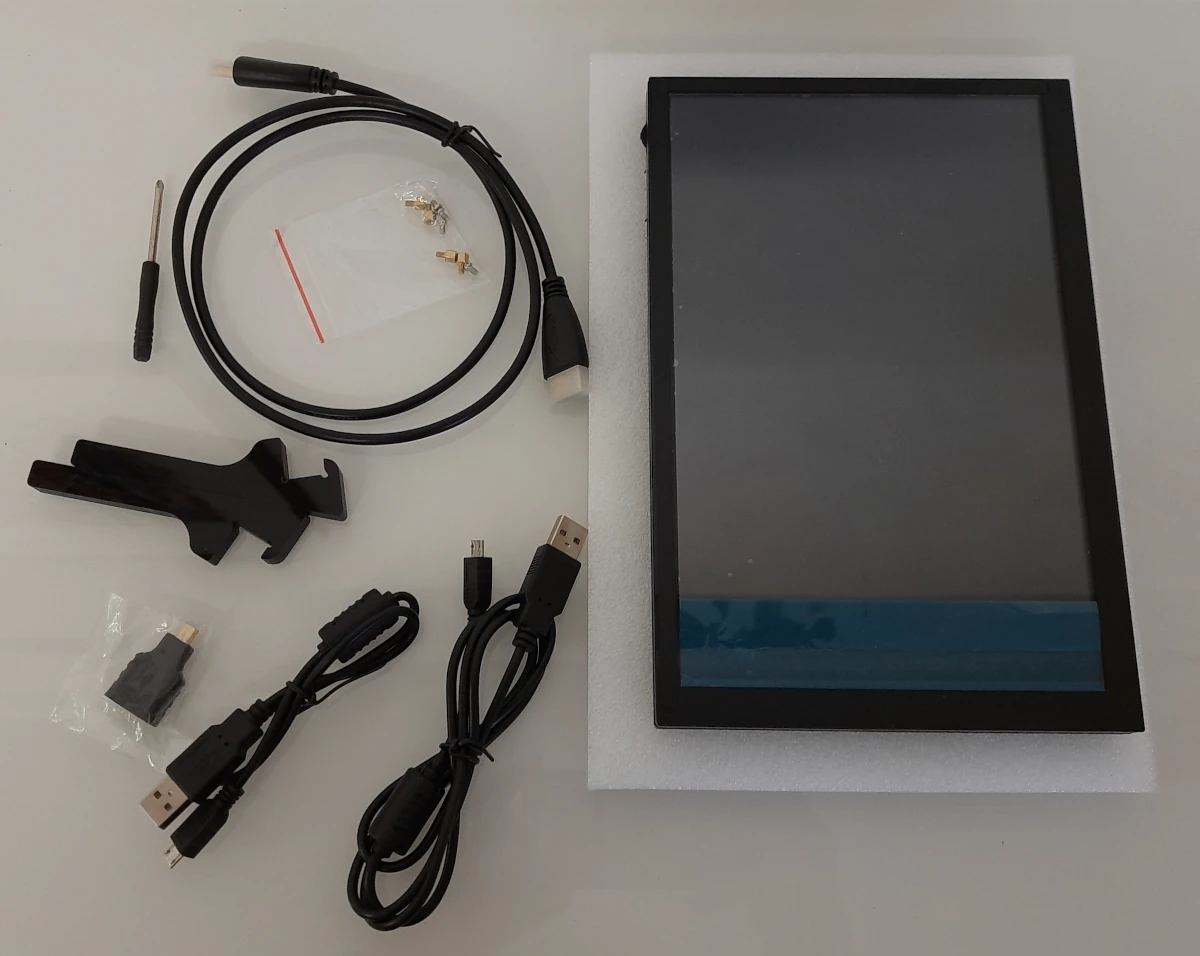
The kit includes
- 1x 10.1 inch monitor
- 1x HDMI Cable
- 1x Micro USB Cable(45cm)
- 1x Micro USB Cable(100cm)
- 1x M2.5 Screw Pack
- 1x screwdriver
- 2x brackets
- 1x Micro HDMI Adapter
Meteor Screen Ports and Buttons
This Raspberry PI touch monitor has only a few inputs and buttons, making it simpler to install and use.
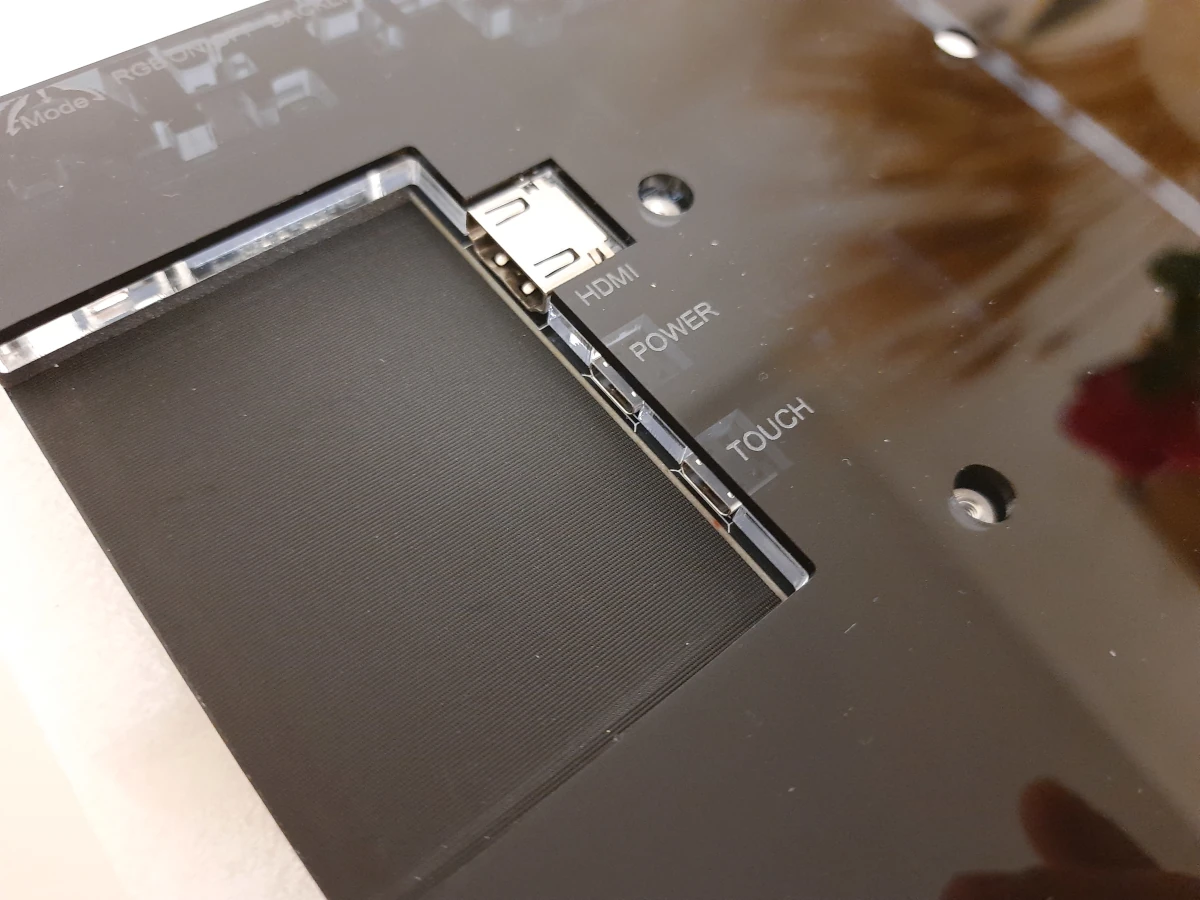
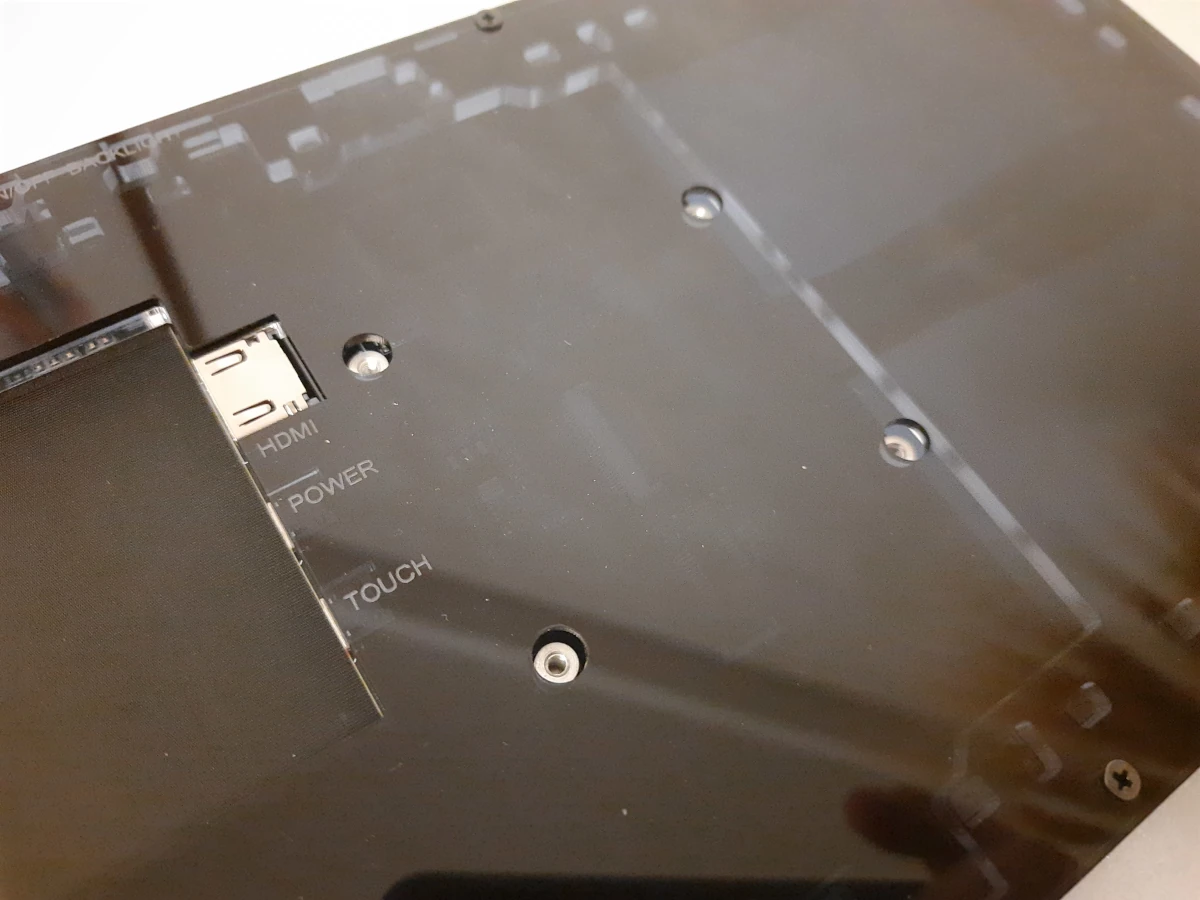
On the side, the HDMI port allows connecting any HDMI-compatible device. Moreover, we can find here the micro-USB port for the power supply (not included in the package) and a micro-USB port to connect in order to get the touch input:
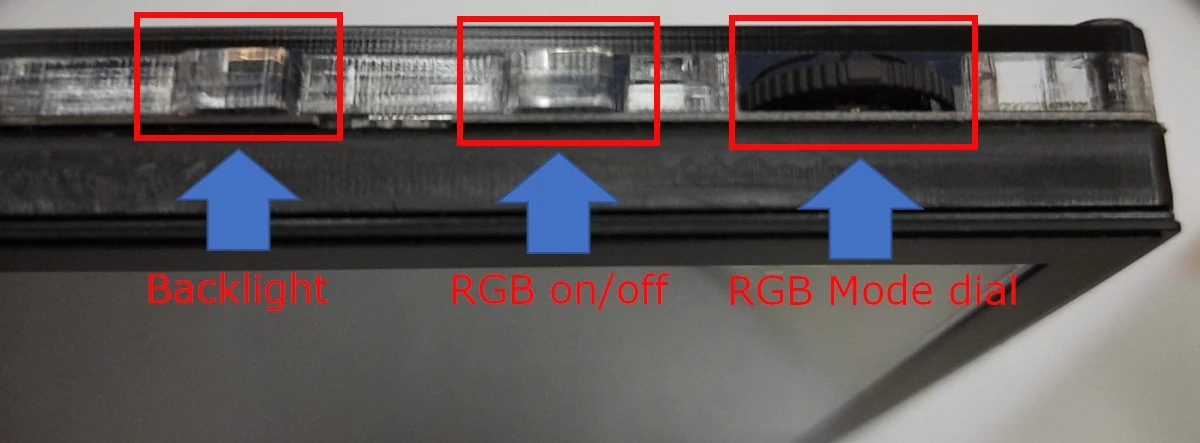
On the top, integrated with the 27 LED strip surrounding the screen, we can find 2 buttons and a dial wheel. The first button changes the backlight level. The RGB button enables you to switch on or off the LED strip. The RGB mode dial allows you to choose between 19 different LED modes:
The LED modes allow you to select between the following animations:
- Mode 1: Colorful Gradient
- Mode 2: Colorful Strobe
- Mode 3: Colorful Closure
- Mode 4: Forward Fantasy
- Mode 5: Reverse Colorful Flowing
- Mode 6: Forward Colorful Flowing
- Mode 7: Forward Colorful Trailing
- Mode 8: Forward Colorful Running on Red Background
- Mode 9: Reverse Colorful Running on Purple Background
- Mode 10: Forward Colorful Flowing
- Mode 11: Reverse Colorful Flowing
- Mode 12: Forward Green Background Blue dot running
- Mode 13: reverse green background and blue dot running
- Mode 14: forward seven color light and dark transition
- Mode 15: green, red and blue horse running
- Mode 16: red and bright
- Mode 17: green and bright
- Mode 18: blue and bright
- Mode 19: mixed mode
Mounting the Raspberry PI
The monitor backplane offers 4 holes prepared to host the Raspberry PI model B computer boards:
The packaging includes four standoff and four M2.5 screws. You have to mount the standoff first in the mounting holes and bring them to the end, as in the following picture:
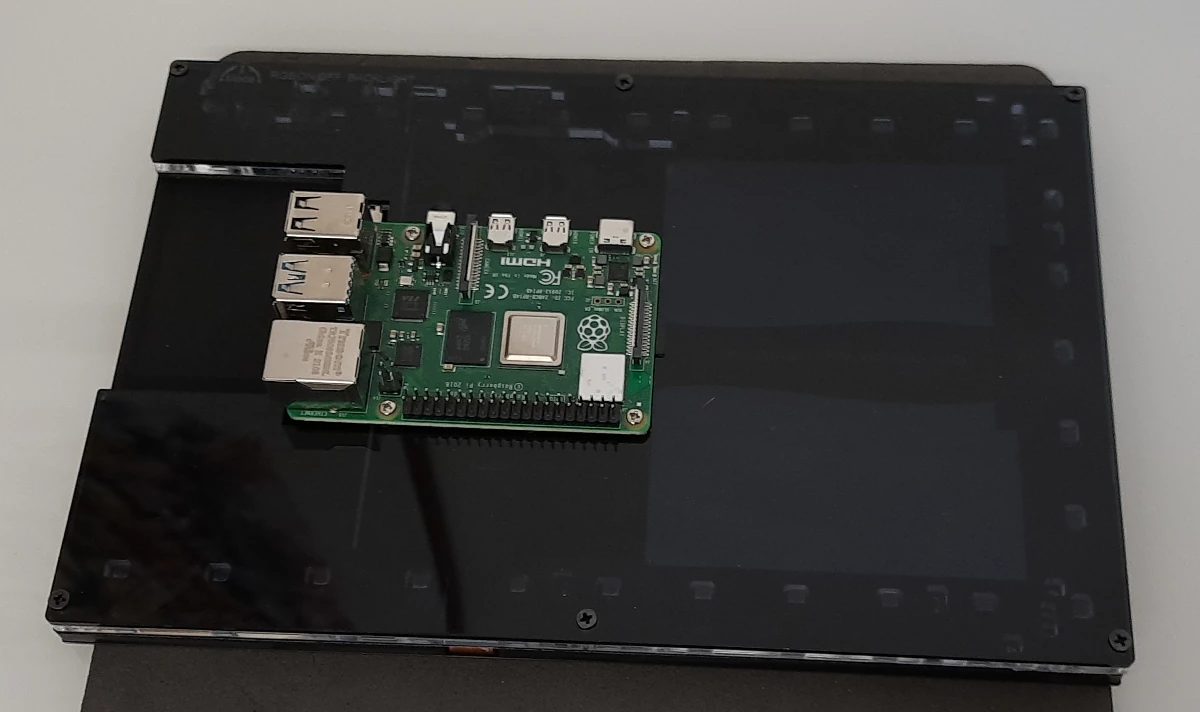
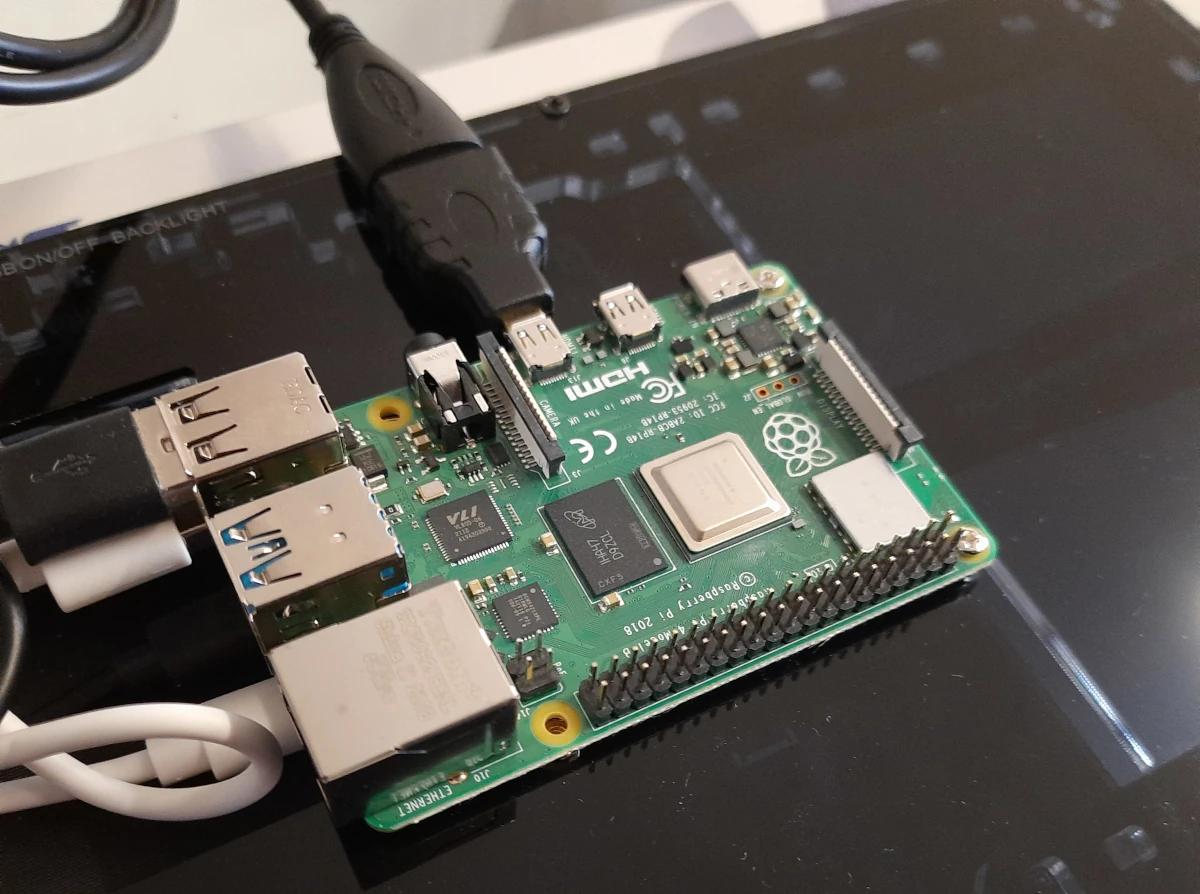
Then, you can place the Raspberry PI board and fix it with the 4 screws, as in the following picture:
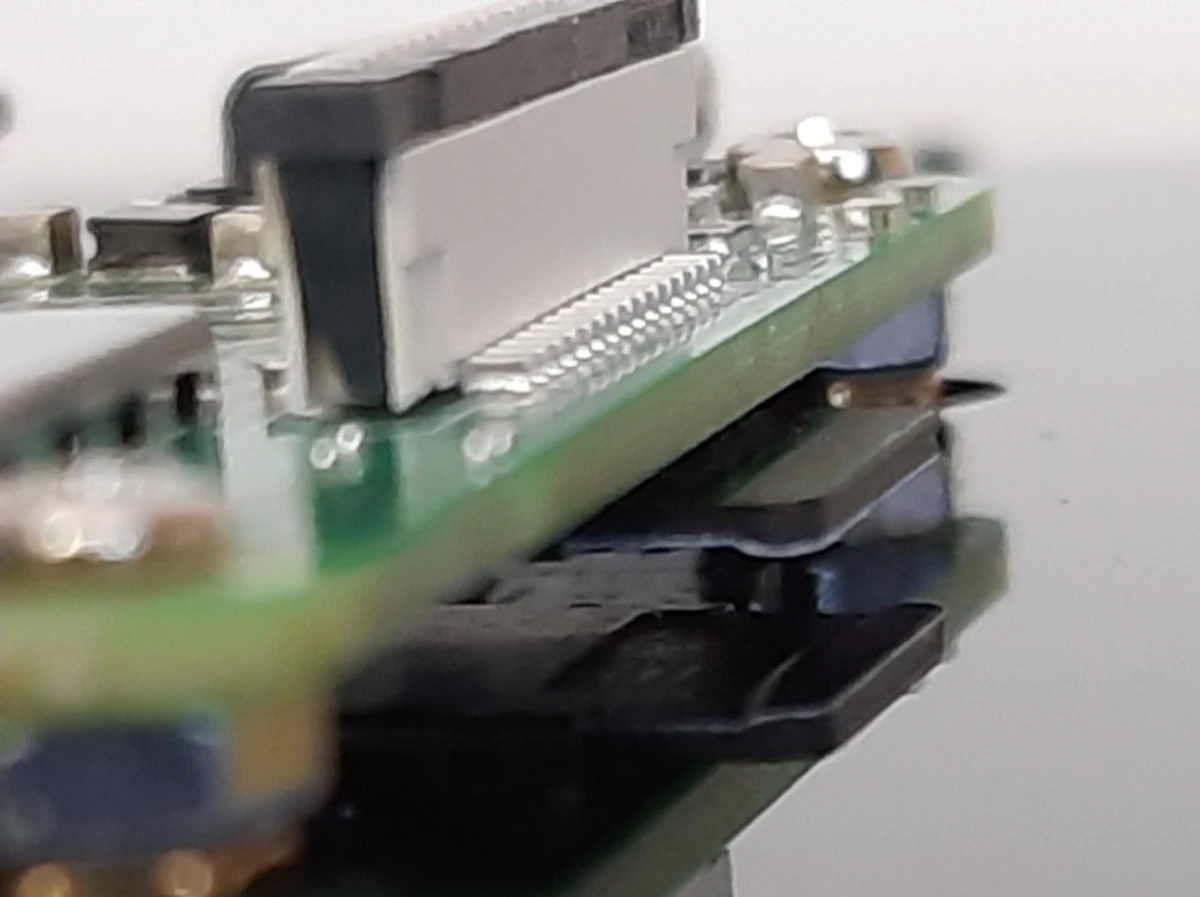
The cool side of this solution is that this mounting technique makes the device surprisingly slim compared to similar ones. And, in my opinion, slim is always cool.
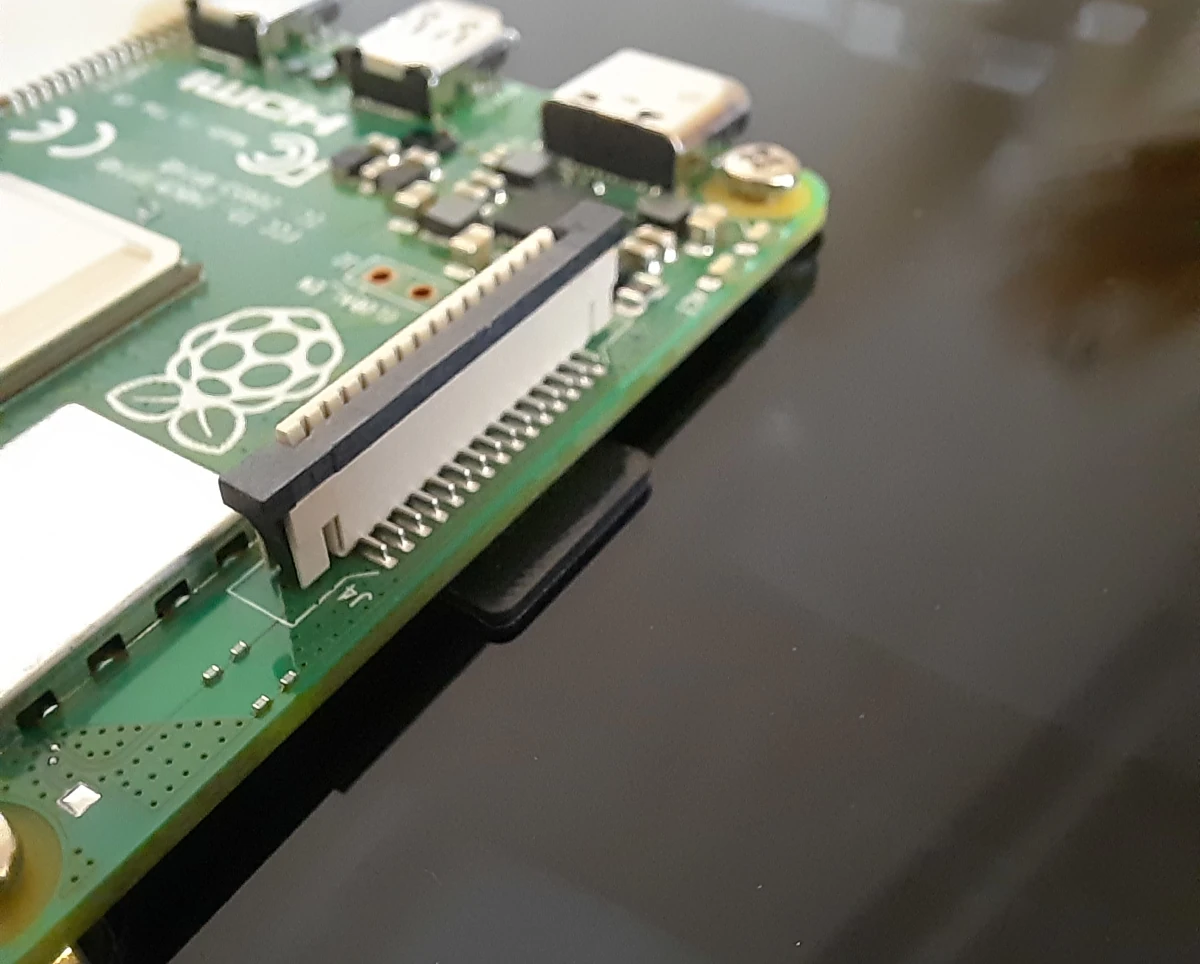
On the other side, the standoff appears too small. They should leave a bit of space between the Raspberry PI board and the monitor. This also makes it quite impossible to remove and change the microSD card, as it is too close to the monitor shell:
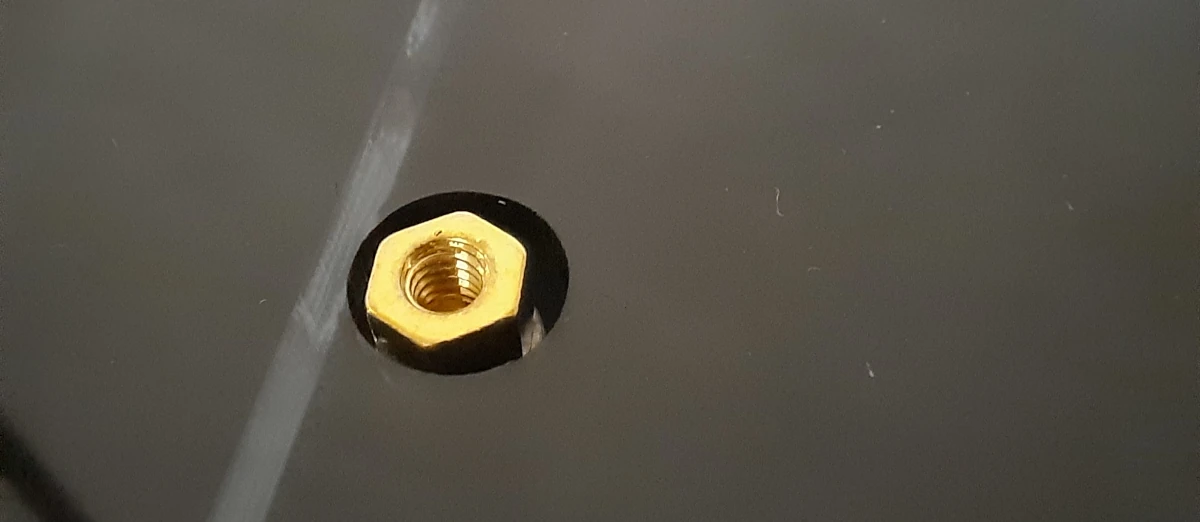
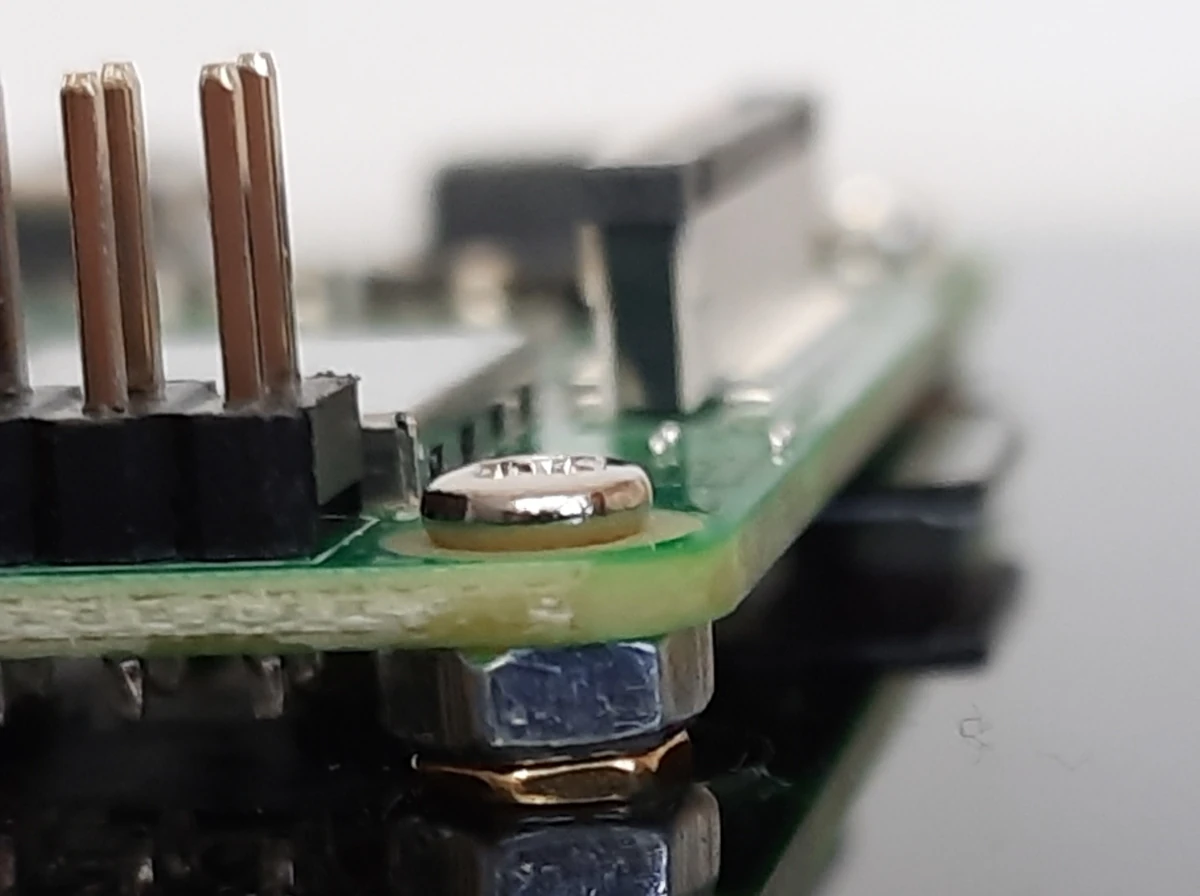
I get this solved by using a few larger nuts and some M2.5×6 screws so that the Raspberry PI stands still close, but enough to be able to manage the microSD card:
Probably, taller standoffs will from Elecrow would make the mounting more comfortable.
Finally, you can connect the HDMI cable and the 2 USB cables. For testing purposes, I connected both the touch and power of my Meteor Screen to my Raspberry PI, so getting only 1 power supply that will connect to my Raspberry PI. This is viable for a small test or for short usage, as the 2A current drain from the monitor is a bit too high compared to the Raspberry PI internal power supply chain.
Another good part of the kit is the HDMI to micro HDMI adapter. It allows the use of the same HDMI cable for all common devices, without the need of having multiple cables.
Installing Raspberry PI OS
I tested the Elecrow Meteor Screen with Raspberry PI OS Desktop. The touch input is immediately working out of the box, and having it working without the need to install any additional package is really great.
My final thoughts on Elecrow Meteor Screen
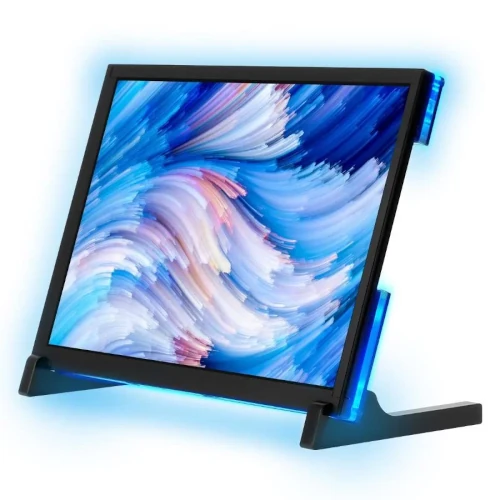
One this that I really love about this monitor is that it is really slim, compared to the other Raspberry PI monitors. With less than 13mm, it’s really handy and you can manage it with one hand.
The touch integration with Raspberry PI OS makes it suitable even for beginner’s needs, as you can just plug and play the monitor, without the need to install any package.
On the other hand, a few improvements can be adopted to make the product even better.
It would be good to add a QR code linking the monitor Wiki page on the package or into a small printed paper. This will allow Elecrow to share instructions and common support always updated from a single page, without the need to waste paper (green is always a good option).
In my opinion, the standoffs that provide distance between the monitor and Raspberry PI must be longer. This will allow easier microSD card management, also allowing to get more space to connect the HDMI cable to the RPI computer board.
The HDMI/Power/touch labels get covered once the Raspberry PI is mounted. It would be useful to get them printed on a different monitor part, maybe the space in front of these ports.
Giving the user with a few spare screws and standoffs would be a welcome addition, as they are really small parts and losing them is quite simple for those people having medium-big fingers.
By the way, these improvements are really minor and the Elecrow Meteor Screen is absolutely a great device to use both with Raspberry PI as well as with other computers.
Next Steps
Interested in more projects with your RPI? Take a look at peppe8o Raspberry PI computers tutorials pages.
Enjoy!

Open source and Raspberry PI lover, writes tutorials for beginners since 2019. He's an ICT expert, with a strong experience in supporting medium to big companies and public administrations to manage their ICT infrastructures. He's supporting the Italian public administration in digital transformation projects.
![]()
![]()
![]()
![]()
![]()
![]()
![]()


