
Last Updated on 31st May 2024 by peppe8o

This tutorial will show you how to use a Raspberry PI with a switch button, showing the circuit, wiring diagram, and an example with Python.
Switch buttons are simple electronic components. They have a simple internal circuit, electrically connecting a first PIN with a second PIN on button pressure.
Switch buttons usually have a low internal resistance. For this reason, people typically connect a reading PIN through the button to the ground instead of reading a positive voltage PIN: in the last case, you should use resistors to protect your read PIN from current failures.
In its internal circuit, opposite PINs work together, while button pushing creates circuit cross-connection:
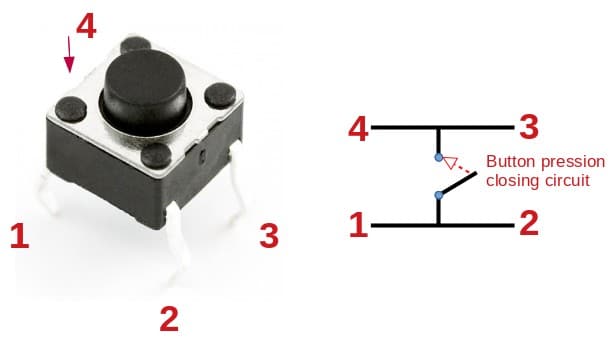
This is confusing to some people, imagining a simple push button with only 2 PINs (instead of 4) connected at button pressing.
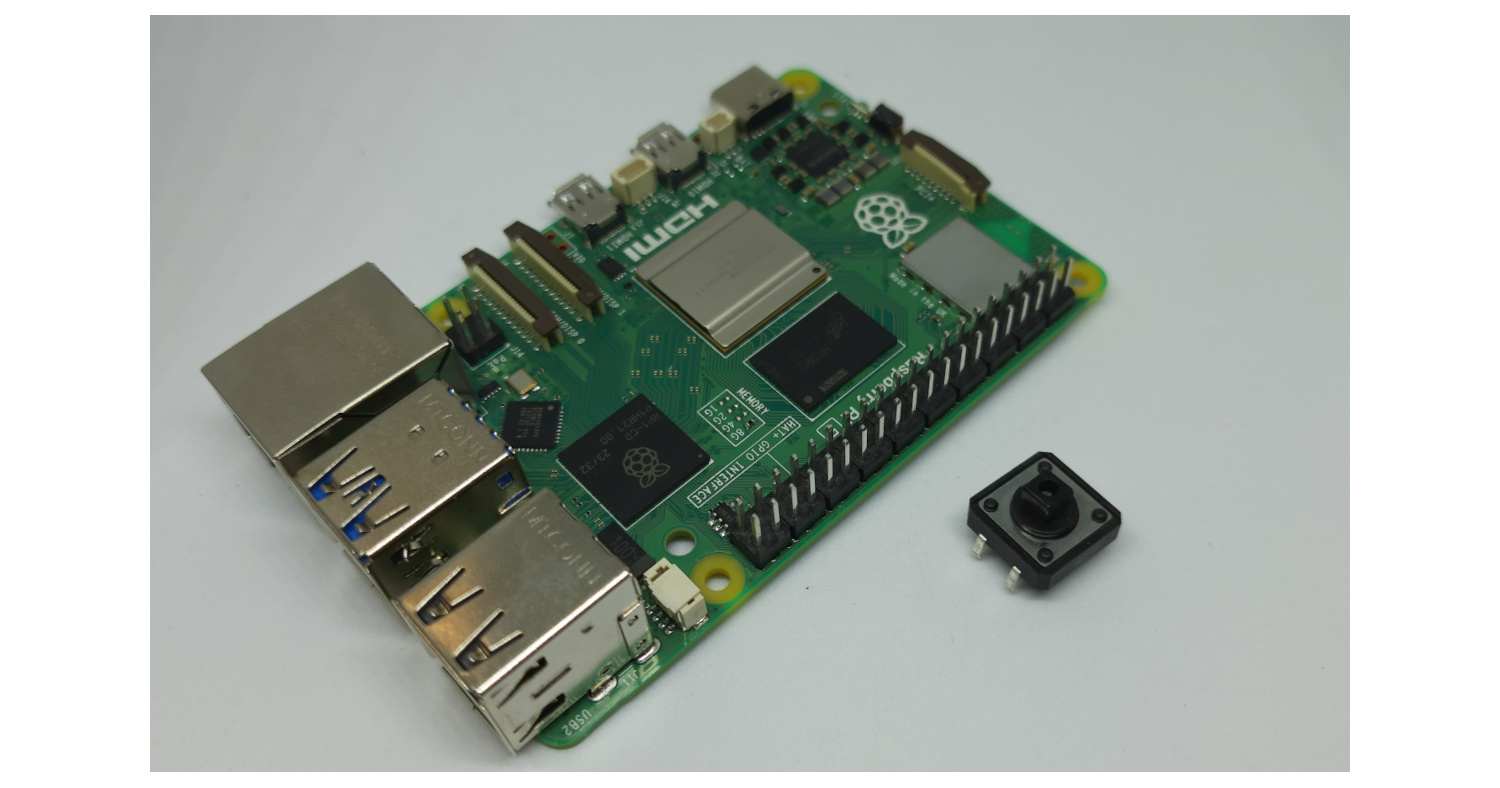
That said, in this tutorial I’m going to show you how to use a switch button with a Raspberry PI with Python. I’m going to use a Raspberry PI 5 Model B, but this guide works also with other Raspberry PI computer boards. If you need to use a button with Raspberry PI Pico, you should refer to my Switch Button and Raspberry PI Pico: Wiring and MicroPython Code tutorial.
What We Need
As usual, I suggest adding from now to your favourite e-commerce shopping cart all the needed hardware, so that at the end you will be able to evaluate overall costs and decide if to continue with the project or remove them from the shopping cart. So, hardware will be only:
- Raspberry PI Computer Board (including proper power supply or using a smartphone micro USB charger with at least 3A)
- high speed micro SD card (at least 16 GB, at least class 10)
- mini switch button
- breadboard
- Dupont wirings
Step-by-Step Procedure
Wiring Diagram of Raspberry PI with Switch Button
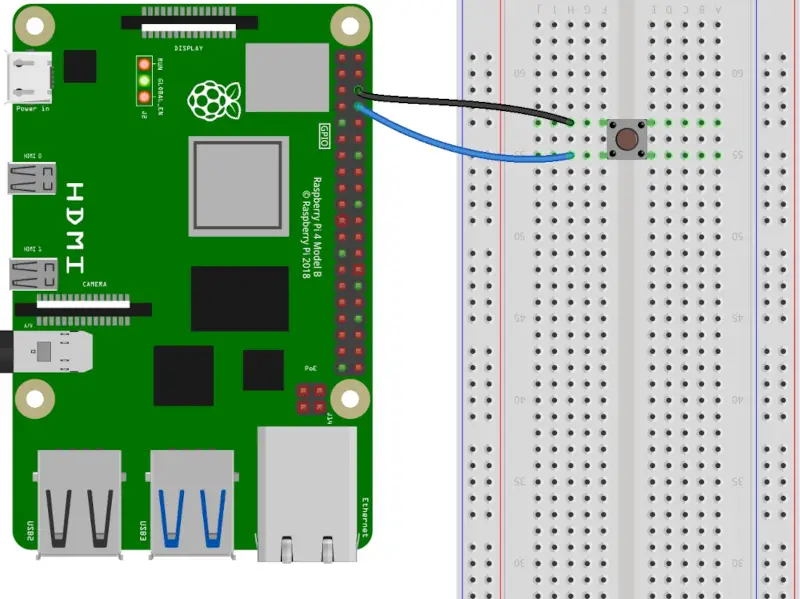
Please find below the wiring diagram. We use only 2 of 4 button PINS. One is connected to the ground, the other to the RPI PIN we’ll read to get button pushing. Please note that the switch button is connected to the ground (black wire) and GPIO14, according to the Raspberry PI Pinout:
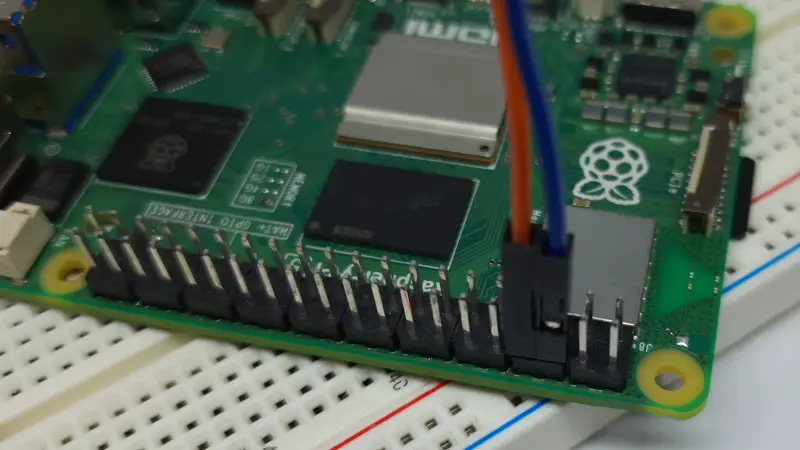
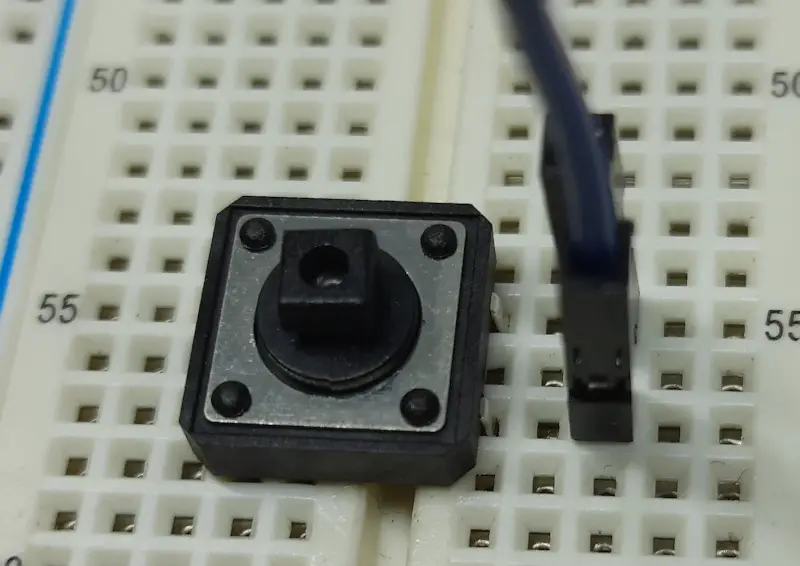
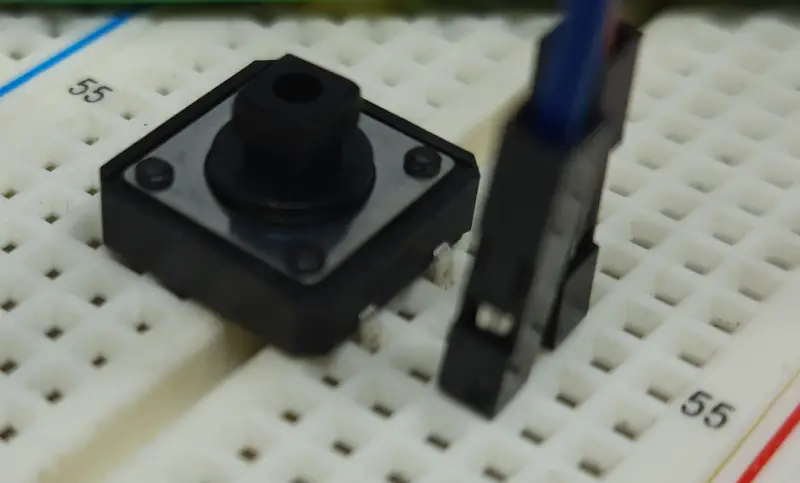
Please find below some pictures from my home lab:

Prepare Operating System
Start preparing the Operating system for your Raspberry PI. You can use the Raspberry PI OS Lite: Headless Install, Setup and Configure (for a fast OS and a headless setup, without monitor and keyboard) or Install Raspberry PI OS Desktop (with optional Remote Desktop) (using its internal terminal). If you don’t know what is best for you, you can refer to my Raspberry PI OS Lite vs Desktop article to make a better choice.
Before starting, please make your OS updated. From terminal:
sudo apt update -y && sudo apt upgrade -yYou don’t need to install Python, as it is already installed in all Raspberry PI OS distributions. moreover, we’ll use the gpiozero library, which makes simpler managing the buttons.
Prepare the Python Script for Switch Button
You can get my switch_button.py script from my download area directly in your Raspberry PI. From terminal, please use the following:
wget https://peppe8o.com/download/python/switch_button.pyThe Python code is simple, as it is defined as a “basic” project for Raspberry PI users and you should have no problems to perform it. Please find the script explanation below.
Before all, we import the required library:
from gpiozero import ButtonThen, we define the button object by assigning it the number of the GPIO which we connected to:
button = Button(14)A simple “while” loop will wait for your button pressure and will use the built-in “is_pressed” method from the gpiozero library to detect the event. When the button pressure is detected, we’ll print in our Raspberry PI terminal the “Button is pressed” message, otherwise we’ll print “Button is not pressed”. Please note that the end=”\r” option in our print statement brings the terminal at the start of the printing line after each print statement, so that you will get the current state in the same line. Moreover, the spaces after the “Button is pressed” message will overwrite the final part of the not-pressed message:
while True:
    if button.is_pressed:
        print("Button is pressed    ", end="\r")
    else:
        print("Button is not pressed", end="\r")
Try the Switch Button Script
Please run the Python script with the following command from your terminal:
python3 switch_button.pyWhen the button is released, you will have the related message:
Button is not pressedIf you press the button, you will get the related notification
Button is pressedTo close the script, please press CTRL+C.
What’s Next
Want to know more about cool projects to do with Raspberry PI computer boards? In this case, the right resource for you is my Raspberry PI tutorials pages.
Enjoy!

Open source and Raspberry PI lover, writes tutorials for beginners since 2019. He's an ICT expert, with a strong experience in supporting medium to big companies and public administrations to manage their ICT infrastructures. He's supporting the Italian public administration in digital transformation projects.
![]()
![]()
![]()
![]()
![]()
![]()
![]()


