
Last Updated on 2nd September 2023 by peppe8o
In this tutorial, I’m going to show you how to wire and setup the MicroPython code to use a Switch Button with Raspberry PI Pico.
Switch button with Raspberry PI Pico allows your projects to get the simplest input from the user: a push. With this input, you can start a program to execute a specific job only when the user requires it
Please note that if you have a Raspberry PI computer board, you need to use my Using mini Switch Button with Raspberry PI and Python tutorial.
Switch Button circuit
Switch buttons are a very simple electronics component. They have a simple internal circuit connecting electrically a first PIN with a second PIN on button pressure.
The switch button usually has a very low internal resistance. For this reason, people usually connect a reading PIN through the button to ground instead of reading a positive voltage PIN: in the last case, you should use resistors to protect your read PIN from current failures.
In its internal circuit, opposite PINs work together, while pushing the button creates a circuit cross-connection:
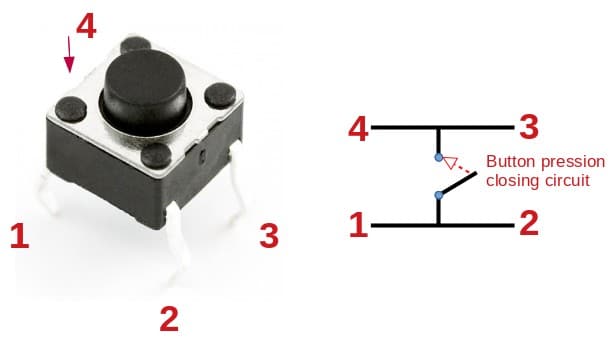
This may confuse some people imaging a simple push-button with only 2 PINs (instead of 4) connected at button pressure. As you can see from the previous image, pins 1 and 2 are the same electrical entity, as well as 3 and 4.
In the following paragraphs, I will show you how to drive a LED that powers on when the button is pressed. Of course, this code is a bit over-coplicated for this specific usage. But getting a reading function, a “button pushed” function and a “button released” function makes the code better to understand and to reuse for your needs.
What We Need
As usual, I suggest adding from now to your favourite e-commerce shopping cart all the needed hardware, so that at the end you will be able to evaluate overall costs and decide if to continue with the project or remove them from the shopping cart. So, hardware will be only:
- A common computer (maybe with Windows, Linux or Mac). It can also be a Raspberry PI Computer board
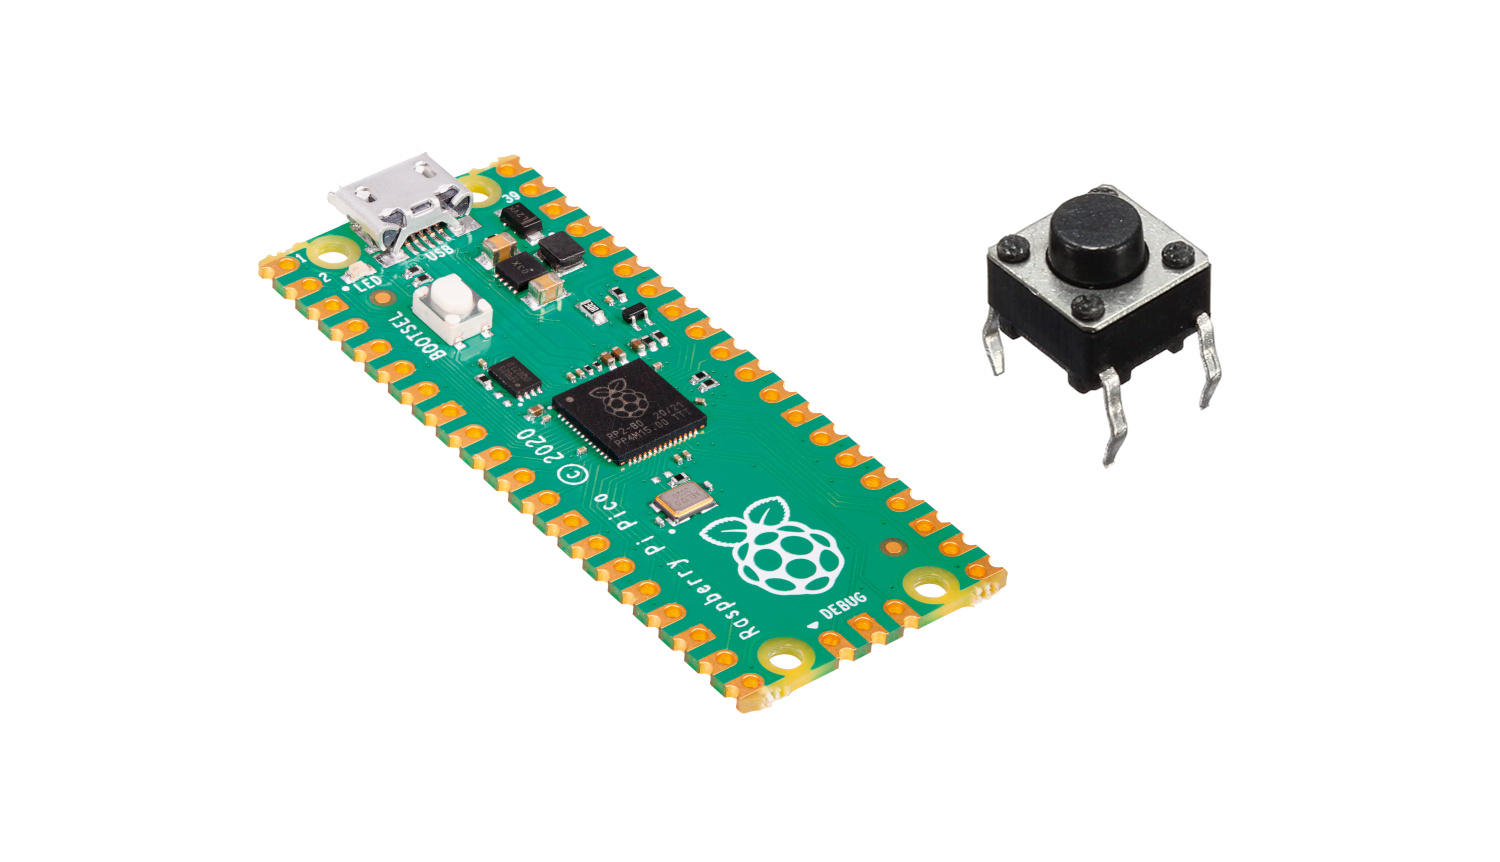
- Raspberry PI Pico microcontroller (with a common micro USB cable)
- switch button
- resistors
- breadboard
- dupont wirings
Check hardware prices with the following links:


Step-by-Step Procedure
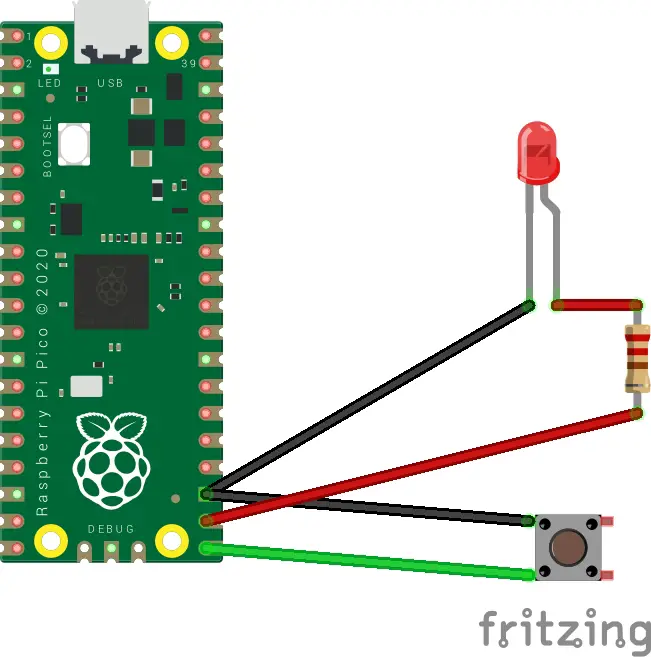
Wiring Diagram
Start connecting the LED and the Switch Button with Raspberry PI Pico as in the following picture, according to Raspberry PI Pico Pinout. Please note that the shorter leg from the LED must be connected to ground:
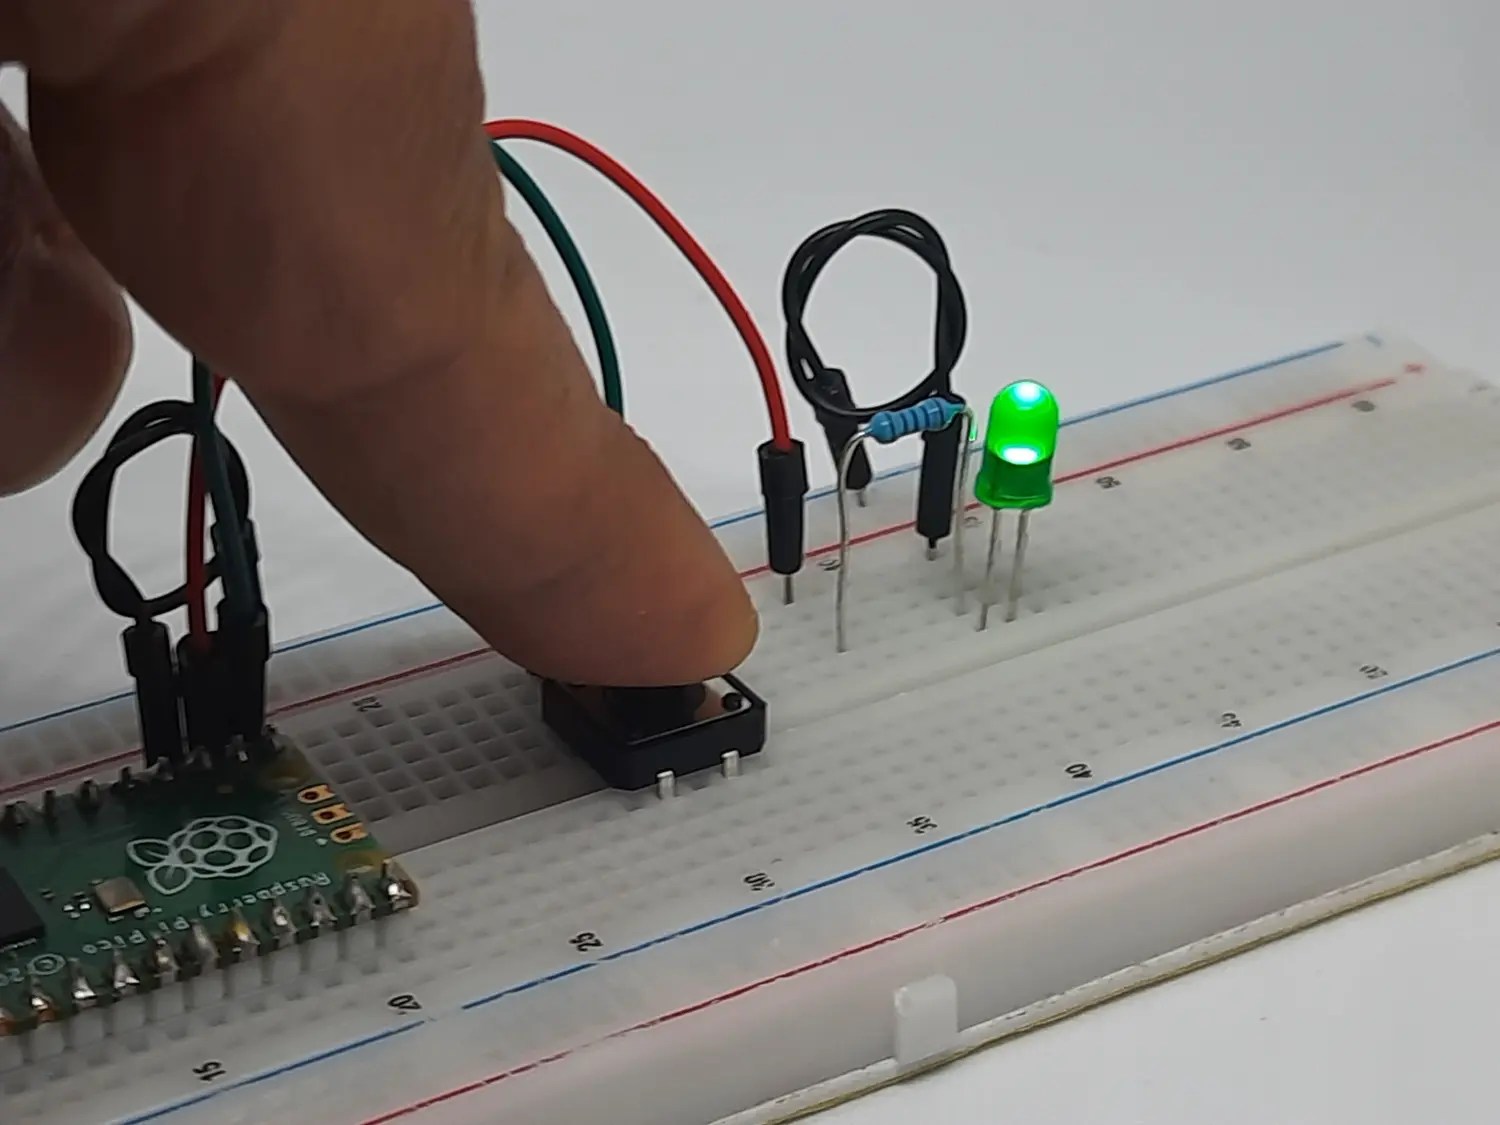
Please find below some pictures from my lab. As you will see, the button is connected to ground (on one side) and to a reading PIN (on the other side). This means that we’ll read a 0 (zero) value when the button is pressed:


Get my Pico-Button.py MicroPython Code for Raspberry PI Pico
Connect RPI Pico to Thonny (you can refer to my tutorial about First steps with Raspberry PI Pico). Download my pico-button.py script on your computer and open it with Thonny.
If you need to execute the code without a computer plugged into RPI Pico, please remember to save the code in your RPI Pico storage renamed in “main.py”.
The following paragraphs will describe my code line by line.
Pico-Button.py Code
Our code starts by importing the required modules. Only the “PIN” object from the machine library will be required to use the switch button:
from machine import Pin
Then we use variables to organize Raspberry PI Pico PINs. It’s a good practice to have them defined at the start of your code, in order to be able to change values when your cabling changes:
buttonPIN = 16
ledPIN = 17
Then we define the PIN objects. Please note that these PINs are digital (not analog).
When the button is not pressed, no value is passed to Raspberry PI Pico reading port. This can get us having from the code an unstable result (as it doesn’t read any circuit connected). FOr this reason, the “button” PIN uses a pull_up resistor that gives a “1” result when the Raspberry PI Pico port reads no presence on its port:
button = Pin(buttonPIN, Pin.IN, Pin.PULL_UP)
led = Pin(ledPIN, Pin.OUT)
According to our configuration and as explained above, we can have 2 possible states:
- Button pressed -> Short circuit between GND and reading PIN -> Read result = 0
- Button NOT pressed -> reading PIN not connected -> Read result = 1 (forced by pull-up internal resistor in RPI Pico)
The get_button functions invert this login into a most common one where the button pressure produces a “1” (true) result and vice versa:
def get_button():
    return not button.value()
The 2 following functions take care of what to execute on button pressure or when the button is released. You can use your personal code in these functions. In our case, the button pressure powers up the LED. When the button is released, the button_released_function reverts the LED to off:
def button_press_function():
    led.value(1)

def button_released_function():
    led.value(0)
Finally, the main loop becomes really simple. an “if” statement reads the button status on every loop run. When it detects the button pressed, then executes the related function. Otherwise, it executes the button released function:
while True:
    if get_button() == 1:
        button_press_function()
    else:
        button_released_function()
Run the Code for Switch Button with Raspberry PI Pico
Run this script in your Thonny IDE (F5). From here you can test the button pressure. Without pressing it, you will have a LED off:

By pressing the button, your LED will power on:
What’s Next
Interested to do more with your Raspberry PI Pico? Try to look at my Raspberry PI Pico tutorials for useful and funny projects!
Enjoy!

Open source and Raspberry PI lover, writes tutorials for beginners since 2019. He's an ICT expert, with a strong experience in supporting medium to big companies and public administrations to manage their ICT infrastructures. He's supporting the Italian public administration in digital transformation projects.
![]()
![]()
![]()
![]()
![]()
![]()
![]()


