Some links in this post may be affiliate links. We may get paid if you buy something or take an action after clicking one of these, but without addictional costs for you compared to direct buying.
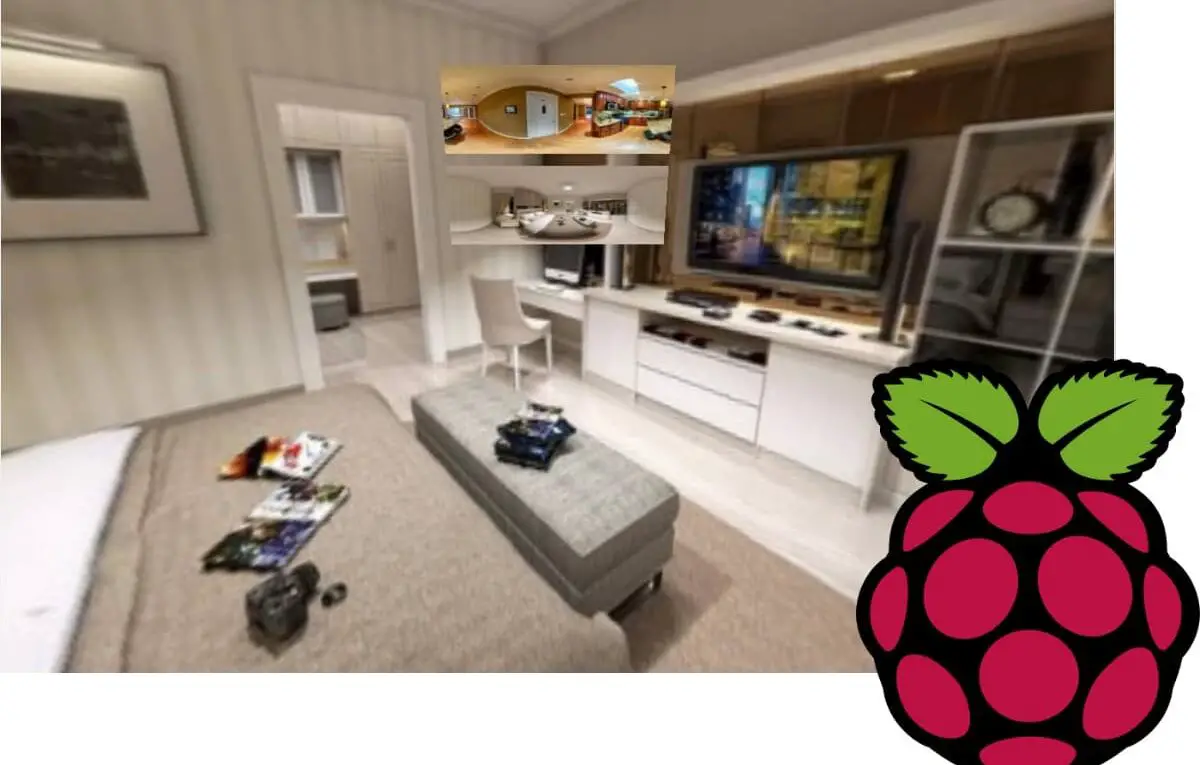
Self hosted Virtual Reality space with IdeaSpaceVR and Raspberry PI
In this tutorial, I’m going to show you how to install and configure IdeaSpaceVR on Raspberry PI and experience a fully customizable Virtual Reality environment hosted in your own small and cheap computer board.
Virtual Reality accessories, starting from Google cardboard up to Oculus, had strong growth in the last years. Users can get VR content with their devices and experience realistic worlds from home. IdeaSpaceVR installed on Raspberry PI make you able to create your own virtual reality content and host them locally.
What is IdeaSpaceVR
IMPORTANT NOTE: at the date, the IdeaSpaceVR projects seems to be discontinued. So, you may need to install a older Raspberry PI OS in order to get it working.
Basically, IdeaSpaceVR is a free, open-source, self-hosted CMS platform. Built for creating, publishing and managing virtual reality and interactive 3D websites, it works with common VR devices like Oculus Quest, Oculus Go, Samsung Gear VR, HTC Vive, Google Daydream and Windows Mixed Reality headsets. It also allows navigating virtual reality spaces from a common web browser.
IdeaSpaceVR manages spaces like blog posts. Each space is built from a theme (something like a base template) and can include one or more assets (like images, photo spheres, and models). Some templates are free and already available with base installation (free).
You can install IdeaSpaceVR in your own host and customize your template based on a free theme, getting a complete VR environment running without any coding experience.
In this tutorial, I will use a Raspberry PI 3 Model B+, but this procedure will work also with newer Raspberry PI models.
What We Need
As usual, I suggest adding from now to your favourite e-commerce shopping cart all the needed hardware, so that at the end you will be able to evaluate overall costs and decide if to continue with the project or remove them from the shopping cart. So, hardware will be only:
Raspberry PI (including proper power supply or using a smartphone micro USB charger with at least 3A)
Optionally, you can use a VR device instead of a simple web browser
Step-by-Step Procedure
Prepare Operating System
Start installing your OS. I suggest to install Raspberry PI OS Lite (for a headless, fast OS), but you can also use this tutorial with Raspberry PI OS Desktop (with a complete desktop environment, working from its internal terminal). Please consider that a desktop environment consumes resources in your RPI, so headless installation can perform better.
Make your OS up to date. From the terminal, use the following:
Create database and user (if not changed, mysql root has an empty password). Change ideaDB, ideaPassword and IdeaUser with your favourite credentials and consider these instead of mine in the following steps:
sudo mysql -uroot -p
create database ideaDB;
create user ideaUser@'%' identified by 'ideaPassword';
grant all privileges on ideaDB.* to ideaUser@'%';
flush privileges;
quit
check the latest IdeaSpaceVR version from https://www.ideaspacevr.org/download and download it to your Raspberry PI. You can manually download it and transfer it to RPI, or you can copy the download link and run a wget command like the following:
Extracted files are all inside an IdeaSpace-v.v.v folder. We need to move files outside this folded at html root, remove apache index.html template and grant permissions to www-data apache user:
cd /var/www/html/
sudo rm index.html # remove old index.html apache template
sudo mv IdeaSpace-1.2.2/* ./
sudo mv IdeaSpace-1.2.2/.[!.]* ./ # required to move also hidden files
sudo rmdir IdeaSpace-1.2.2/
sudo chown www-data:www-data ./* -R
To get mod_rewrite working, we need to allow override for the whole html folder:
<Directory /var/www/html>
   AllowOverride All
   Order allow,deny
   allow from all
</Directory>
Finally, we need to increase php memory limit. Its default value is 128MB, but IdeaSpaceVR suggests using at least 256MB. I used it for my RPI (which has 1GB RAM) a value of 512MB. From terminal:
sudo nano /etc/php/7.3/apache2/php.ini
Identify and change the memory_limit parameter to your favourite. In my case:
memory_limit = 512M
Restart apache service:
sudo systemctl restart apache2.service
General Settings and First User
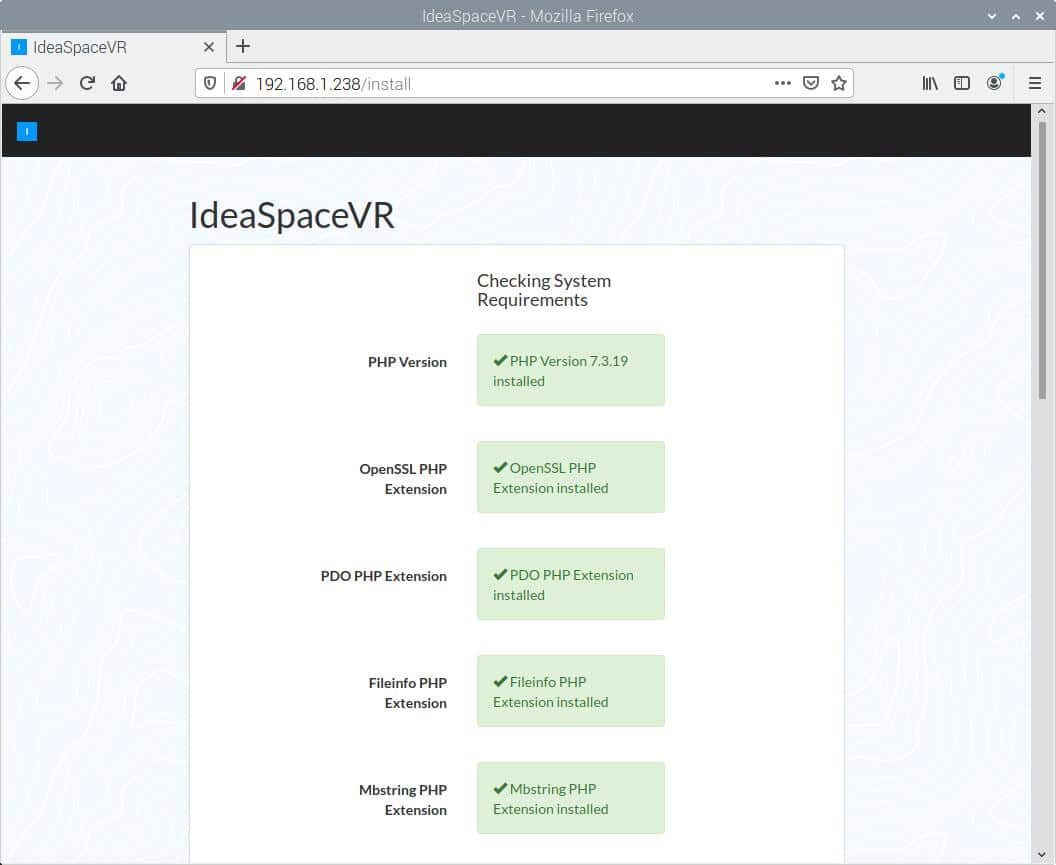
From here we’ll use a common web browser from a computer on the same network as our Raspberry PI. In the next screenshots, I’ll use my RPI IP address (192.168.1.238). Please use your own instead. With your web browser, navigate to URL http://<<YourRpiIPAddress>>, which will automatically redirect to “/install” page. Verify that all checks are ok and go ahead with the confirmation button at the end of this page:
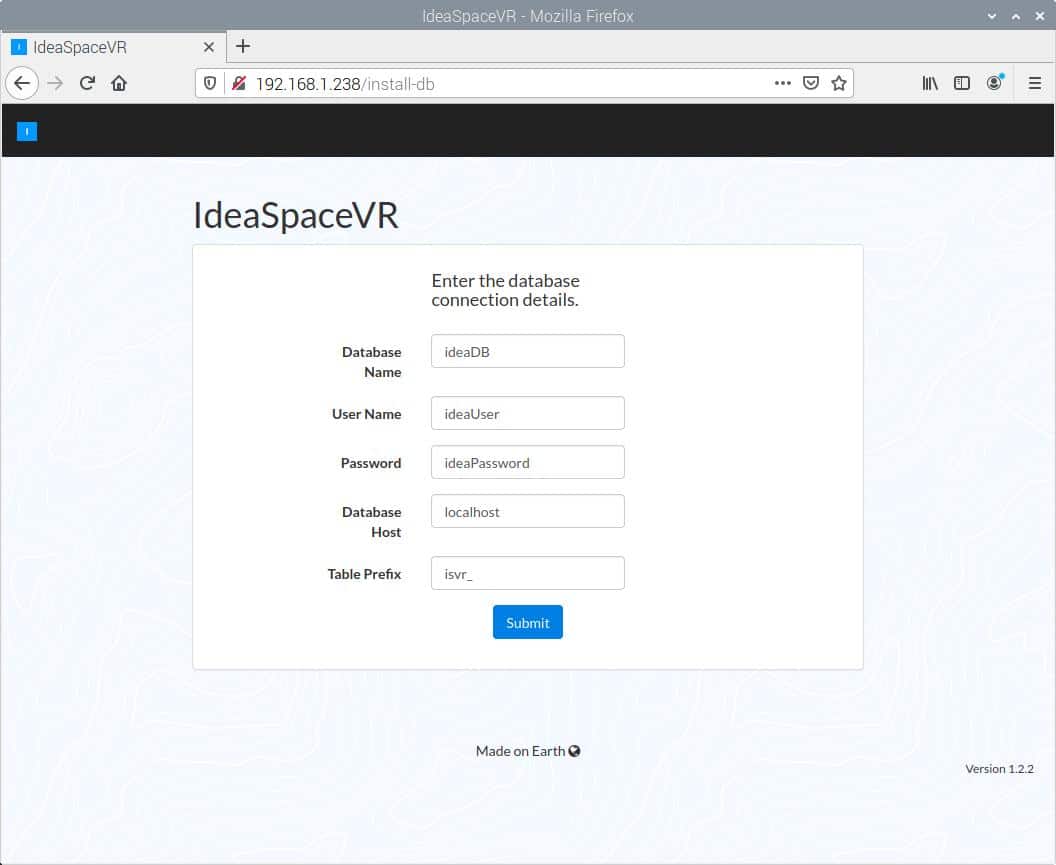
Database credentials are now required. Fill Database Name, User Name and Password according to your ones. Leave default values on Database Host. If you prefer, you can set your own Table Prefix or leave default:
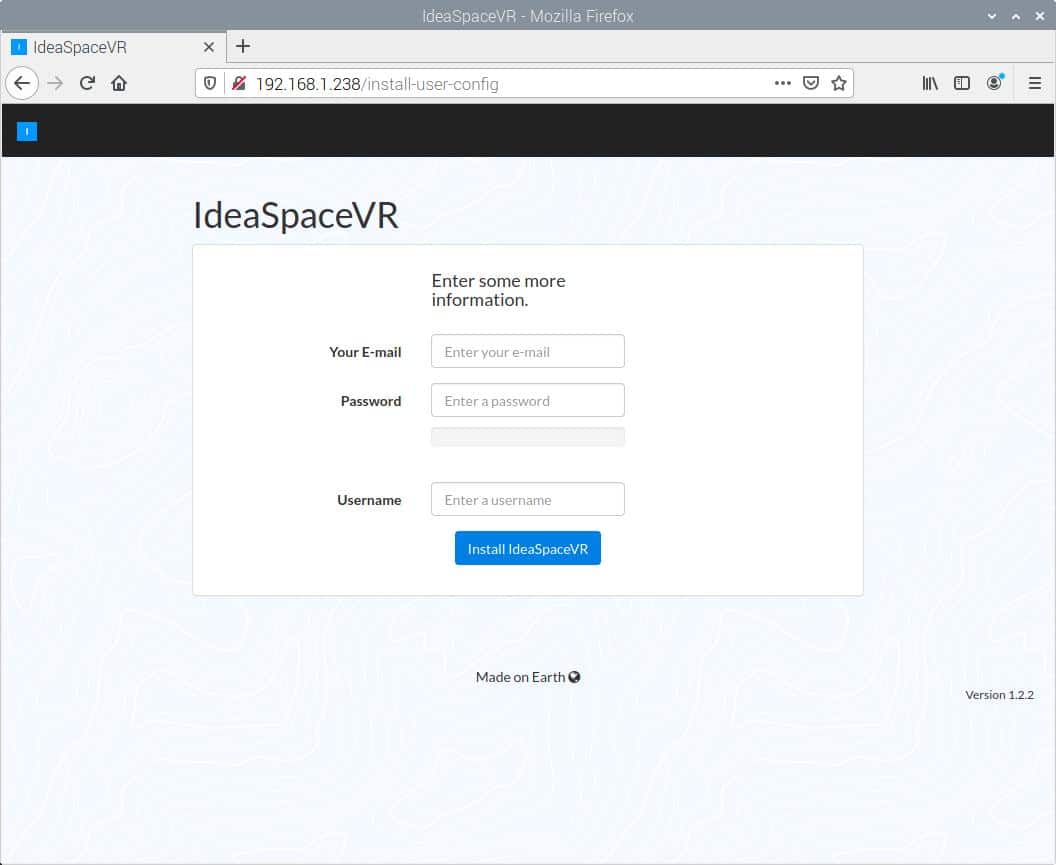
Enter info to create your first user by email address, password and username. This user will also be the administrator. Click then on “Install IdeaSpaceVR”:
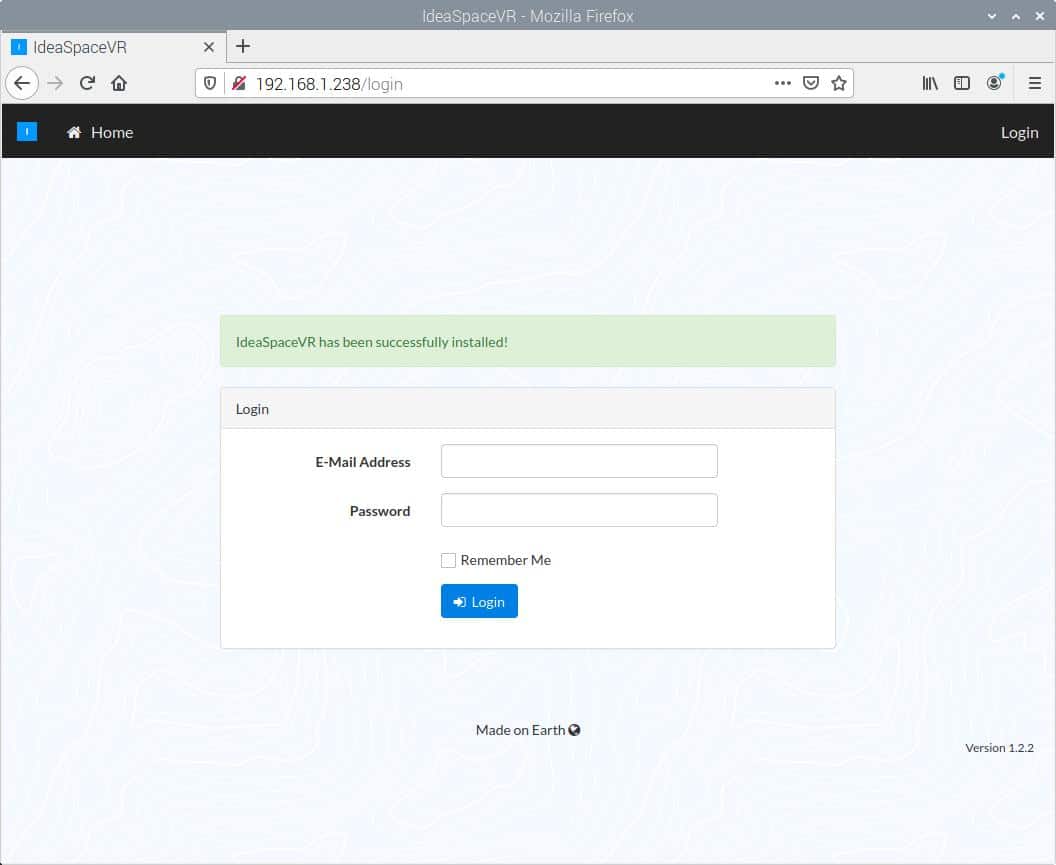
Once installation is completed, your browser will be redirected to login page. Please remember that “/login” will be the URL address for your future logins to your dashboard (simply using IP address will redirect to a link-less page). Login with your just created user credentials:
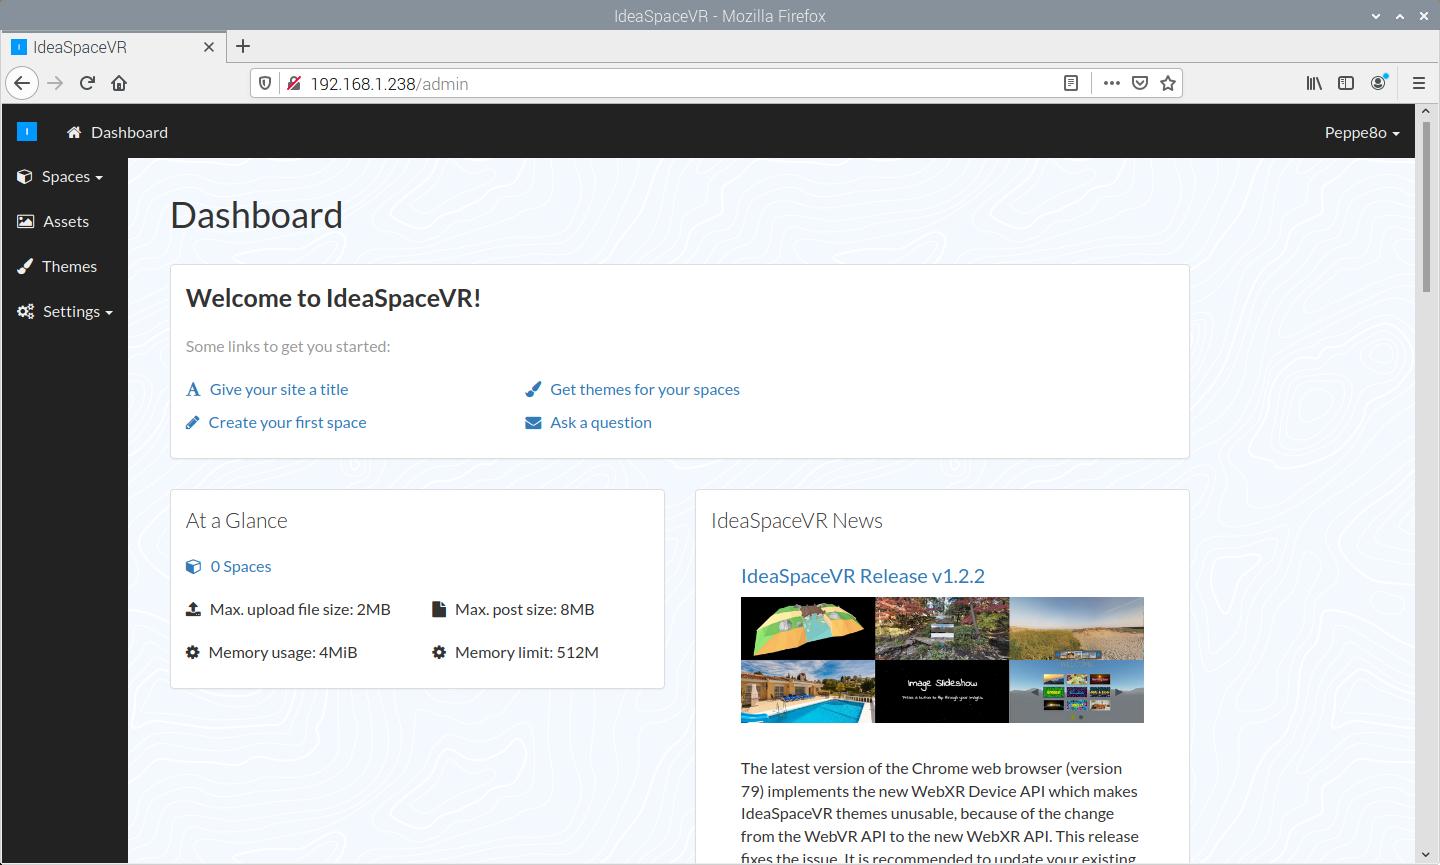
Default IdeaSpaceVR dashboard will appear:
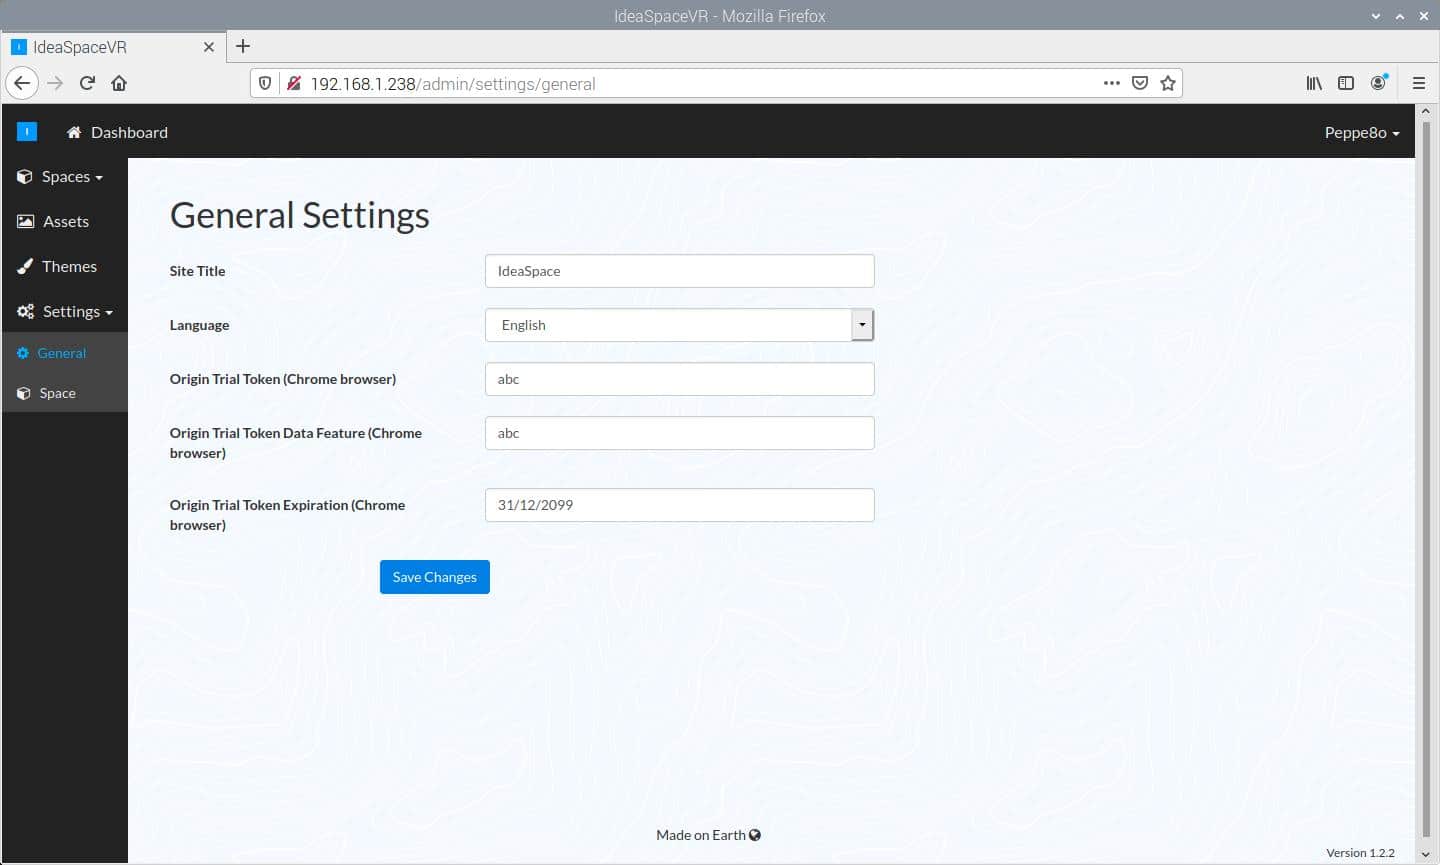
Finally, before creating your first space, please go to Settings -> General page (in the left sidebar) to set WebVR tokens. As Google discontinued WebVR trial token, looking in IdeaSpaceVR I found that these settings can be filled with whatever you want… So I used a banal “abc” string both for Token and Data Feature while using a future date for Expiration as in the following picture:
Create Your First Virtual Reality Space
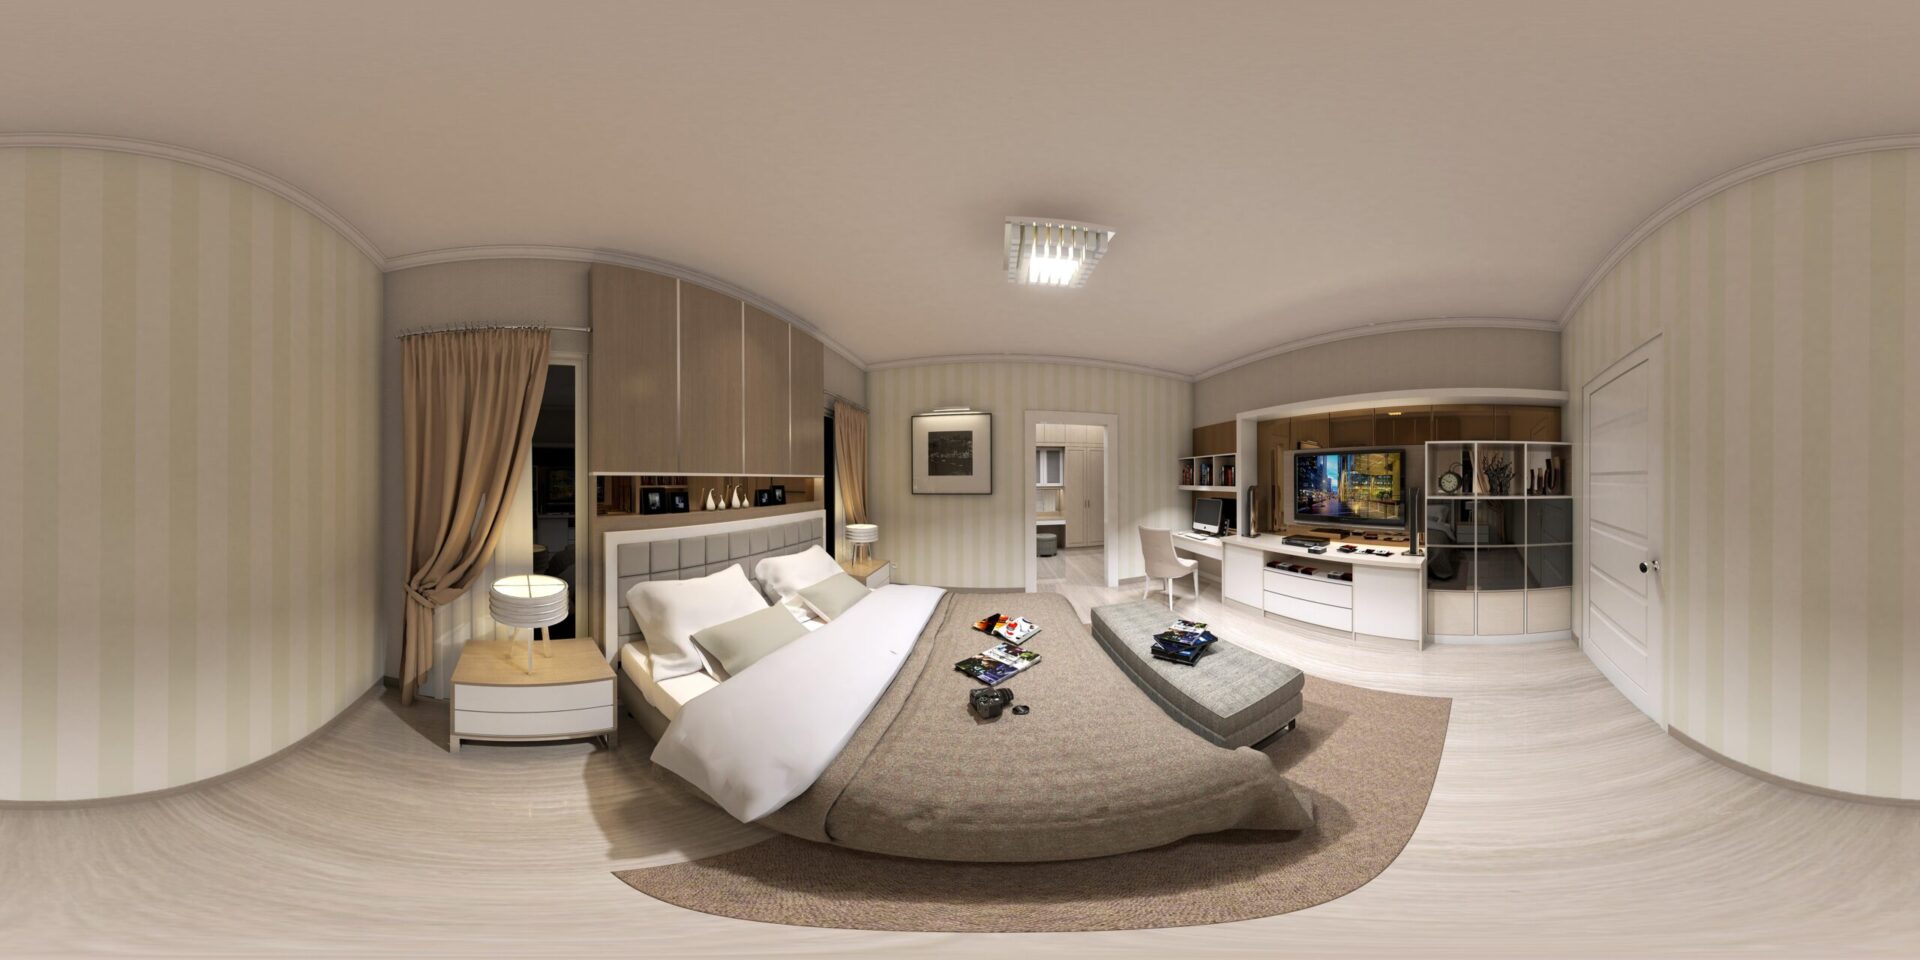
Virtual reality spaces are based on special images which create an illusion of a 360° panorama. This can be achieved with modern smartphones, but you can also download free jpg files by searching for “free 360 photos download” in your favourite internet search engine (like google, bing, duckduckgo etc.).
A plain photosphere will appear like the following:
So, start finding and downloading one or more free photosphere images. Please remember that IdeaSpaceVR will let you use only “jpg” and “png” files. If you have, for example, a jpeg file you need to rename it to jpg. If you have a different file format, you need to convert it into one of these. Also, image file resolution and size (2MB) can be limited. You will get a warning in the loading step if your file exceeds these limitations. However, you can reduce size/change file type with common graphic editors like Microsoft Paint, Pinta or GIMP.
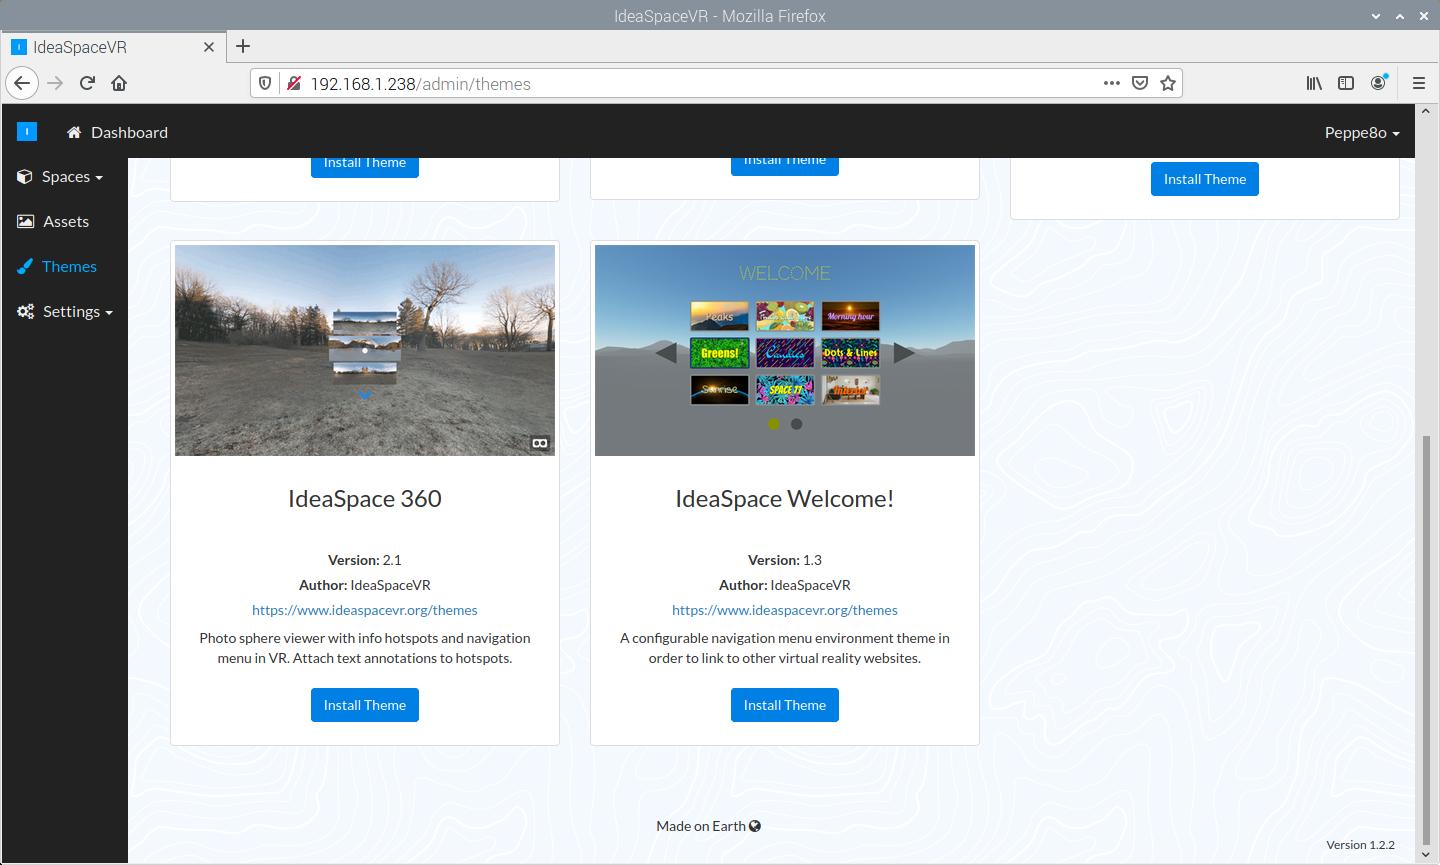
Back to IdeaSpaceVR dashboard, before creating your first Space you need to activate at least a theme. Go to Themes, find “IdeaSpace 360” and click “Install Theme”:
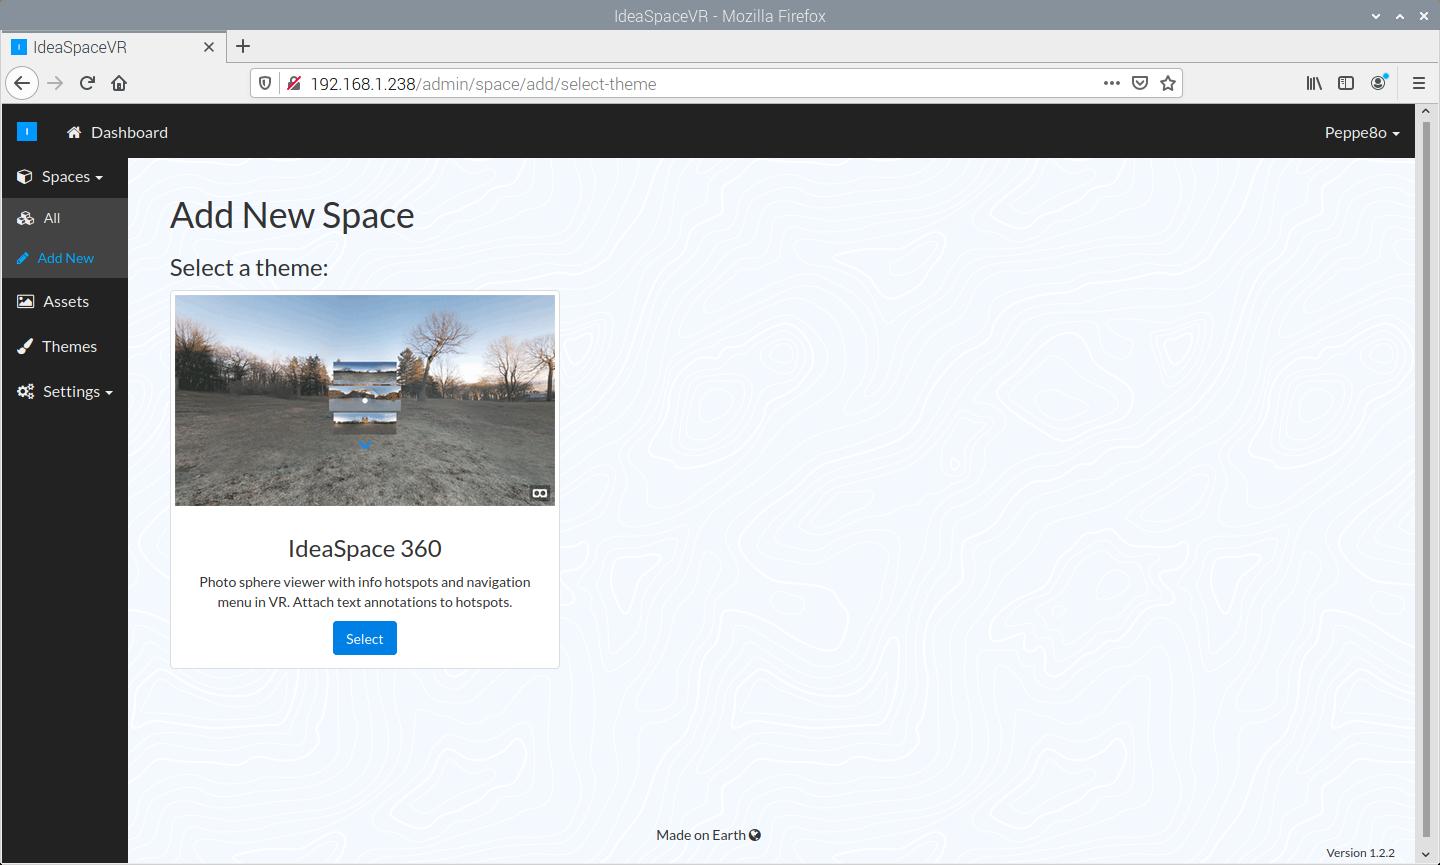
Completed theme installation, go to Spaces -> Add New. The first question is to select a theme. For the moment, we have only 1 theme installed. Click “Select” in “IdeaSpace 360”:
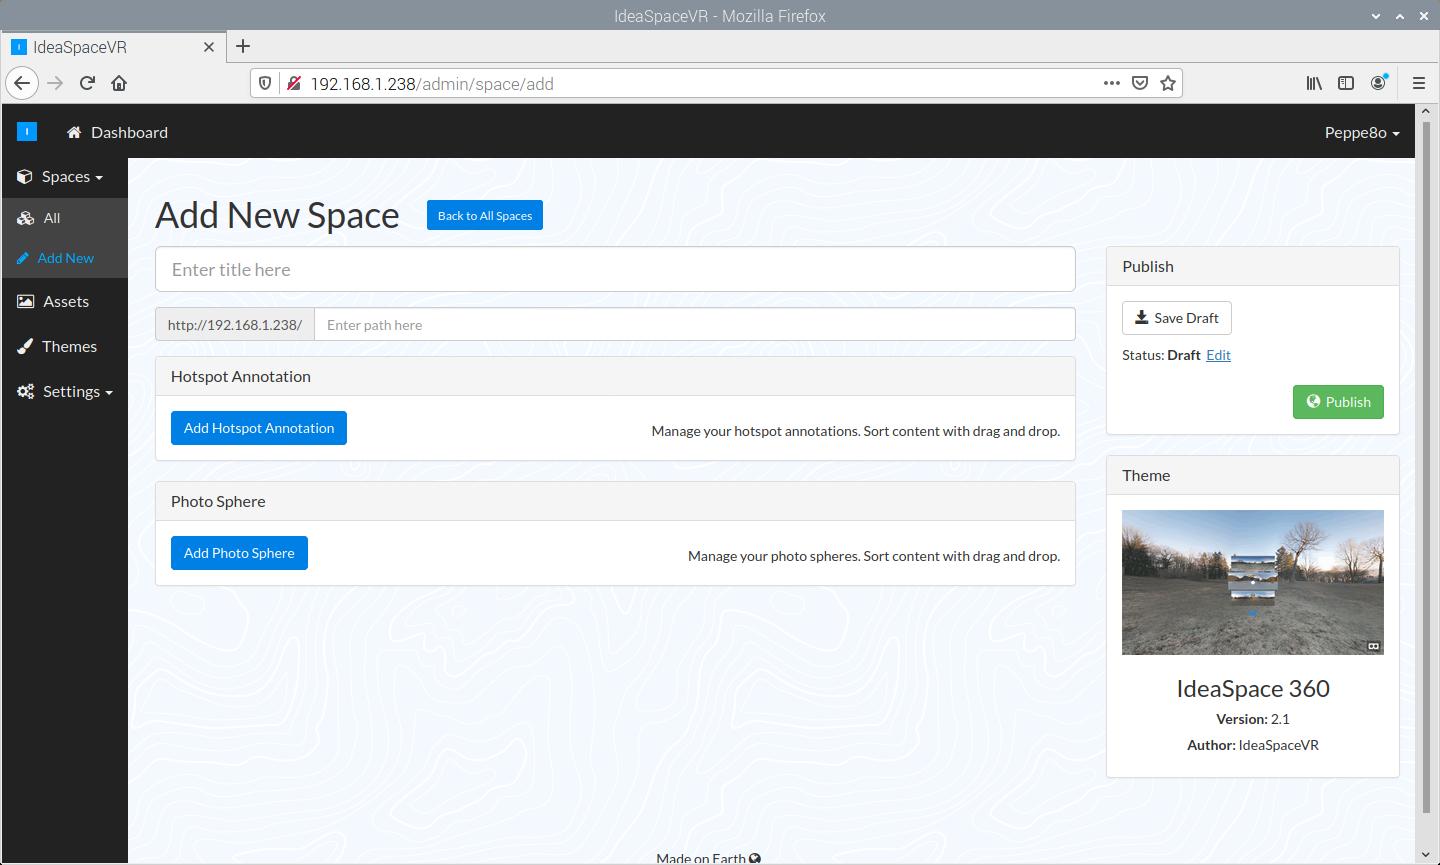
Start compiling Space Title and path. You can write whatever you want in the Title. The path has a pre-compiled prefix with your server installation IP, just add the final part (which will complete URL to reach your virtual space: For this example, you can use “test” both in the title and path.
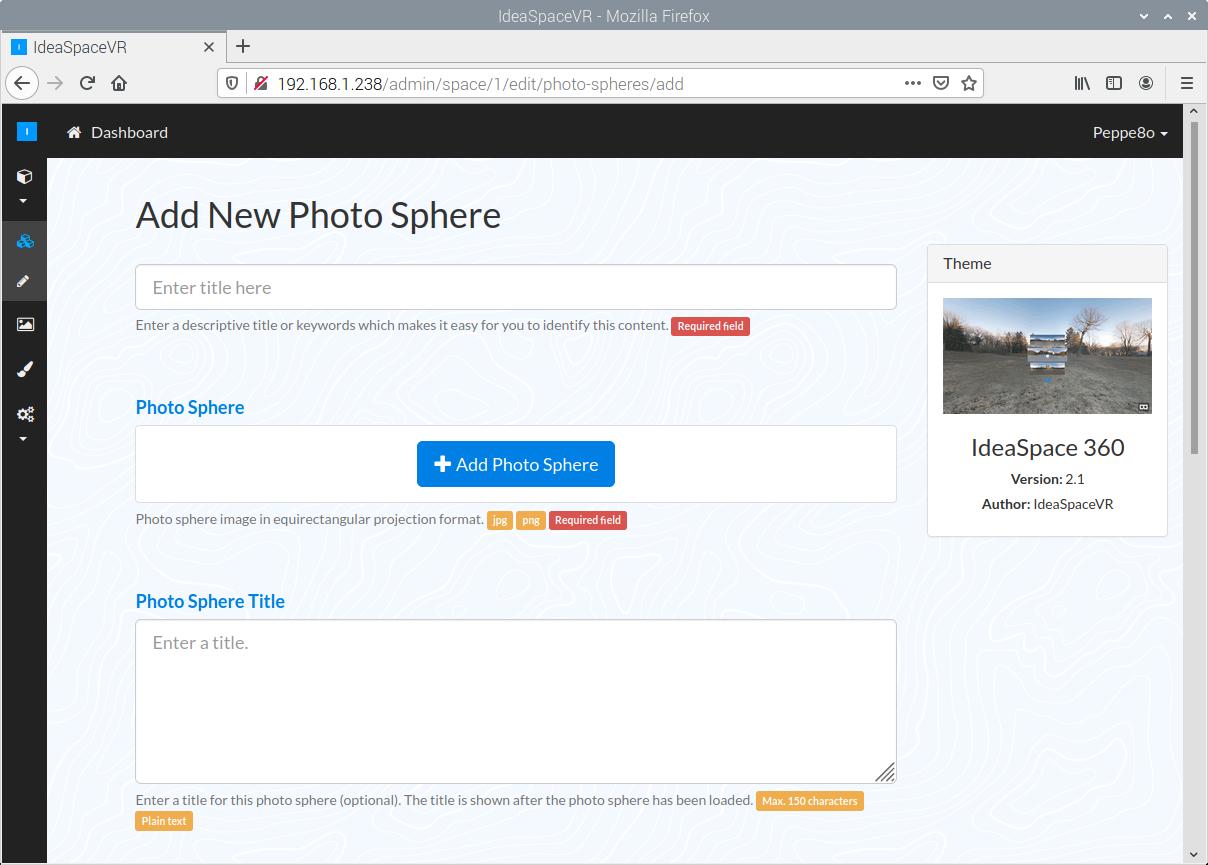
Then click the “Add Photo Sphere” button to add your image:
In the next screen, only Title and Photo Spere are required. Enter your favourite title (for example “bedroom”) and click “Add Photo Sphere”:
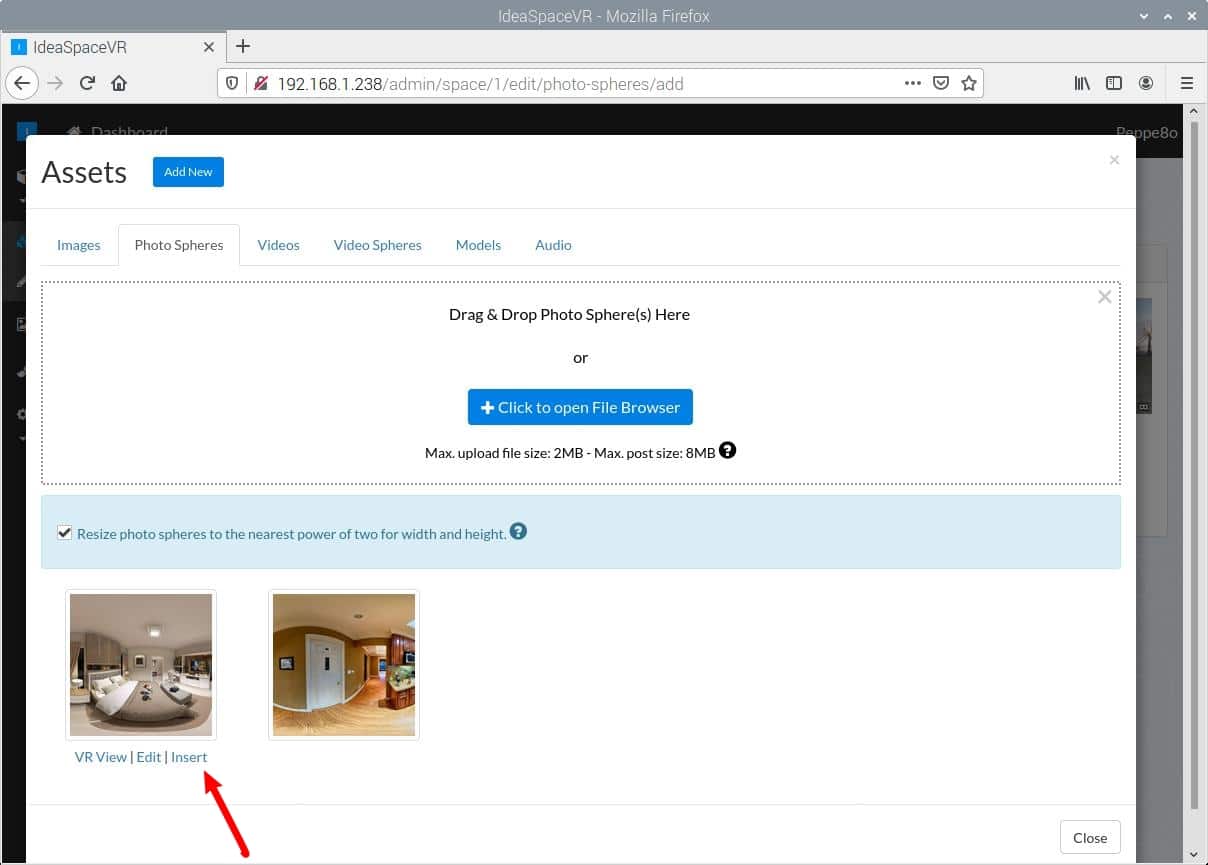
Go to “Photo Spheres” tab and load your local files. In the following picture, I’ve already loaded 2 images. With your mouse, when moving the pointer over images you will get a sub-menu appearing. Use “insert” link in this menu:
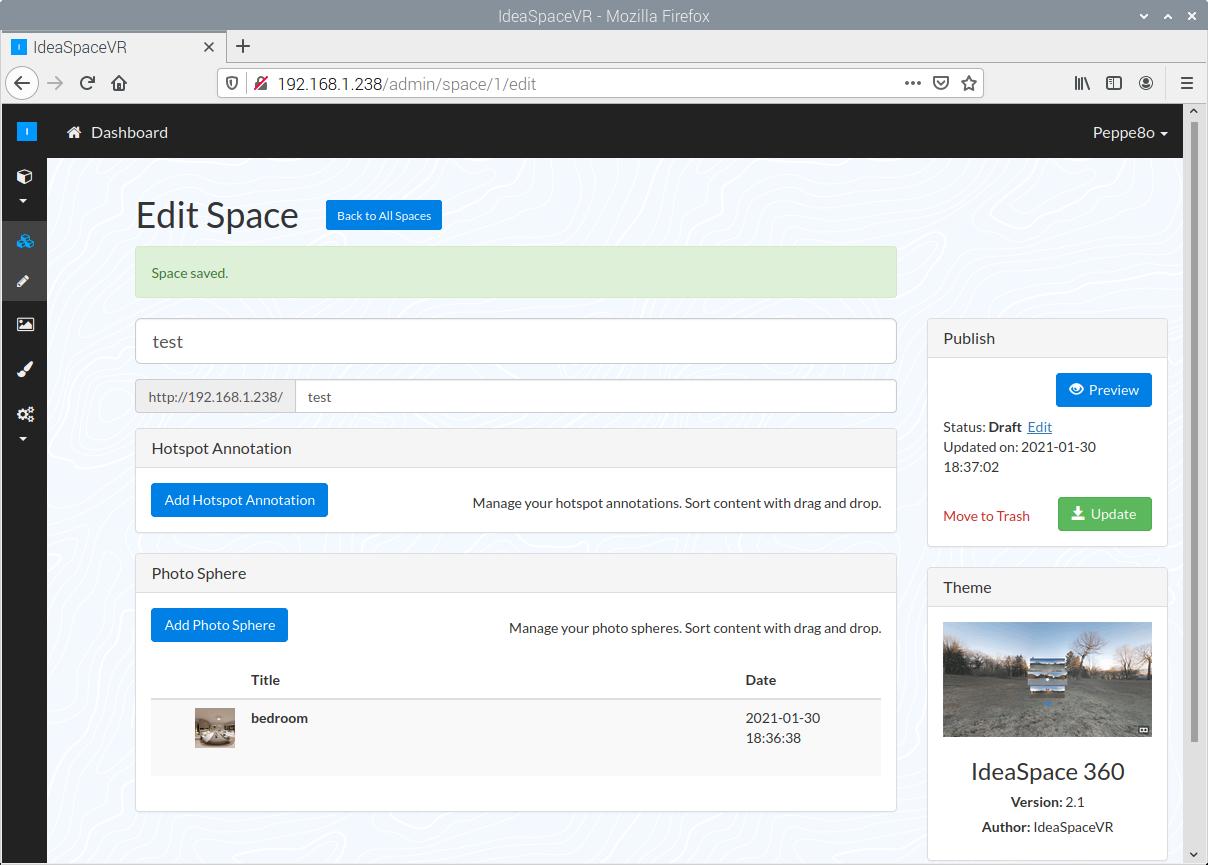
Back to “Add New Photo Spere” page, scroll to the bottom side and click “Save”.
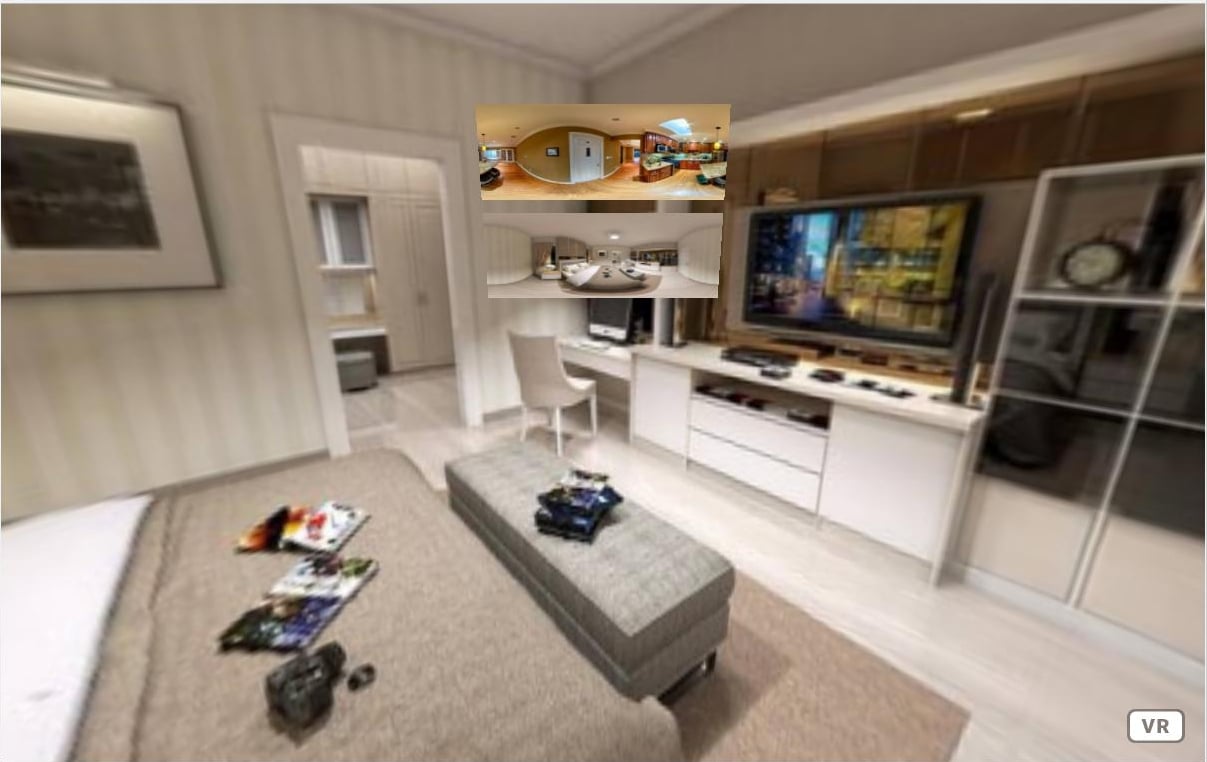
Back to your test page, you should have something like the following picture:
Repeat this process to load more photo spheres, if needed. With the “Preview” button on the left panel, you can already test your new space:
This is still a draft space, only you can view and test this space. To publish, use “Edit” link on the left panel (near “Status: Draft”), change the space status from draft to published and click ok. Finally, use “Update” button on the same left panel to save your project.
Enable HTTPS
This part is not strictly required – but suggested – if you want to use VR devices instead of a simple web browser.
5 thoughts on “Self hosted Virtual Reality space with IdeaSpaceVR and Raspberry PI”
Hi, excellent post !!. Unfortunatly there is not much information about IdeaSpacevr. I have installed Ideaspace 1.2.2 in a hosting server, passed the several screen with hosting requeriments, data base data, etc. but when the login screen appear, I have the error: Whoops, looks like something went wrong. I think that installation process was not correct, but I don´t have any indications of that. Could you help me with any suggestion about this issue ? Thanks for help
Hi, I’m afraid that the only way to get this (abandoned) project running is using an old RPI OS image, if this works. You can try with the last 2020 RPI OS image available from https://downloads.raspberrypi.org/raspios_lite_armhf/archive/. Flash it in your SD card, run only the “sudo apt update” command (avoid the “sudo apt upgrade”) and test if this procedure works.
Your feedback will be really appreciated.
Hi Spawan,
I think that it hardly will work even in Ubuntu because of the Laravel version coming with the package that has compatibility problems with the newer PHP versions. The only hope is using an older OS release (from 2020) and try with it


")


 Display")

Hi, excellent post !!. Unfortunatly there is not much information about IdeaSpacevr. I have installed Ideaspace 1.2.2 in a hosting server, passed the several screen with hosting requeriments, data base data, etc. but when the login screen appear, I have the error: Whoops, looks like something went wrong. I think that installation process was not correct, but I don´t have any indications of that. Could you help me with any suggestion about this issue ? Thanks for help
Were you able to solve this?
Hi, I’m afraid that the only way to get this (abandoned) project running is using an old RPI OS image, if this works. You can try with the last 2020 RPI OS image available from https://downloads.raspberrypi.org/raspios_lite_armhf/archive/. Flash it in your SD card, run only the “sudo apt update” command (avoid the “sudo apt upgrade”) and test if this procedure works.
Your feedback will be really appreciated.
Does this work in normal Ubuntu?
Hi Spawan,
I think that it hardly will work even in Ubuntu because of the Laravel version coming with the package that has compatibility problems with the newer PHP versions. The only hope is using an older OS release (from 2020) and try with it