
Last Updated on 10th June 2023 by peppe8o
In this tutorial, I will show you how to install Stellarium on a Raspberry PI computer board and how to start using it.
What is Stellarium
Created with astronomy enthusiasts in mind, Stellarium allows you to start a fascinating virtual journey through the universe. Whether you wish to become an amateur astronomer or you’re just a curious stargazer or you are simply fascinated by the cosmos, Stellarium will unlock a new realm of exploration, enabling you to observe, learn, and appreciate the beauty of the sky.
Stellarium emerged as a brainchild of the passionate astronomy community, seeking to provide an accessible and realistic planetarium experience to astronomy enthusiasts worldwide.
Launched in 2000 as an open-source project, Stellarium rapidly gained popularity due to its intuitive interface, accurate star mapping, and great flexibility allowing you to create your own scripts and customise the views. Developed by a team of dedicated programmers and astronomy enthusiasts, it aimed to bridge the gap between real-life stargazing and virtual exploration, enabling users to discover and learn about celestial objects from the comfort of their own homes.
For this tutorial, I’ve used a Raspberry PI 3 Model B computer board. Of course, it will also work with newer boards. Regarding the previous boards, Stellarium requires resources to show all the stars and planets, so it could be quite unusable with lower memory and an older CPU. But, if you already own one of them it’s worth a try.
What We Need
As usual, I suggest adding from now to your favourite e-commerce shopping cart all the needed hardware, so that at the end you will be able to evaluate overall costs and decide if to continue with the project or remove them from the shopping cart. So, hardware will be only:

- Raspberry PI Computer Board (including proper power supply or using a smartphone micro USB charger with at least 3A).
- high speed micro SD card (at least 16 GB, at least class 10)
- a USB/wireless keyboard
- HDMI Monitor with a proper HDMI cable (based on your Raspberry PI computer board model)
Moreover, in order to test Stellarium I’ve used the Elecrow Meteor Screen, which allowed me to control the screen position also via its touchscreen.
Prepare the Raspberry PI Operating System
Please start installing Raspberry PI OS Desktop.
Once done, make your OS updated. From the terminal, use the following command:
sudo apt update -y && sudo apt upgrade -yEspecially for older Raspberry PI computer boards with low RAM memory, I also suggest proceeding with a few performance tunings:
- Increase the GPU memory to 128MB, with this tutorial: Manage Raspberry PI GPU Memory Split
- Increase Swap memory to 1000 MB, with this tutorial: Set Raspberry PI Swap Memory
Stellarium can be installed in your Raspberry PI both from the source or from the Aptitude package manager. I suggest the second option for beginners, as it is easier to get the application working. Moreover, please note that it will require around 350 MB of free space from your disk.
You can proceed to installation from the Aptitude package manager with the following terminal command:
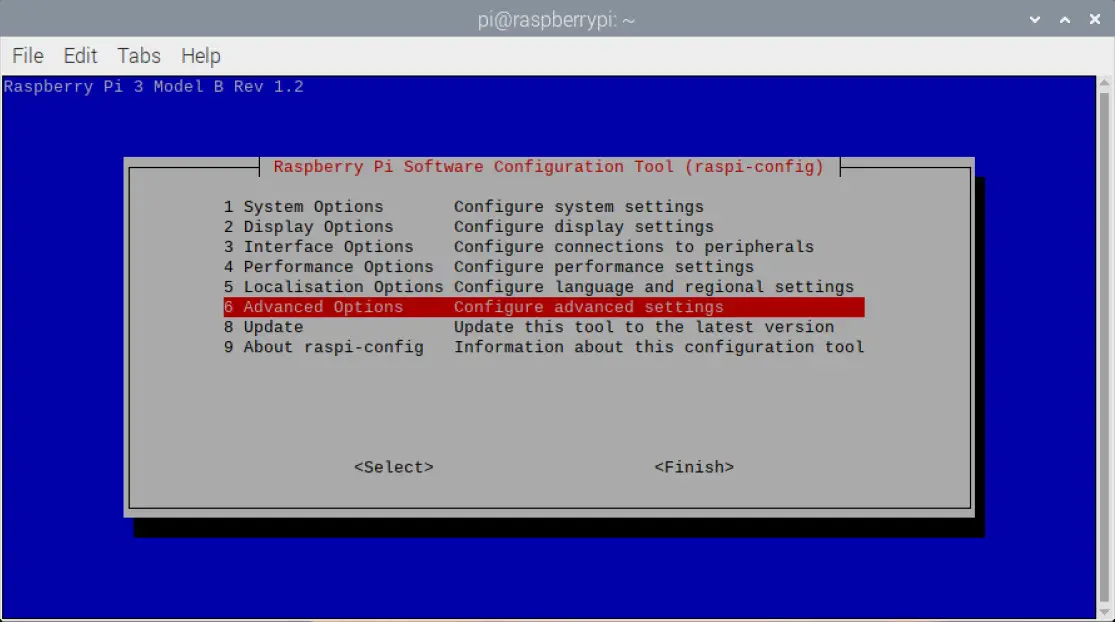
sudo apt install stellariumBefore running Stellarium, we need to set a few things from the raspi-config tool. From your terminal:
sudo raspi-configThis will open the raspi-config tool. Please select the “Advanced Options”:
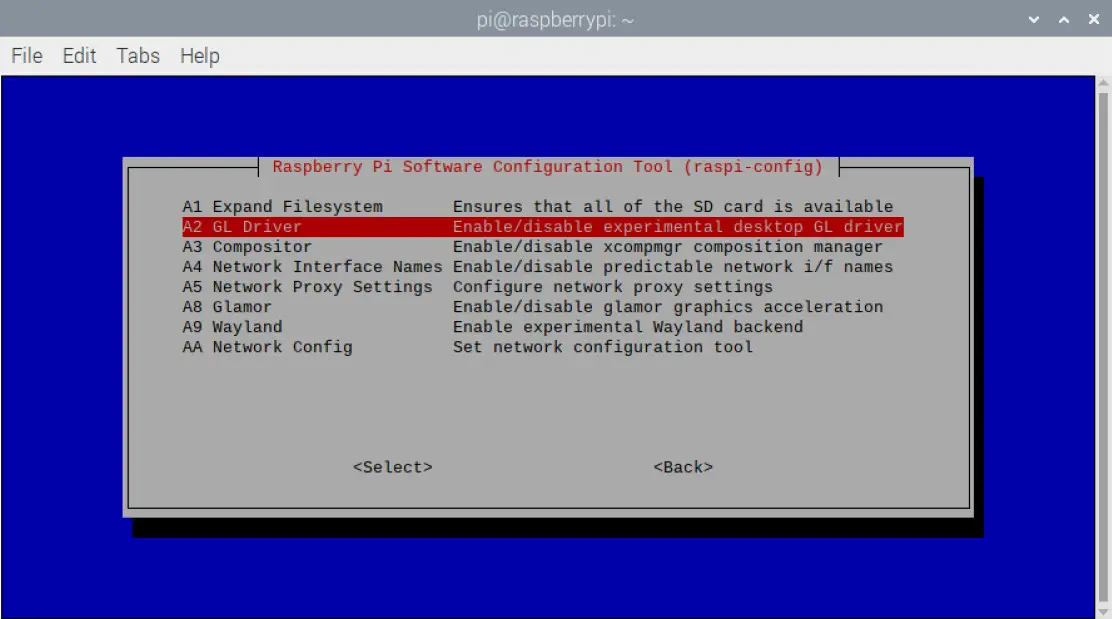
Here we need to activate the “GL Driver”:
And select the full KMS:
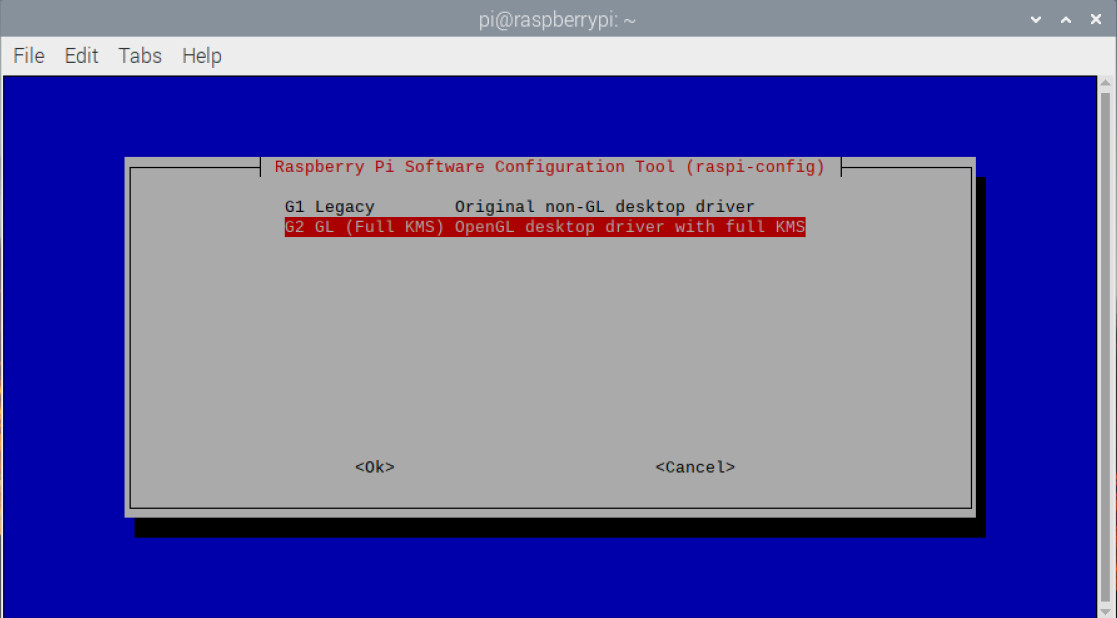
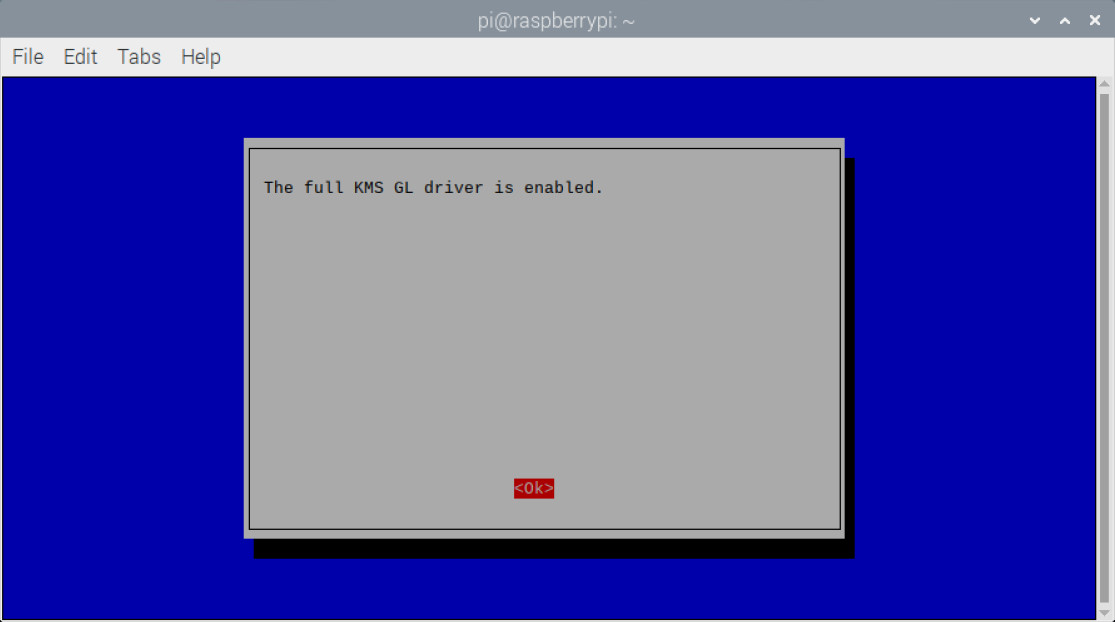
A confirmation will notify us that the full KMS GL driver is enabled:
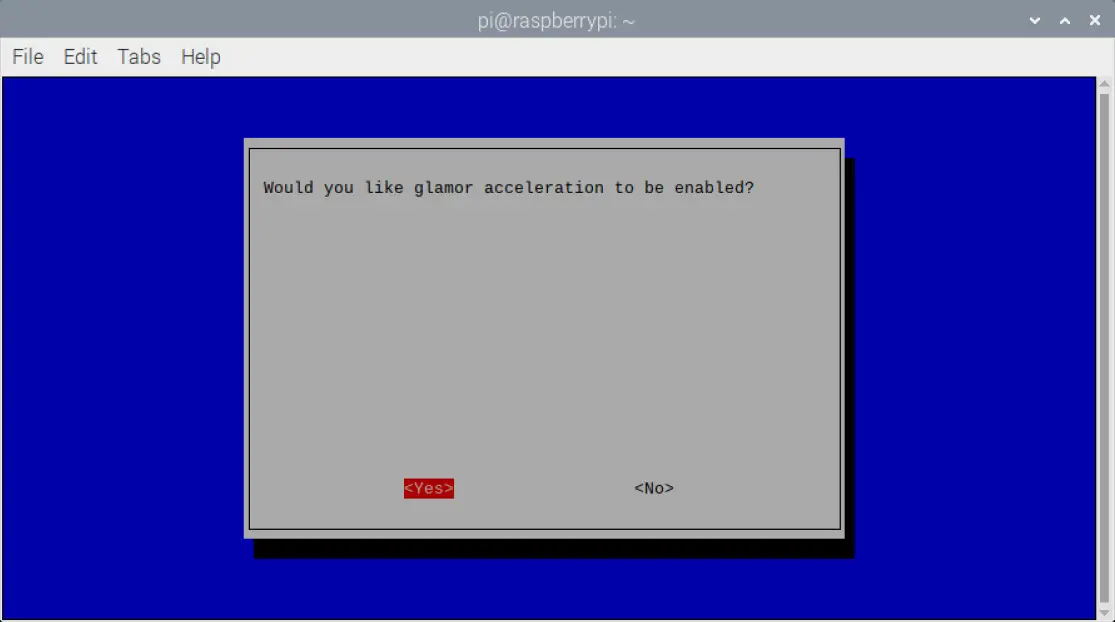
After pressing ok, we will go back to the raspi-config home. Again, select the Advanced Options and this time we must enable the Glamor option:

In this case, we must move the selection button to “YES” in order to enable:
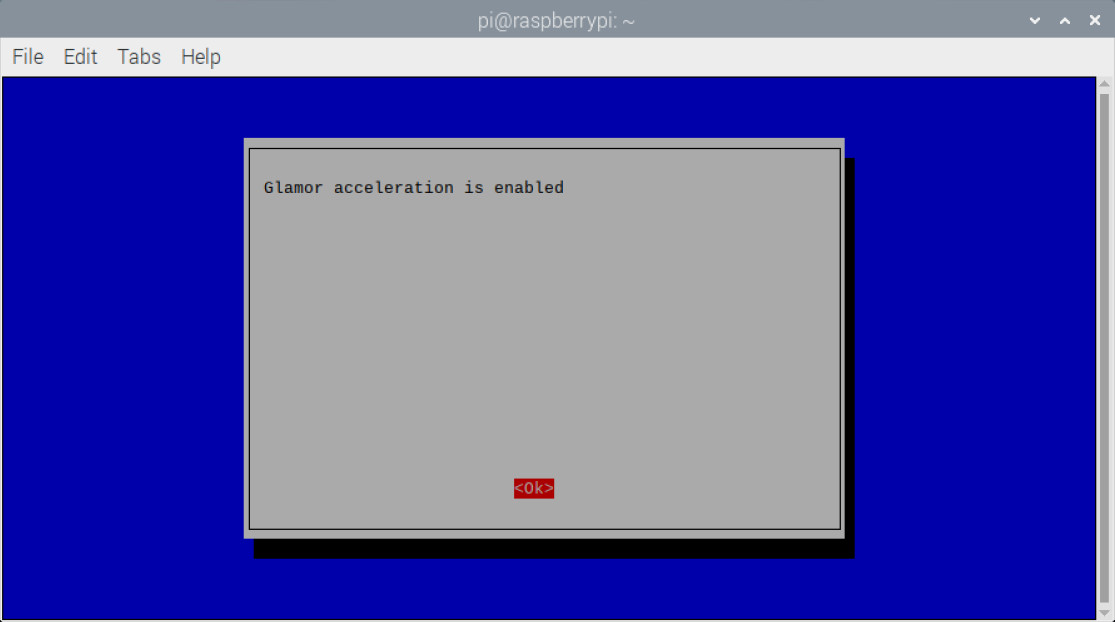
The Glamor enabling will be confirmed too:
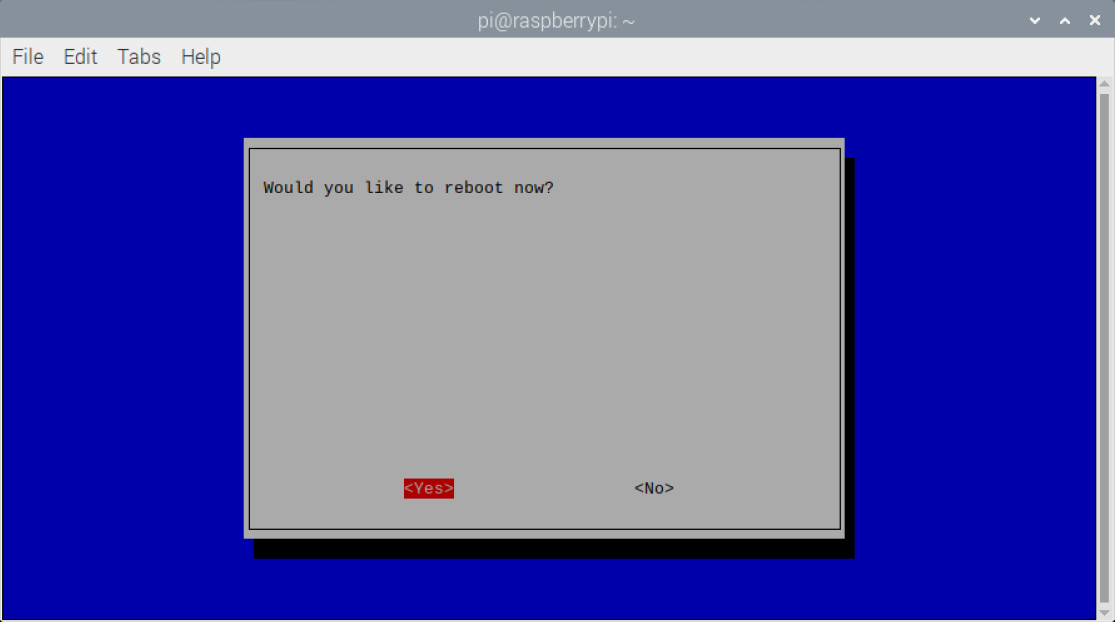
Back to the raspi-config home again, this time we can use the “Finish” button and it will prompt us to reboot the Raspberry PI in order to get the settings applied. Please set yes and wait for the Raspberry PI reboot to complete:
You are now ready to test Stellarium on your Raspberry PI desktop.
Starting Stellarium on Raspberry PI
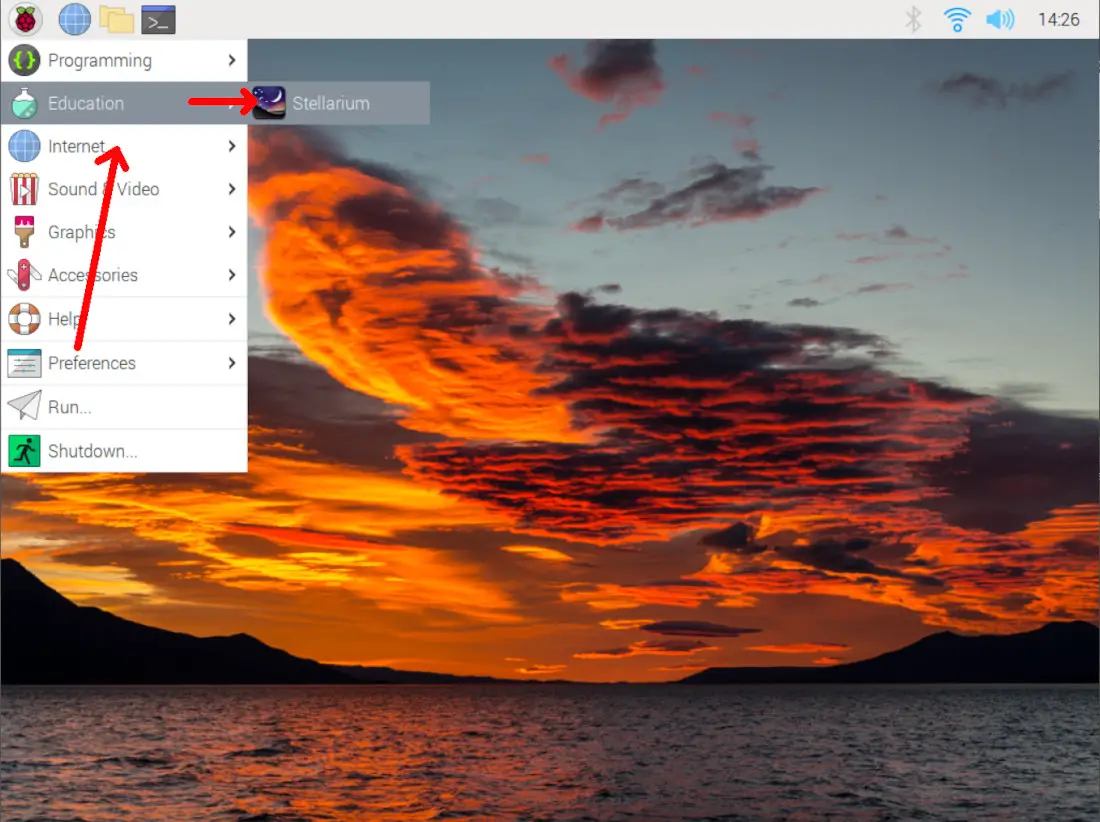
After the installation completes, you will find a new menu group on your desktop, named “Education”. Here there will be the Stellarium link. Please try to execute. If Stellarium starts correctly, you can proceed with the following chapter.
On the other hand, if the Stellarium banner starts and closes quite immediately without showing its application window, please go to the part after this picture:
IMPORTANT NOTE: Stellarium could fail to start on older Raspberry PI computer boards for compatibility issues with the video card. You will note even more this if you run the “Stellarium” command from your terminal, as this will end with a “Segmentation Fault”.
You can anyway run it by changing the config.ini file:
nano ~/.stellarium/config.iniAnd adding the following line (you can put it even in the first row):
main/check_requirements = falseSetting Options for Stellarium on Raspberry PI
By default, Stellarium will appear with the following screen:
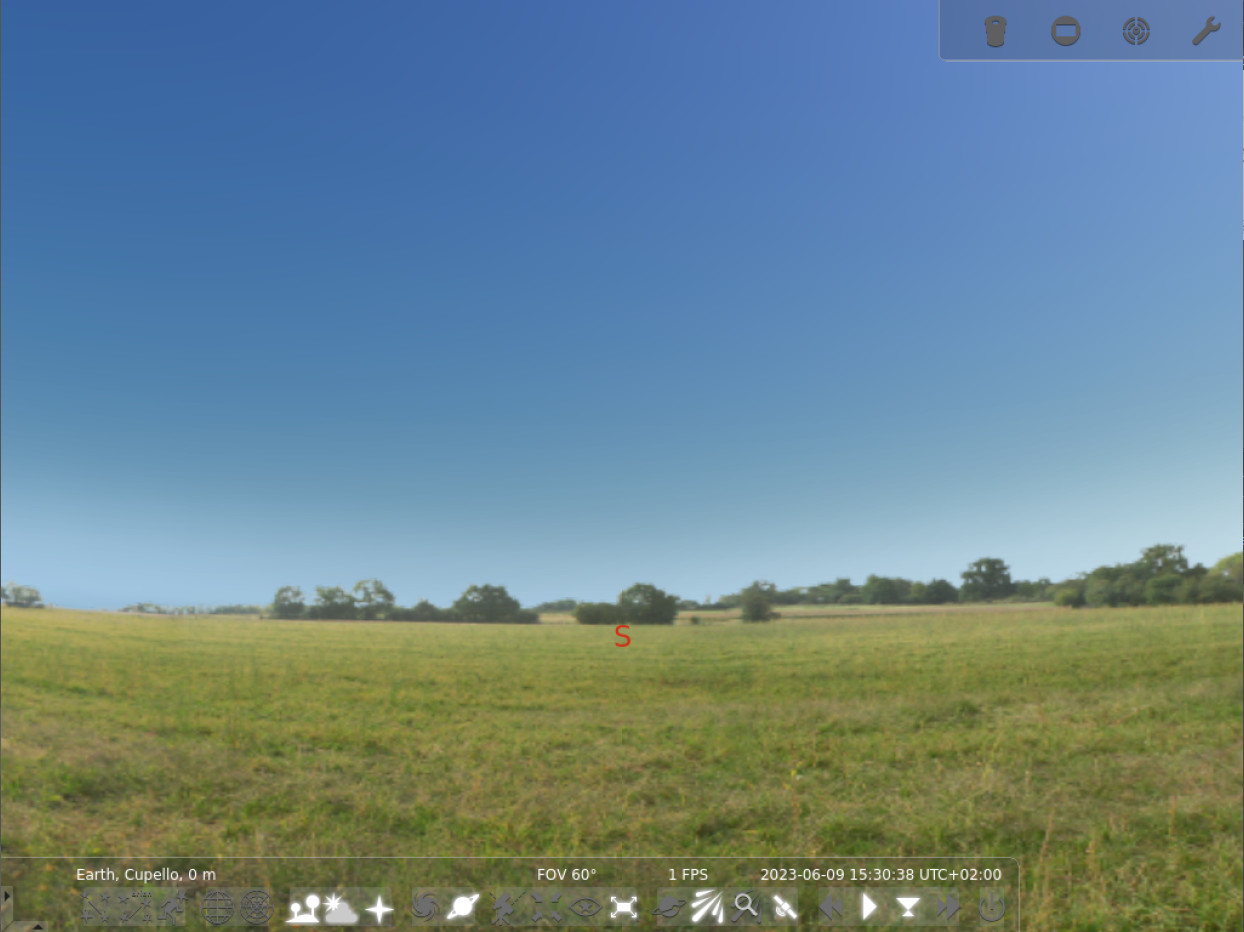
Please note that you can open the lower menu bar and the left menu bar by moving the mouse cursor to those screen portions (bottom / left border of the screen).
Toggling the Full Screen / Quit
By default, Stellarium starts on full-screen mode and it’s quite hard for a newbie to locate where is the button to exit from the full-screen mode and/or how to quit Stellarium. Well, moving the mouse cursor to the lower part of the screen, the lower menu will pop-up and the required buttons will appear:
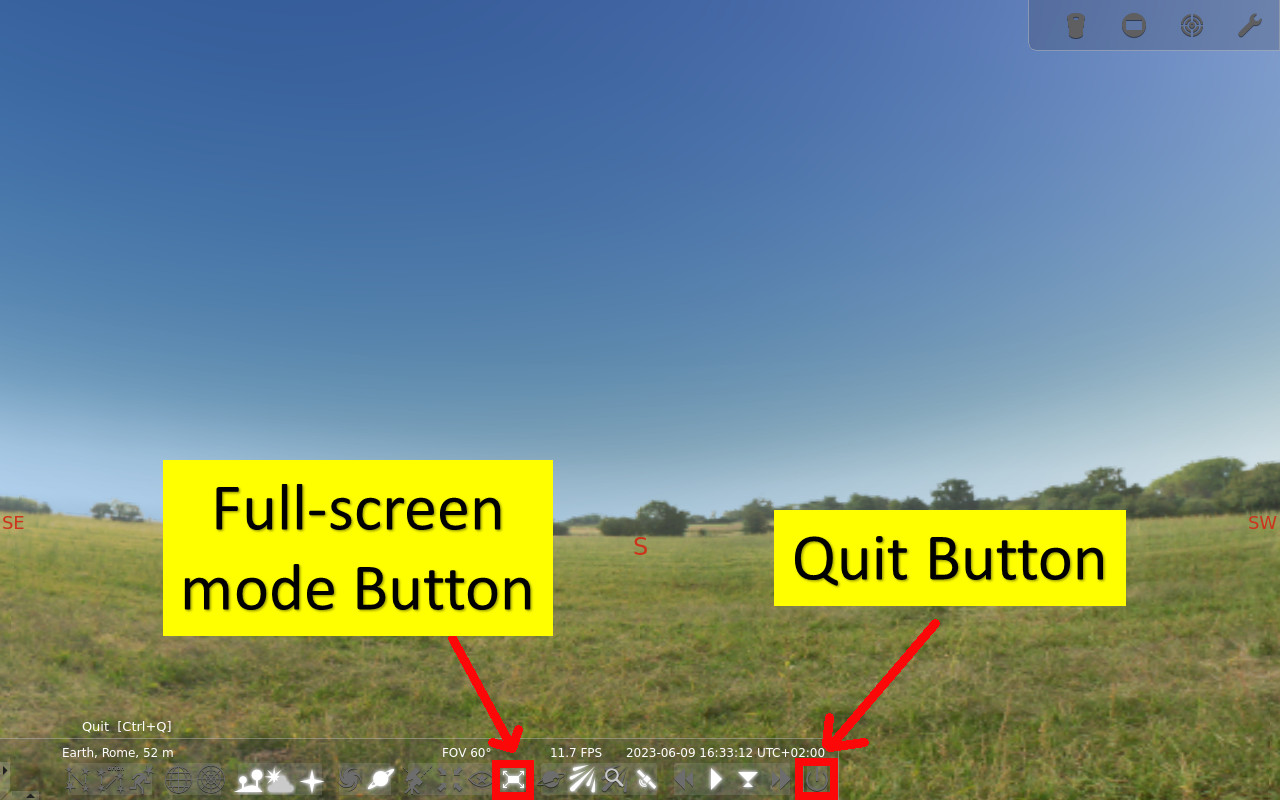
You can also exit the full-screen mode with the F11 key.
Moreover, you can quit Stellarium with the CTRL+Q keys
Setting Location
As Stellarium can show you the sky from your exact location and at your exact time, you should correctly set your town/city information in your Location settings.
For this task, please edit them from the Location Window available both with the F6 key or in the left menu:
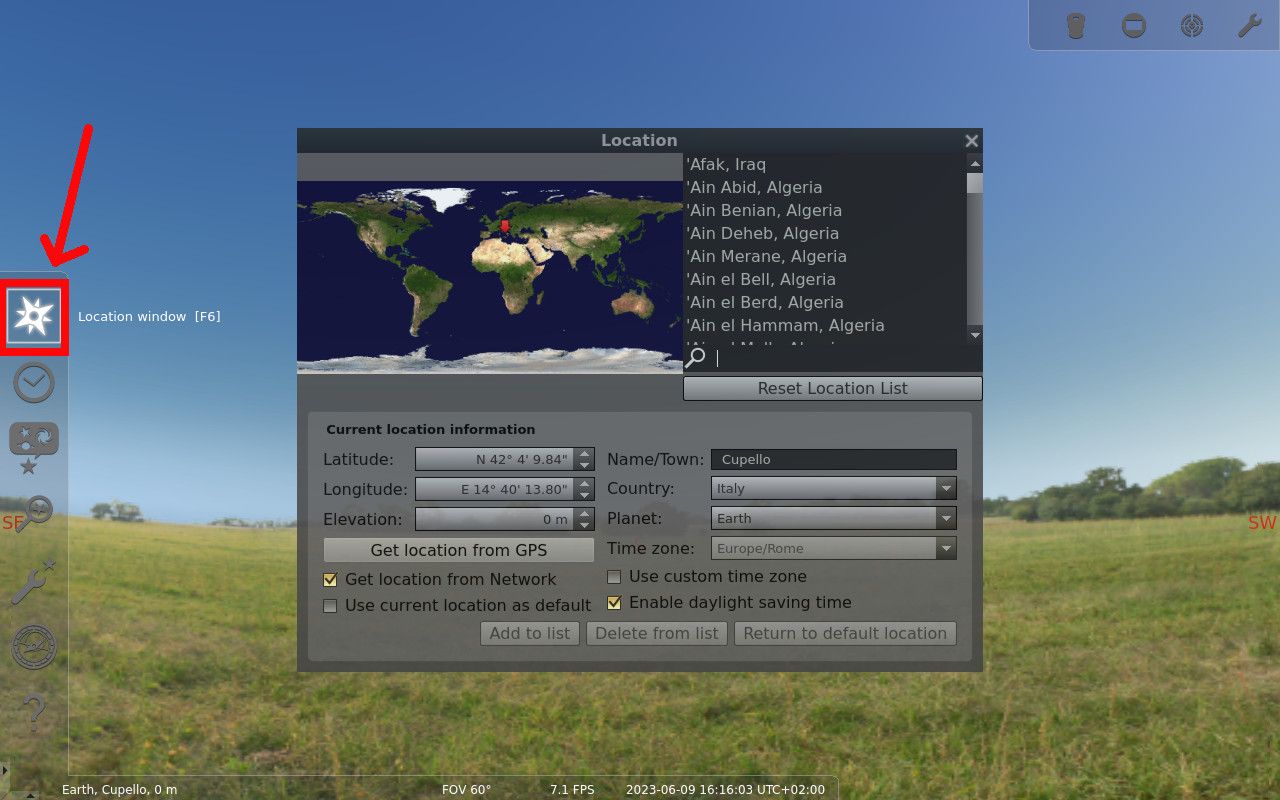
Once searched for your town (or once added your Latitude and Longitude coordinates), these will appear in the lower part of the Location Window (the “Current location information”) and you can close this window to be set to your location. In a few words, there isn’t an “Apply” or “OK” button.
At this point, Stellarium will show you the same sky configuration that you would see from your home.
Set the Desired Time
With the time of the day, the Earth rotates on its axis and you will see different portions of the Universe from your location. For this reason, you may need to force the time of your picture in order to see, for example, the items that you would look at the night, even if you are in the morning or at noon.
The time management buttons will allow you to manage the time at your need:
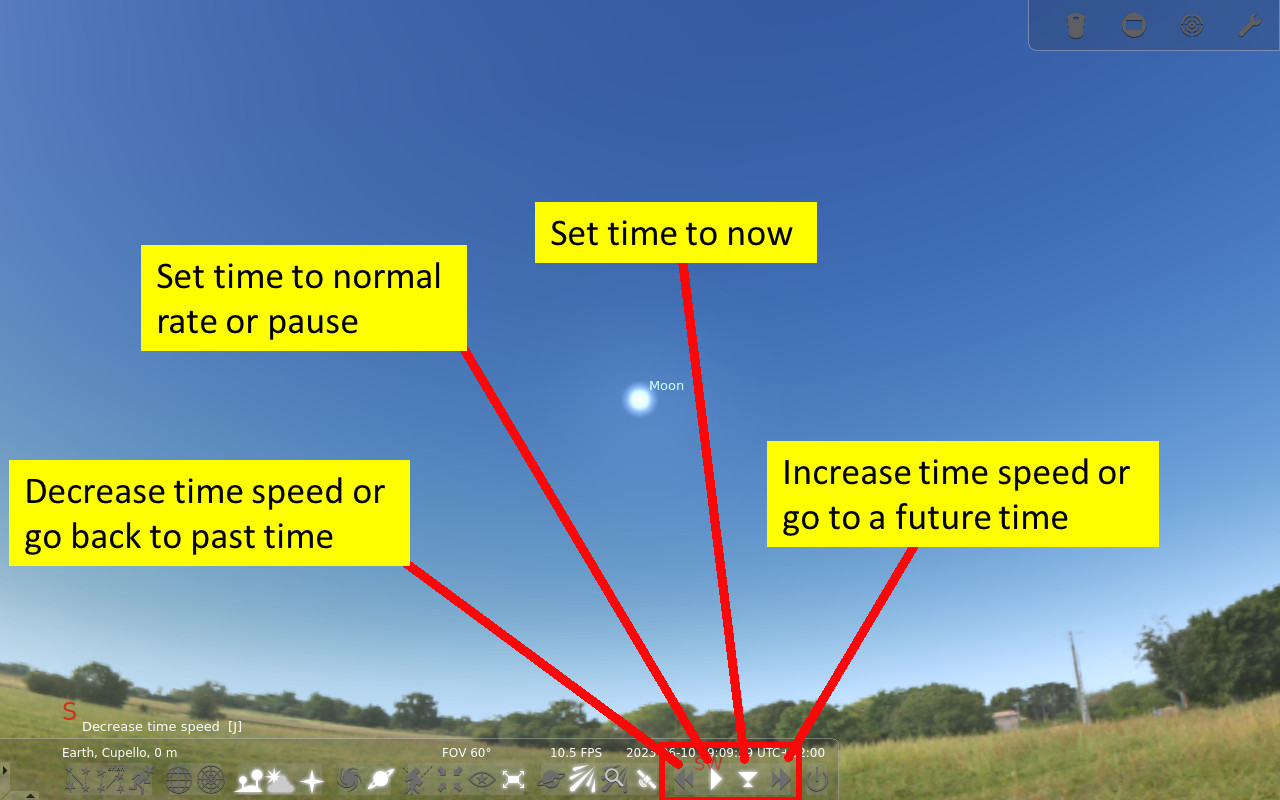
Once you moved the time, you can go back to your current time with the button that sets the time to now. So you can easily reset the time.
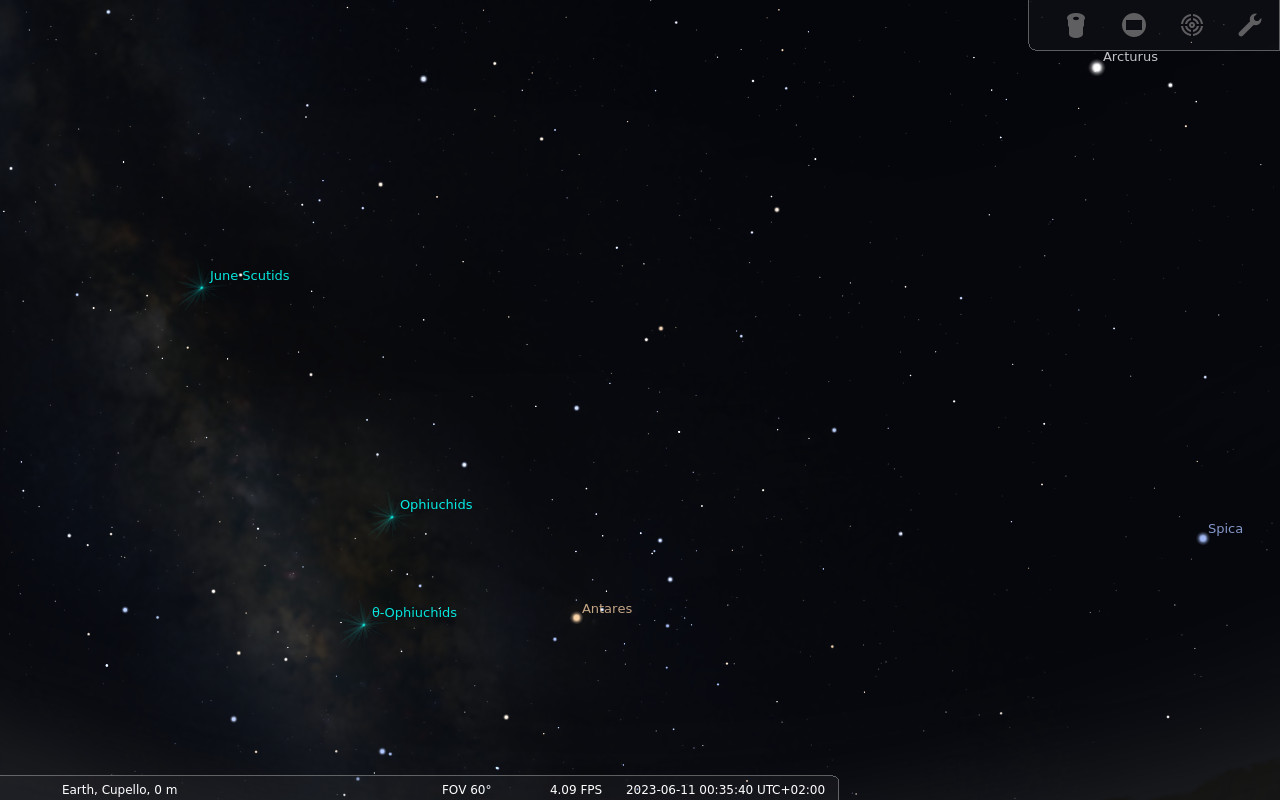
During the day, hardly you will see all the sky elements besides the Moon and Sun. But, moving to night time your Stellarium screen will show a gorgeous universe of stars, planets, constellations, and so on that would be hardly visible from a real home in your town or city because of the light pollution:
Explore Sky with Stellarium and Raspberry PI
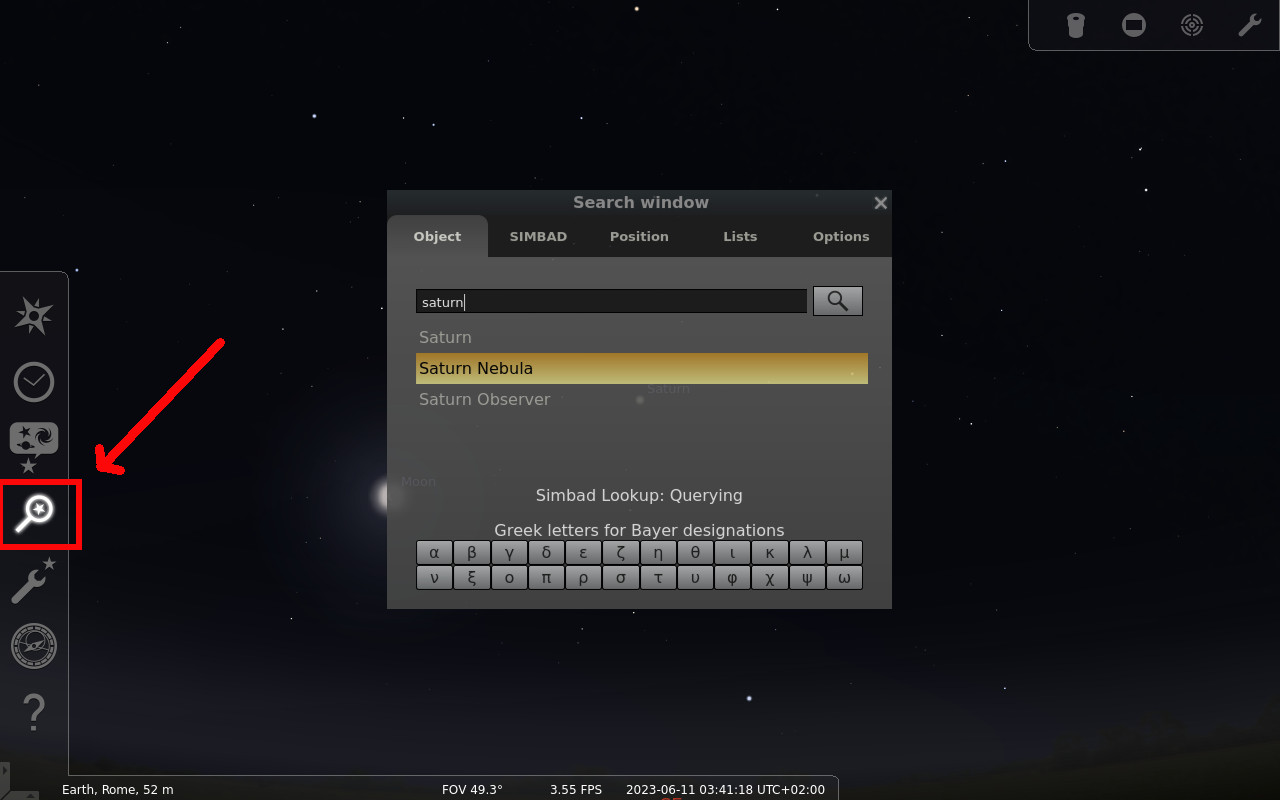
Stellarium offers several options to enable/disable labels and view modes. But, if you are at your very first look at the sky, you could find really hard to locate the object you want to see.
In this, the search window will allow you to search for your item and point your screen to the searched item:
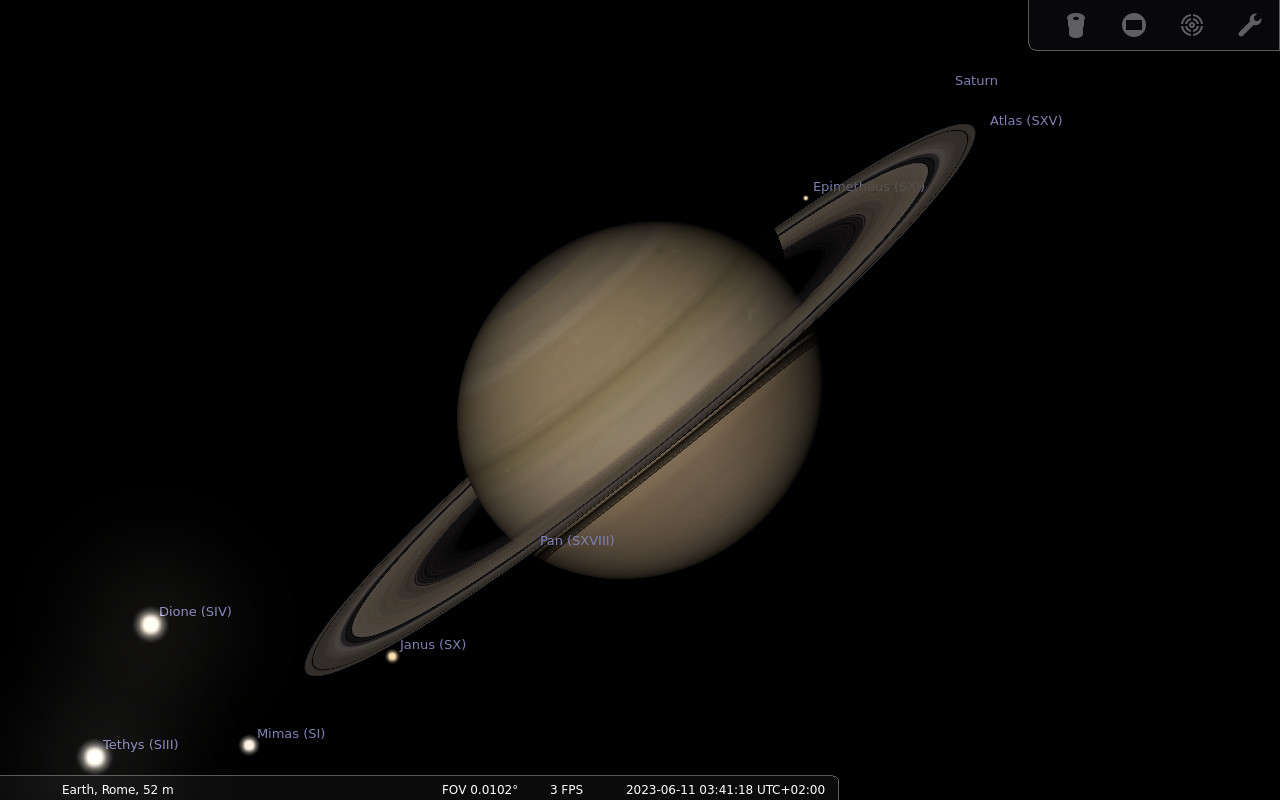
Selecting your item, the screen will point to it and will show the related info:
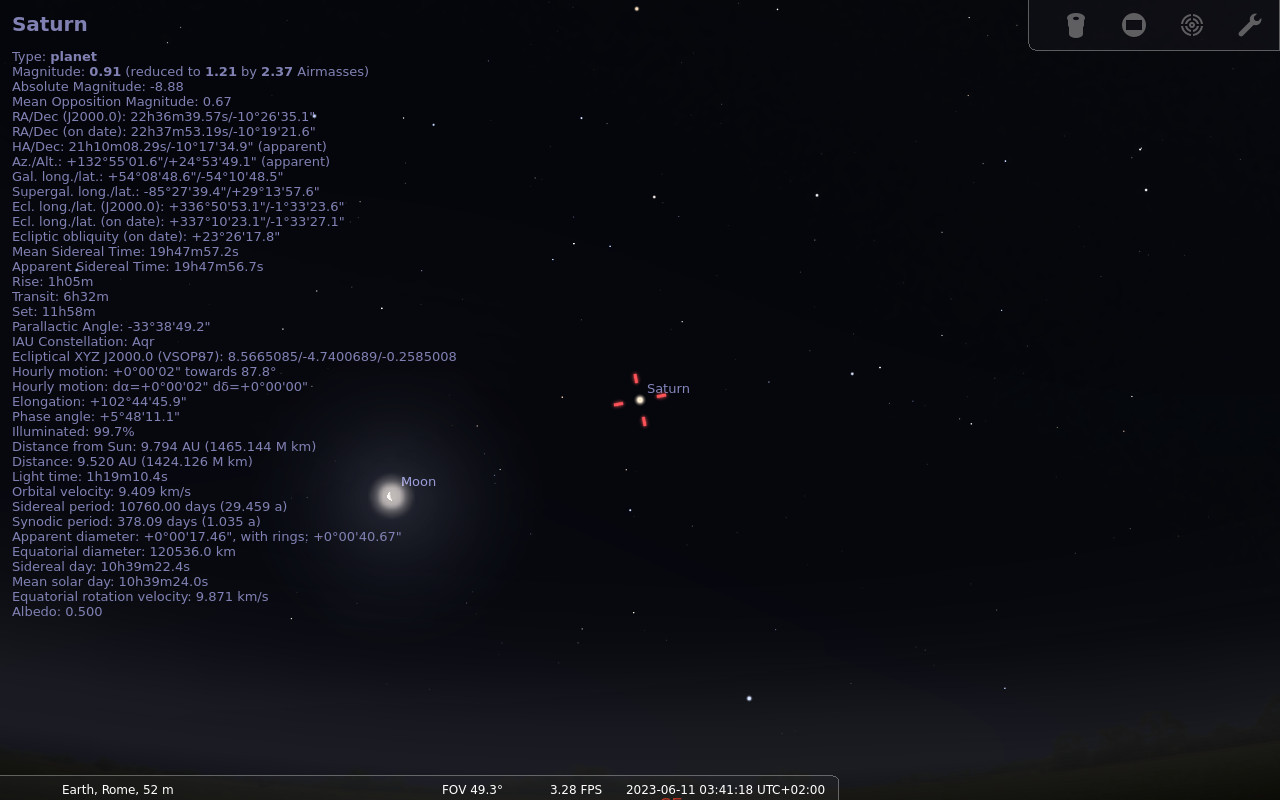
Once selected, it will be easy to zoom toward the item and see it with incredible detail level. Zooming will work also with the CTRL + arrow keys (forward and backwards).
Please note that Raspberry PI could take a bit to zoom but I’ve found the Raspberry PI 3 Model B decently usable for this task.
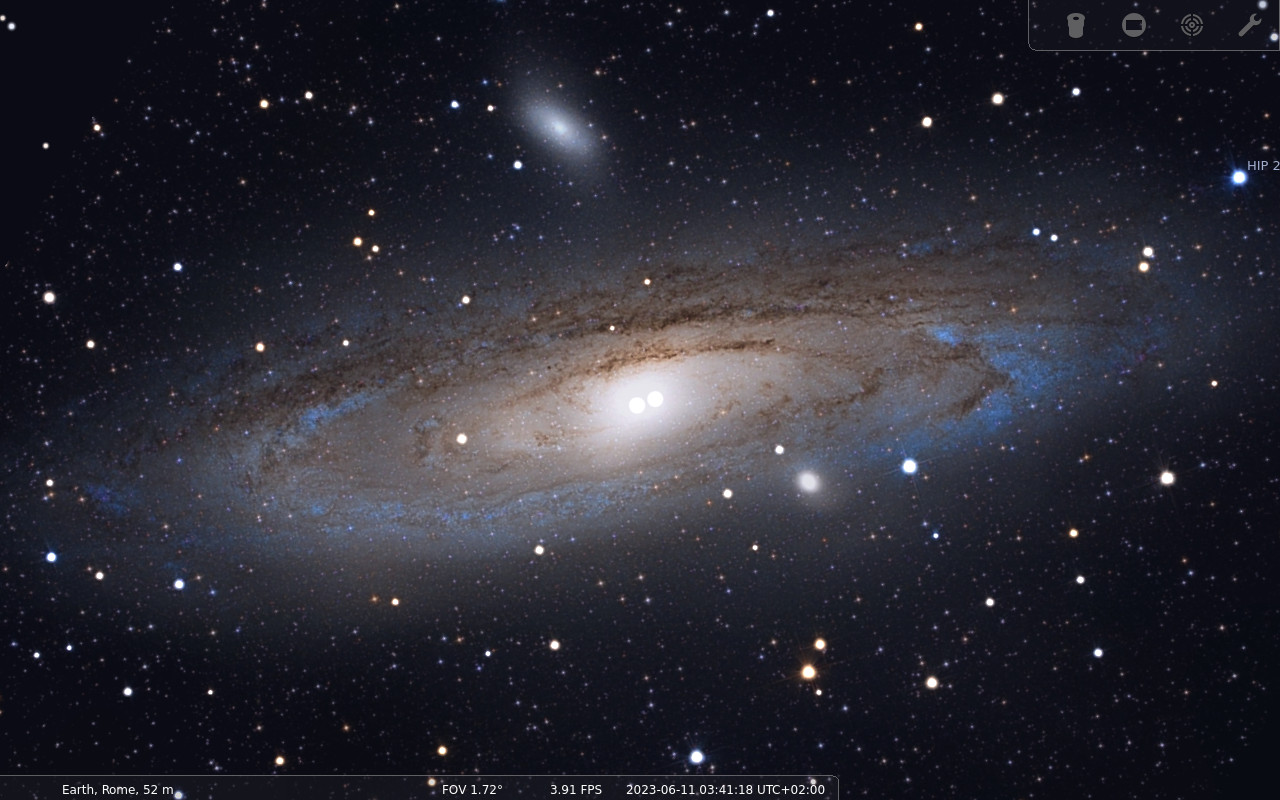
Also, the Andromeda Galaxy is a fascinating image…
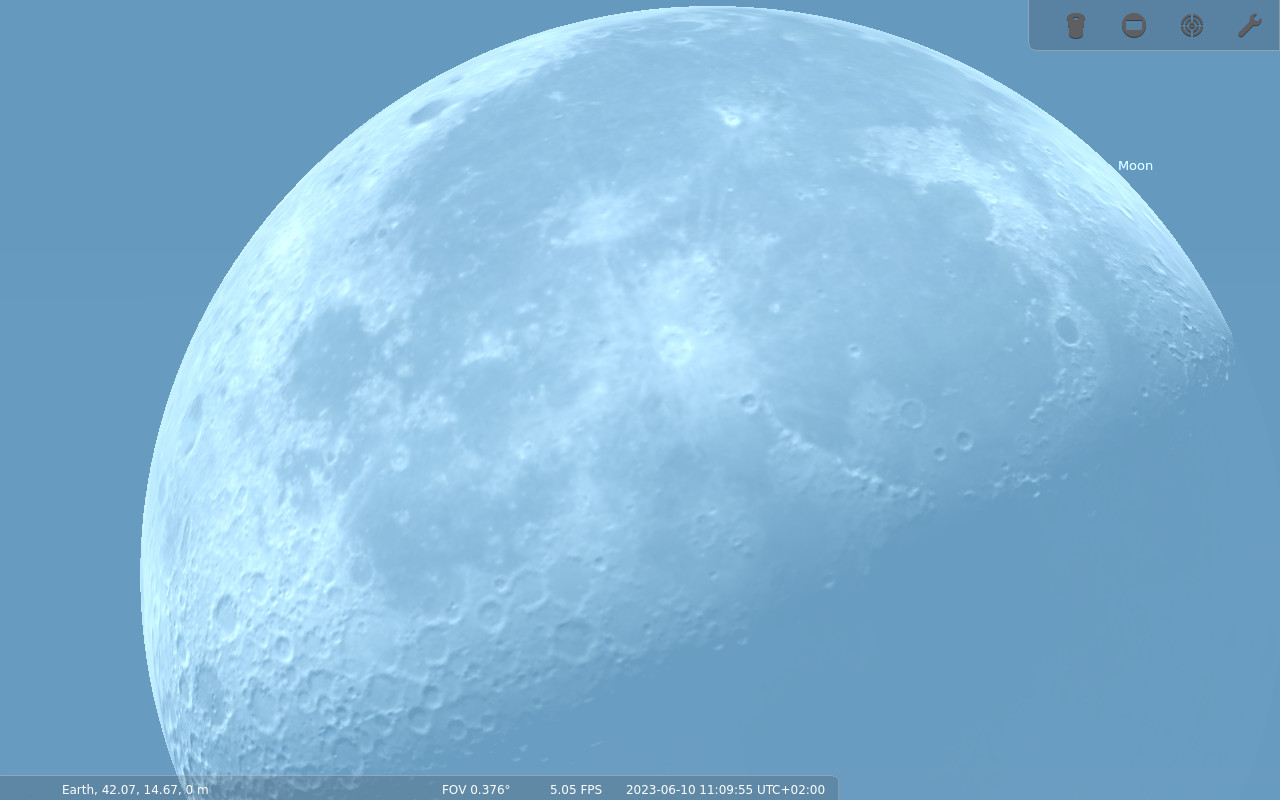
Here’s a final picture, with a see of the Moon:
More info about Stellarium
You can download the user manual from the Stellarium official page.
Next Steps
Are you interested in more projects with your RPI computer board? Take a look at peppe8o Raspberry PI computer tutorials pages.
Enjoy Stellarium on Raspberry PI!

Open source and Raspberry PI lover, writes tutorials for beginners since 2019. He's an ICT expert, with a strong experience in supporting medium to big companies and public administrations to manage their ICT infrastructures. He's supporting the Italian public administration in digital transformation projects.
![]()
![]()
![]()
![]()
![]()
![]()
![]()


