
Last Updated on 25th April 2023 by peppe8o
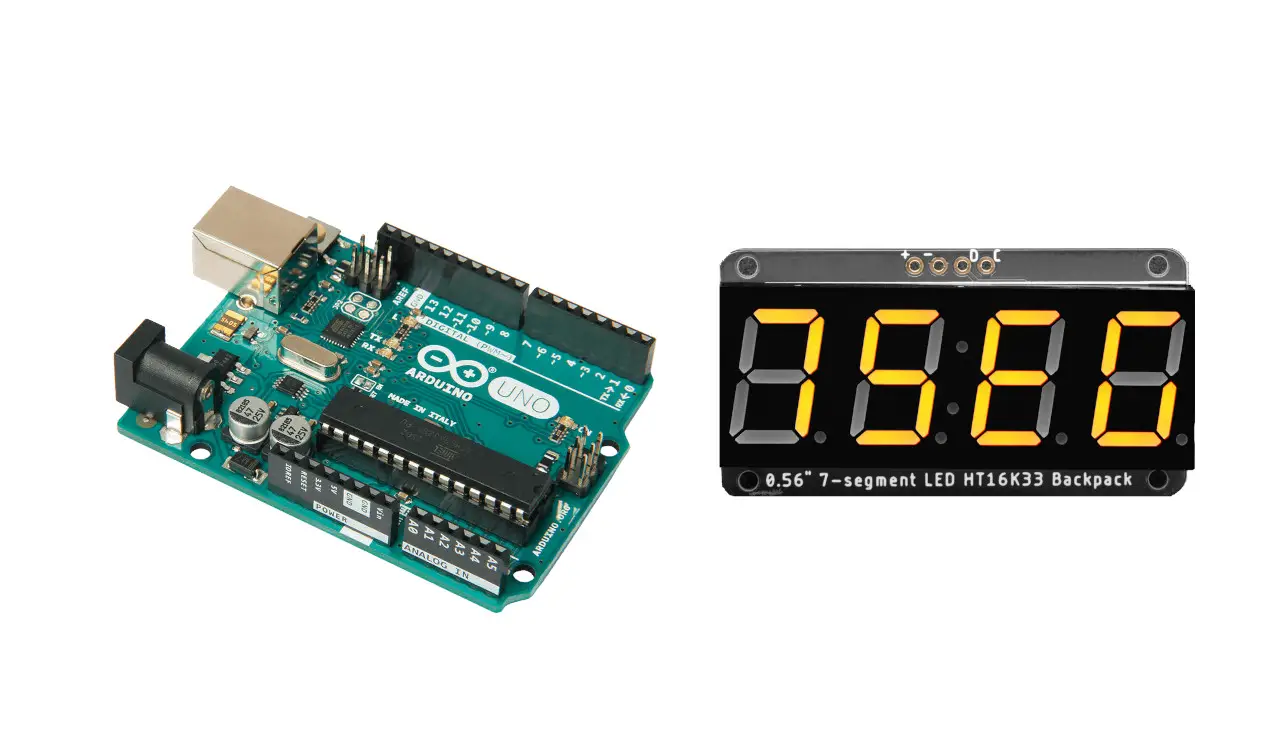
In this tutorial, we will use an I2C 7-segment display with Arduino.
This module is much used for the display which can be illuminated or turned off independently to display different numerical digits or other characters. By turning on and off the appropriate segments, the display can show any number from 0 to 9 or any letter between A and F. The 7-segment displays are commonly in digital clocks, calculators, and other electronic devices where numerical or alpha-numeric displays. They are simple, low-cost, and easy to use, making them a popular choice for a wide range of applications.
Introduction of 7-Segment Display
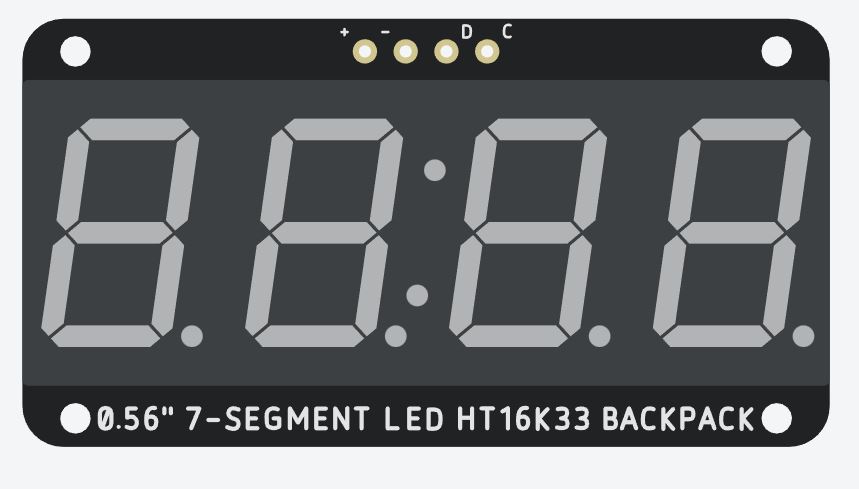
A 7-segment display is a simple electronic display device that uses to display numeric digits from 0 to 9, as well as some other characters such as letters A-F.
The display consists of seven LED segments arranged in a rectangular shape, with one additional segment for displaying a decimal point.
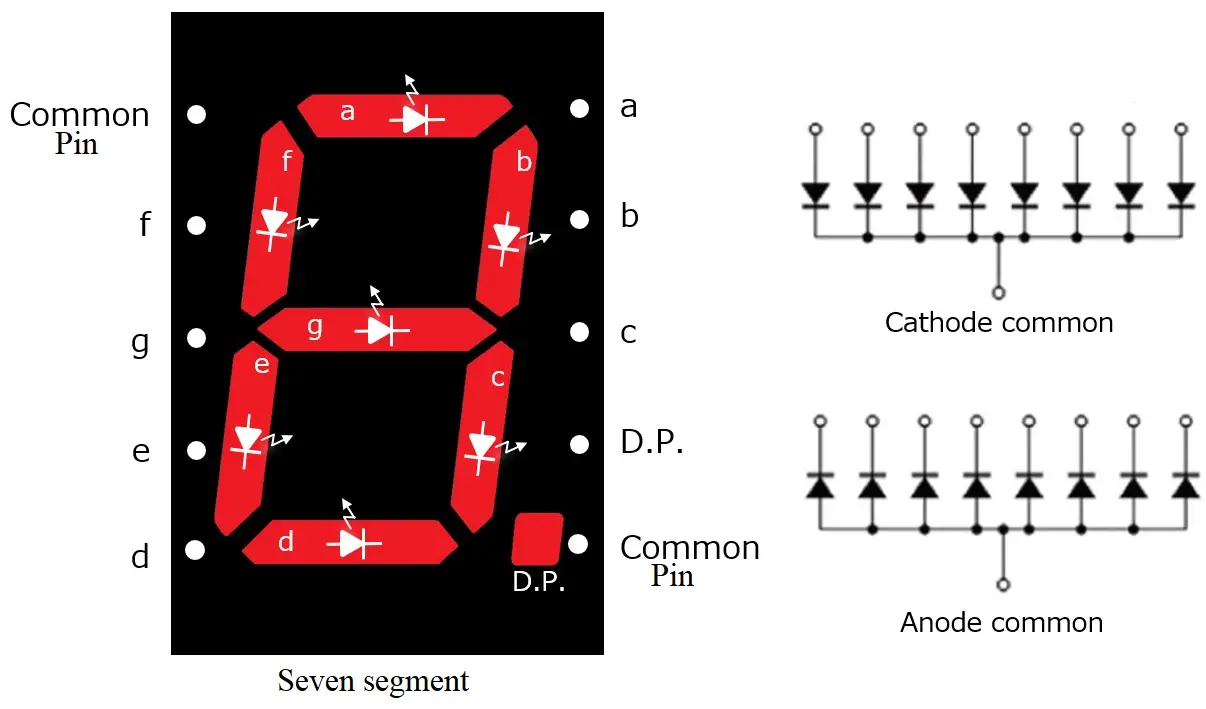
To display a specific number or character, the input signals for the corresponding segments are turned on while the other segments are turned off. For example, to display the number 0, segments A, B, C, D, E, and F are turned on, while segment G is turned off (refer to the following picture). To display the number 1, only segments B and C are turned on, while all other segments are turned off.
With the I2C backpack, the underlying chip will manage all the segment coordination, so that you will not need to take care of enabling single LEDs.
Working principle
Each segment of the display control by a separate input signal, allowing different combinations of segments to turn on or off to display different numbers or characters. A segment is a LED driven from the backpack circuit communicating via I2C with the microcontroller.
There are two common types of 7-segment displays: the common cathode and common anode displays. The difference between them lies in how the individual LED segments connect:
- In a common cathode 7-segment display, all of the cathodes of the individual LED segments connect together and usually connect to the ground.
- In a common anode 7-segment display, all of the anodes of the individual LED segments connect together and are usually to a positive voltage source.
Both types of displays use to display the same numbers, but they require different circuitry to operate.
What We Need

As usual, I suggest adding from now to your favourite e-commerce shopping cart all the needed hardware, so that at the end you will be able to evaluate overall costs and decide if to continue with the project or remove them from the shopping cart. So, hardware will be only:
- Arduino Uno Board
- Dupont wirings
- 7 segment I2C (please check the I2C display version)
- Breadboard (optional, to help arrange the wiring)
Step-by-Step Procedure
Wiring Diagram of 7-segment display with Arduino
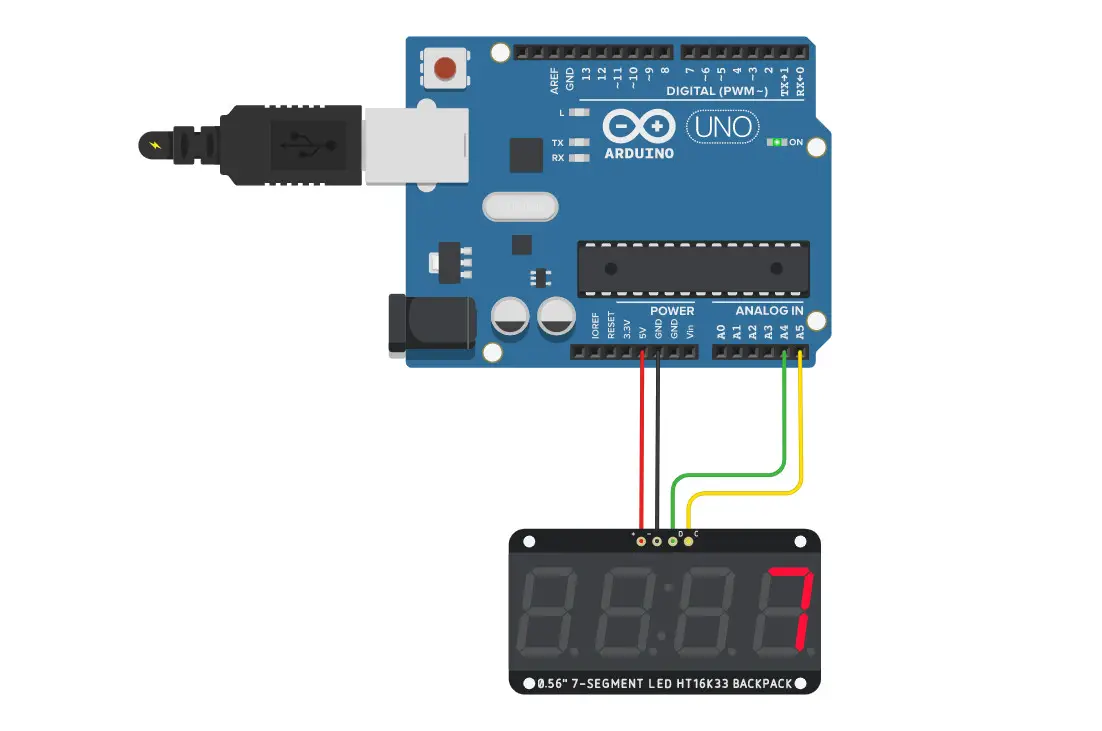
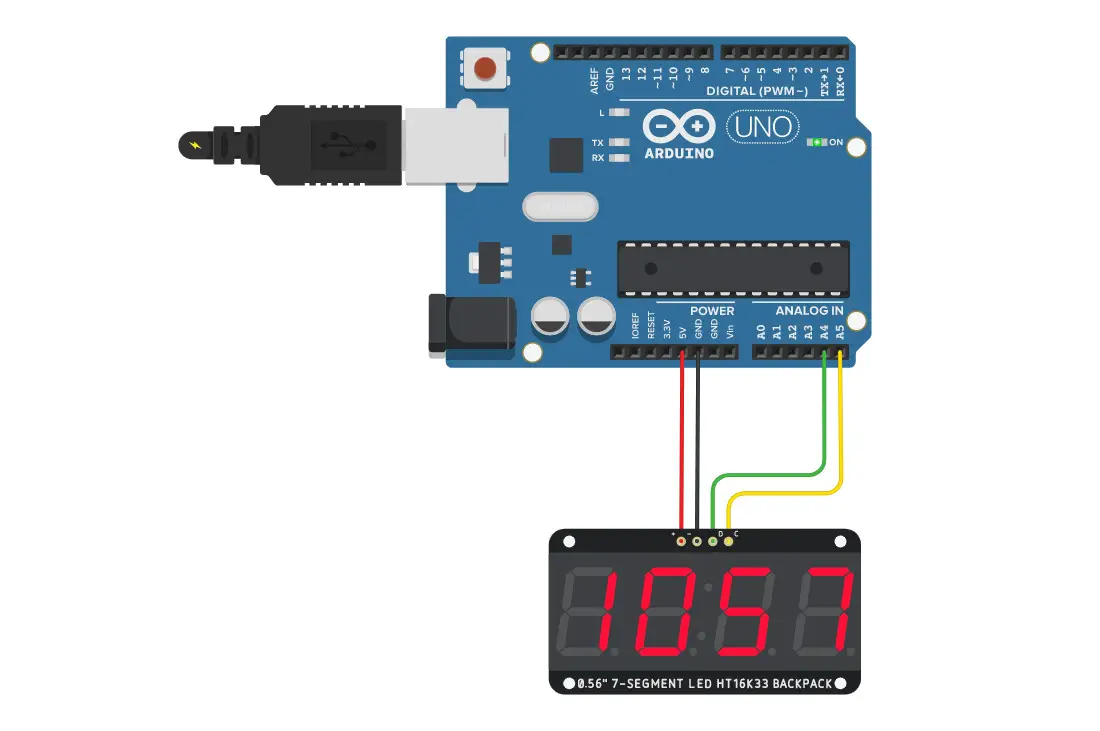
The figure represents the wiring diagram of a 7-segment display with Arduino Uno. This I2C 7-segment module needs to be connected with the I2C pins of the Arduino:
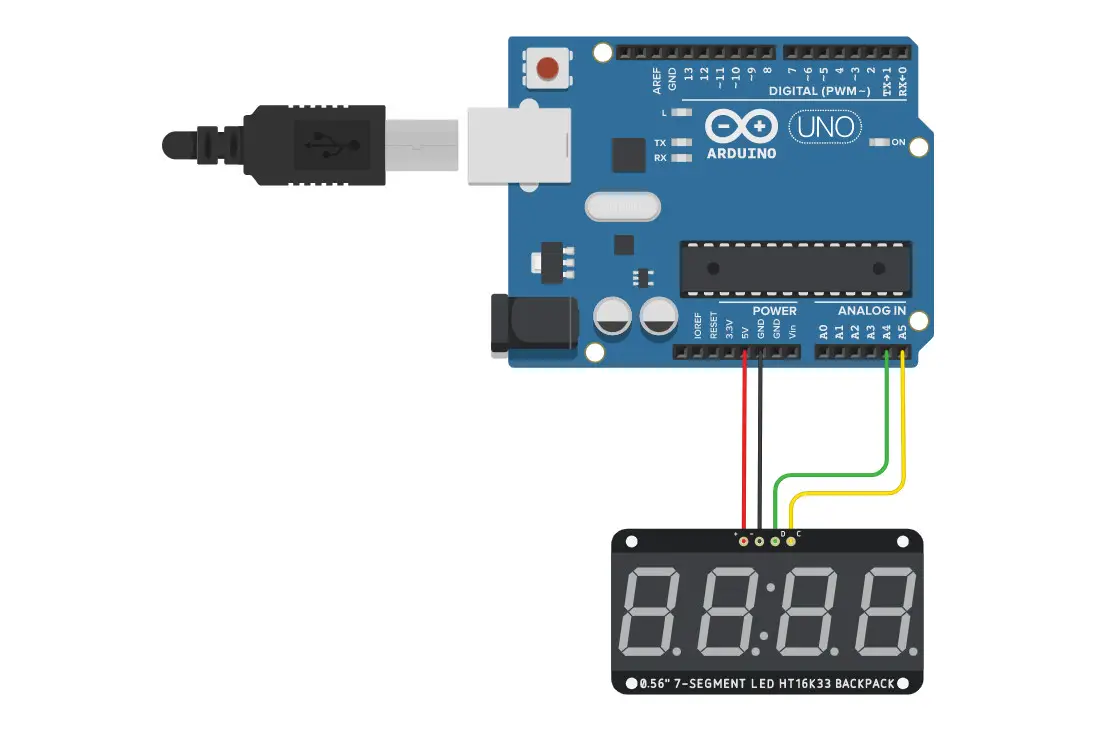
Please find below a table resuming the required connections:
| 7-segment display | Arduino Uno |
|---|---|
| VCC (+) | 5V |
| GND (-) | GND |
| SDA (D) | A4 |
| SCL (C) | A5 |
Get the code and 7-segment Library
Connect your PC to Arduino and open Arduino IDE. For the very first steps, you can refer to Connecting Windows PC with Arduino tutorial. You can get the .ino code and libraries from my download area with the following link:
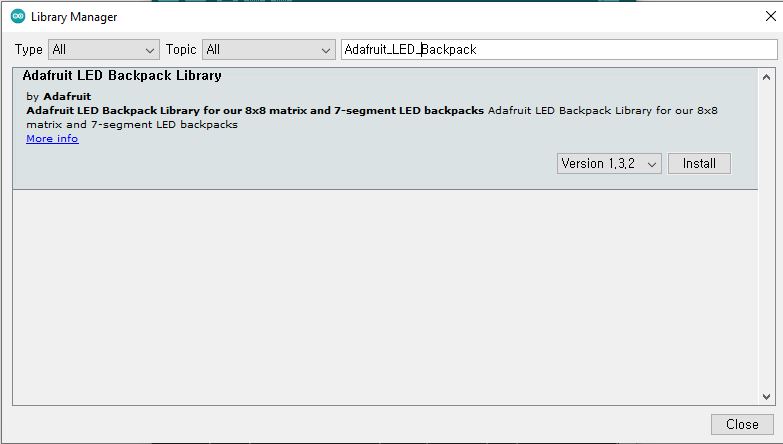
You also need to install the Adafruit LED Backpack library, according to my Install Arduino Libraries: methods to add libraries with Arduino IDE tutorial.
Code Explanation
Section 1: Setup and Library
This is the section before setup which we’ll use to add the required library. The “Adafruit_LEDBackpack.h” is the library for performing I2C communication between the 7-segment display and Arduino.
The code creates the child label of the 7-segment library with the name led_display1. Then, the display initializes:
#include "Adafruit_LEDBackpack.h"
Adafruit_7segment led_display1 = Adafruit_7segment();
void setup()
{
  led_display1.begin();
  pinMode(A1, INPUT);
}
Section 2: Loop section
In the loop section, we start a “for” loop for 1200 cycles to cover all 4 seven segments for the demonstration:
void loop()
{
  for (int i = 0; i <= 1200; i++)
The display1.println sends the data to show to the 7-segment display, while the display1.writeDisplay() displays it on the seven segments.
  {
    led_display1.println(i);
    led_display1.writeDisplay();
A delay statement helps to visualize the 7-segment display content, otherwise it will be too fast to see. To change the speed, you can change it to 300.
If you want to see the seconds, then you can use a 1000 delay, even if the code execution time should be calculated for high-precision usages.
    delay(100);
  }
}
Results
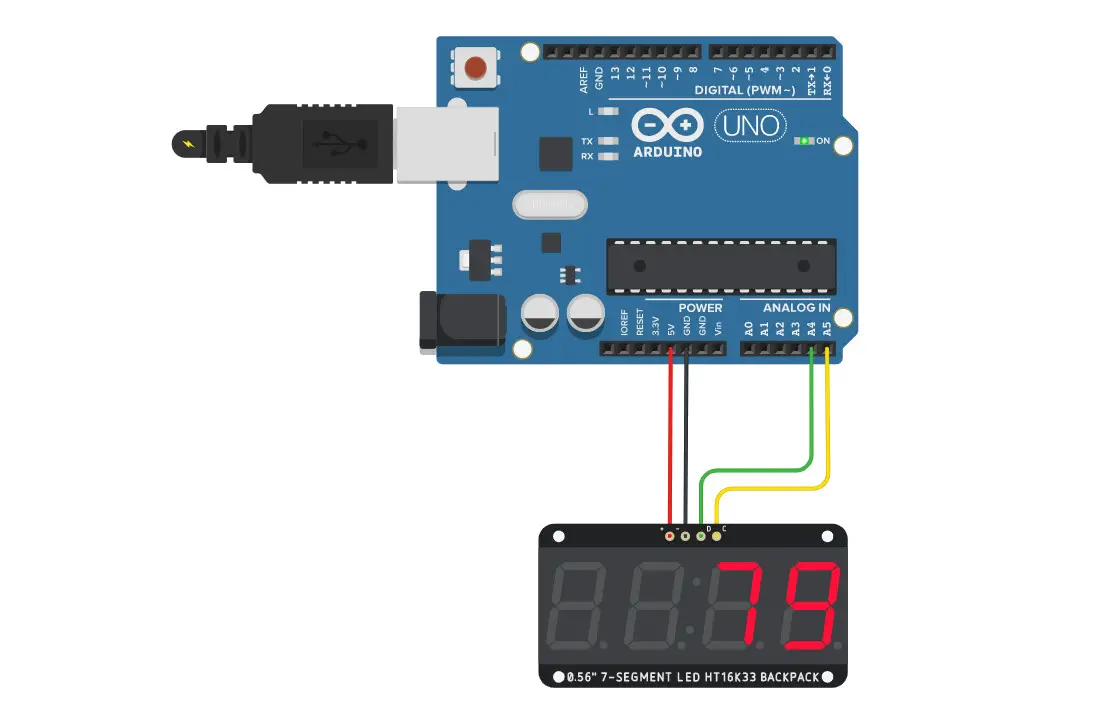
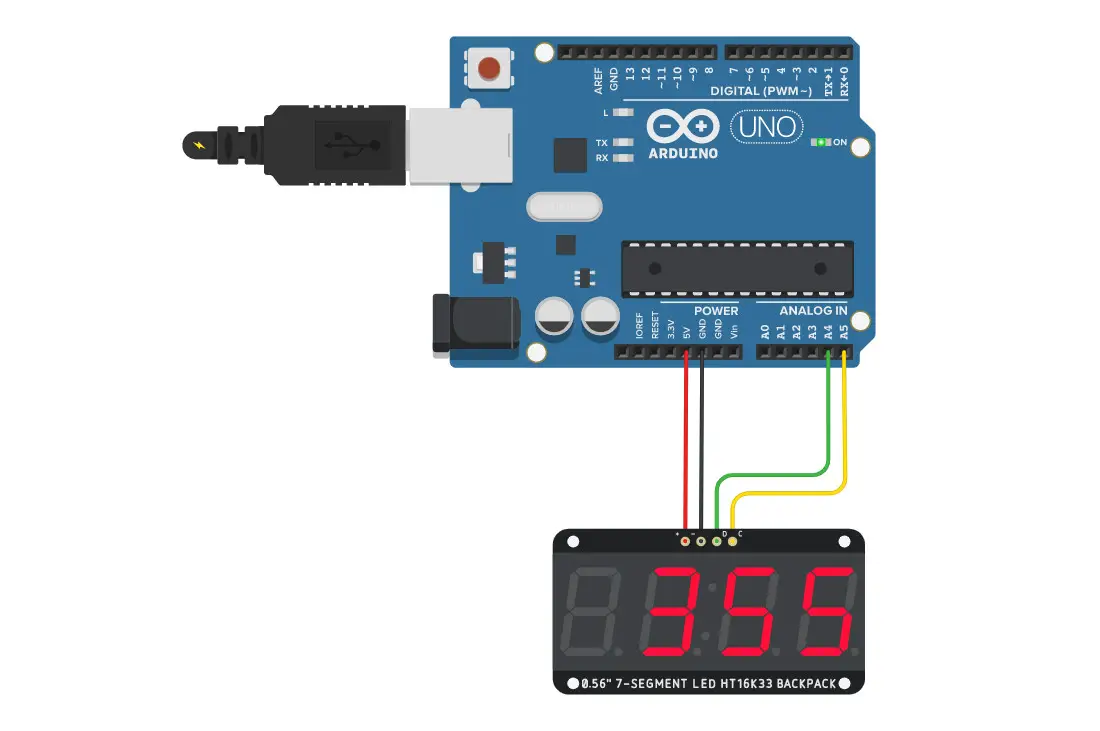
The results display the output of the 7-segment display with Arduino Uno. It will show a counting starting from 0 to 1200 to demonstrate all four digits. At the end of the code, it will run again from the start.
The results are not the seconds, it’s just the counting made with the for loop with a delay of 100 milliseconds. The following video shows the first seconds of the code running:
And, below, are some pictures:
What’s Next
Please find more tutorials on Arduino in peppe8o Arduino archives.
Enjoy!
Umar Jamil
For any queries and help for work, please contact me at:
Whatsapp: +92-346-661-7017/ Link
Email: umarjamil0007@gmail.com

I'm an Electronic Engineer, well-skilled to solve the issues of hardware and software. I do have laboratory which contains unlimited sensors and modules for testing the working. Also, I am experienced in Arduino programming, Android mobile application, microcontroller programming, IOTs and embedded projects. I provide services to control, realize the sensor data in the Mobile Application. For any queries and help for work Contact: Whatsapp:+92-346-661-7017 Email: umarjamil0007@gmail.com
![]()


