

Last Updated on 13th April 2024 by peppe8o
In this tutorial, I’m going to show you how to install and configure YOURLS with a Raspberry PI computer board and publish it. Please note that this can’t be performed with a Raspberry PI Pico as it is a microncotroller and not a Linux computer.
Online URL shortening are services able to transform a long, hard to manage url into a shorter one, usually composed by a domain ana a short casual string (the most famous being Bitly, Adfly and Shortest). With YOURLS and Raspberry PI you can create your own, private shortening service.
About YOURLS
YOURLS stands for Your Own URL Shortener. It is an open source software, running on a LAMP server and using a small set of PHP scripts that allow you to run your own URL shortening service.
As they state: “Running your own URL shortener is fun, geeky and useful: you own your data and don’t depend on third-party services. It’s also a great way to add branding to your short URLs, instead of using the same public URL shortener everyone uses.”
It has also the possibility to install a number of plugins that enhance the capabilities and add features to your service.
Finally, it requires very low hardware computing resources, so that it makes a perfect job for a Raspberry PI computer board.
Please note that you will need a public IP address and this depends on your Internet Service Provider. In my How to configure No-IP DUC service in your Raspberry PI tutorial I explain what this means and how to check it.
This tutorial has been tested with a Raspberry PI 3 model B+, but should work with any Raspberry PI computer board (like Raspberry PI Zero W, or newer ones).
What We Need

As usual, I suggest adding from now to your favourite e-commerce shopping cart all the needed hardware, so that at the end you will be able to evaluate overall costs and decide if to continue with the project or remove them from the shopping cart. So, hardware will be only:
- a Raspberry PI Computer Board (including proper power supply or using a smartphone micro usb charger with at least 3A) or newer Raspberry PI Board
- high speed micro SD card (at least 16 GB, at least class 10)
Check hardware prices with the following links:


Step-by-Step Procedure
Prepare Operating System
Start preparing your OS. I suggest using Raspberry PI OS Lite as it makes your OS fast and performing, without wasting computing resources with a desktop environment (not required for this project).
Make sure your OS is up to date. From terminal:
sudo apt update -Y && sudo apt upgrade -ySet to Work your Domain
If you don’t have a domain or if you don’t want to start with a cost for your domain, you can also opt for a free No-IP domain. In this case, you can use again my How to configure No-IP DUC service in your Raspberry PI to get steps for having an internet domain pointing to your Raspberry PI. From this tutorial, you can skip the Apache section as it will be installed in the following step.
Also, for this tutorial I’m using a “myhomepi.webhop.me” domain, activated only during the tutorial preparation and then deactivated (so, if you browse for it, you won’t find it running).
Prepare Linux-Apache-Php-MySQL server
Install a web server and its database in your Raspberry PI. Again, you can refer to my tutorial to install LAMP server on Raspberry PI (phpmyadmin is not strictly required).
Setup your Database
YOURLS needs a proper database and user permissions to work. We’ll grant all privileges into a specific, dedicated database inside MariaDB. Before running the following commands, please choose your personal database name, user and password and use that instead of my “yourlsDB”, “ yourlsUser” and “yourlsPassword”. Please also remember these values for the next installation steps and for future possible needs.
Also, note that the default password for MySQL command with MariaDB is empty (just press RETURN) unless modified with the “sudo mysql_secure_installation” command at LAMP installation time.
From the terminal, use the following commands:
sudo mysql -uroot -p
create database yourlsDB;
create user yourlsUser@localhost identified by 'yourlsPassword';
grant all privileges on yourlsDB.* to yourlsUser@localhost;
flush privileges;
quit
Get YOURLS code
Control what is the latest version from https://github.com/YOURLS/YOURLS/releases. You can download it from your PC and then update it into your Raspberry PI with a SFTP application (like Filezilla) or you can take the GitHub link for the latest version and download it directly in your Raspberry PI with wget (below command shows hot to get it with the 1.8.2 version, but in following commands please use your downloaded one):
wget https://github.com/YOURLS/YOURLS/archive/refs/tags/1.8.2.zipUnzip files in Apache root folder:
sudo unzip 1.8.2.zip -d /var/www/html/Your files will be inside a folder named “/var/www/html/YOURLS-1.8.2/” (or whatever your version is).
By default, this will implicate that your service will be reached by URL “HTTP://mydomain.com/YOURLS-1.8.2/”. If you want to move to the domain root (and you don’t have other web services running on the same RPI), the easiest solution is moving content to root /var/www/html:
cd /var/www/html/                       #enter apache root folder
sudo chown -R www-data:www-data ./      #change files ownership to defaul apache user
sudo rm index.html                      #remove old index.html apache template
sudo mv YOURLS-1.8.2/* ./               #extract yourls files. Change 1.8.2 with your downloaded version, if different!
sudo mv YOURLS-1.8.2/.[!.]* ./          #required to move also hidden files
sudo rmdir YOURLS-1.8.2/                #remove old, empty folder
Configure Apache
Create the htaccess file, required by Apache to correctly handle browsers requests. More details can be found at https://github.com/YOURLS/YOURLS/wiki/.htaccess. From terminal:
sudo nano /var/www/html/.htaccessPaste following lines (only if root domain, according to the previous reference):
# BEGIN YOURLS
<IfModule mod_rewrite.c>
 RewriteEngine On
 RewriteBase /
 RewriteCond %{REQUEST_FILENAME} !-f
 RewriteCond %{REQUEST_FILENAME} !-d
 RewriteRule ^.*$ /yourls-loader.php [L]
</IfModule>
# END YOURLS
Always remember to change permissions to every file added with sudo into the Apache html folder, to make Apache able to execute and read it correctly:
sudo chown www-data:www-data .htaccessYOURLS also needs to use mod_rewrite. Open in editing the apache2.conf:
sudo nano /etc/apache2/apache2.confand search the following part, referring to /var/www directory:
<Directory /var/www/>
    Options Indexes FollowSymLinks
    AllowOverride None
    Require all granted
</Directory>
And change “AllowOverride” parameter from “None” to “All” like in the following:
<Directory /var/www/>
    Options Indexes FollowSymLinks
    AllowOverride All
    Require all granted
</Directory>
Enable Apache mod_rewrite and finally restart Apache service:
sudo a2enmod rewrite
sudo systemctl restart apache2.service
Setup YOURLS Configuration File
YOURLS comes with a config file base so that we can start from a copy of this sample for our service:
cd /var/www/html/user/
sudo cp config-sample.php config.php
sudo chown www-data:www-data config.php
Open to edit the configuration file just created:
sudo nano /var/www/html/user/config.phpIdentify the following lines:
/** MySQL database username */
define( 'YOURLS_DB_USER', 'your db user name' );

/** MySQL database password */
define( 'YOURLS_DB_PASS', 'your db password' );

/** The name of the database for YOURLS
 ** Use lower case letters [a-z], digits [0-9] and underscores [_] only */
define( 'YOURLS_DB_NAME', 'yourls' );
and change the database parameters according to your ones defined when setting up MariaDB user for YOURLS:
/** MySQL database username */
define( 'YOURLS_DB_USER', 'yourlsUser' );

/** MySQL database password */
define( 'YOURLS_DB_PASS', 'yourlsPassword' );

/** The name of the database for YOURLS
 ** Use lower case letters [a-z], digits [0-9] and underscores [_] only */
define( 'YOURLS_DB_NAME', 'yourlsdatabase' );
Before closing and saving, also identify in config.php the following part:
define( 'YOURLS_SITE', 'http://your-own-domain-here.com' );And change the red part with your own domain. According to my example:
define( 'YOURLS_SITE', 'http://myhomepi.webhop.me' );Finally, identify the following rows:
$yourls_user_passwords = [
        'username' => 'password',
        // 'username2' => 'password2',
        // You can have one or more 'login'=>'password' lines
];
Change username and password (the red ones) with your favourite credentials that you will use for the administrative web interface.
Close and save.
Create Home Page for not Administrative Users
By default, YOURLS comes only with an administrative access. You can also add a public page allowing every user to create its own shortened link. In this case, use the following terminal commands:
cd /var/www/html/
sudo cp sample-public-front-page.txt index.php
sudo chown www-data:www-data index.php
Router Settings
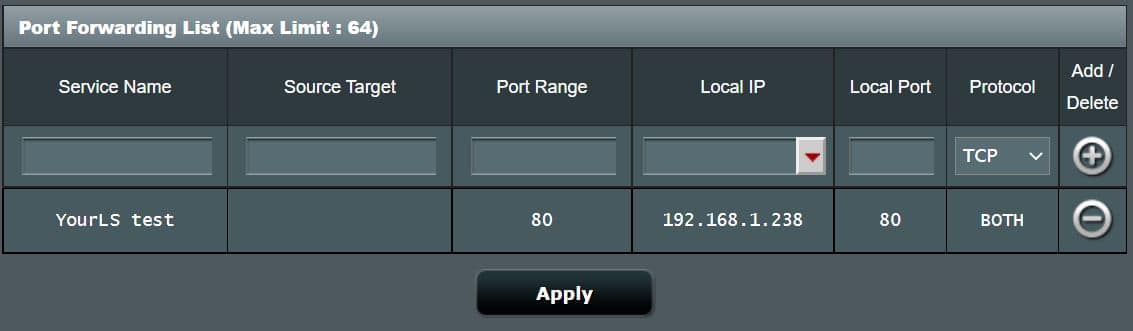
Make sure you have added in your home router a proper port forwarding rule to forward outside requests on port 80 (443 for https) to your Raspberry PI IP address and port 80 (443 for https). This step depends on your router and the following is my configuration of Port Forwardning with an ASUS one, where the local IP showed is my Raspberry PI internal IP address. Letting “Source Target” empty means that my router will forward all requests from web (using port 80) to my Raspberry PI:
Finalize Installation
We can now access the web interface to complete our YOURLS installation. I’ve noticed that at the time of this tutorial it is NOT working with Mozilla Firefox, so I had to use Google Chrome. Browse your domain by adding “/admin/” suffix. In my case, I will use “http://myhomepi.webhop.me/admin/” and the following page will load:
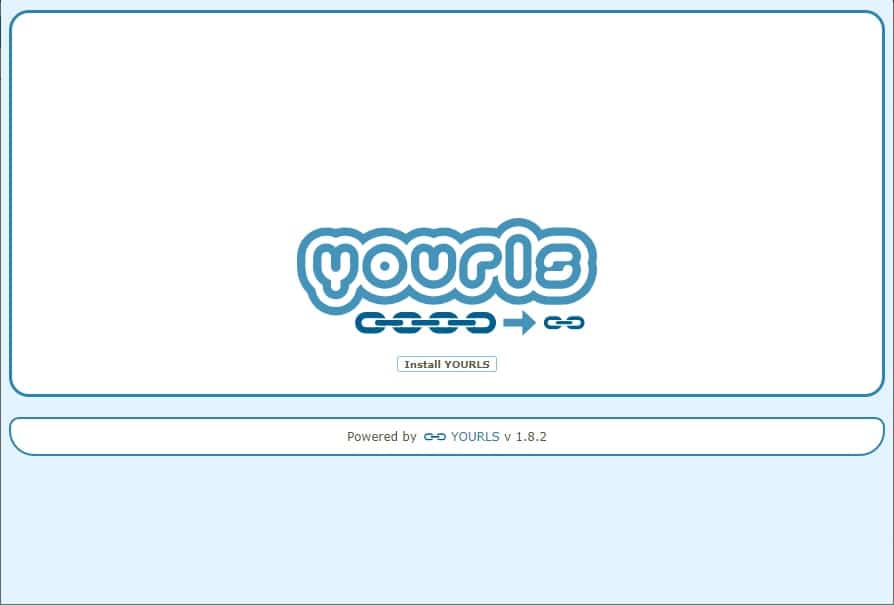
Click “Install YOURLS” button under the logo. This will quickly check the main requirements and create the few database tables needed. In less than a second you will be confirmed that those operations have been done successfully:
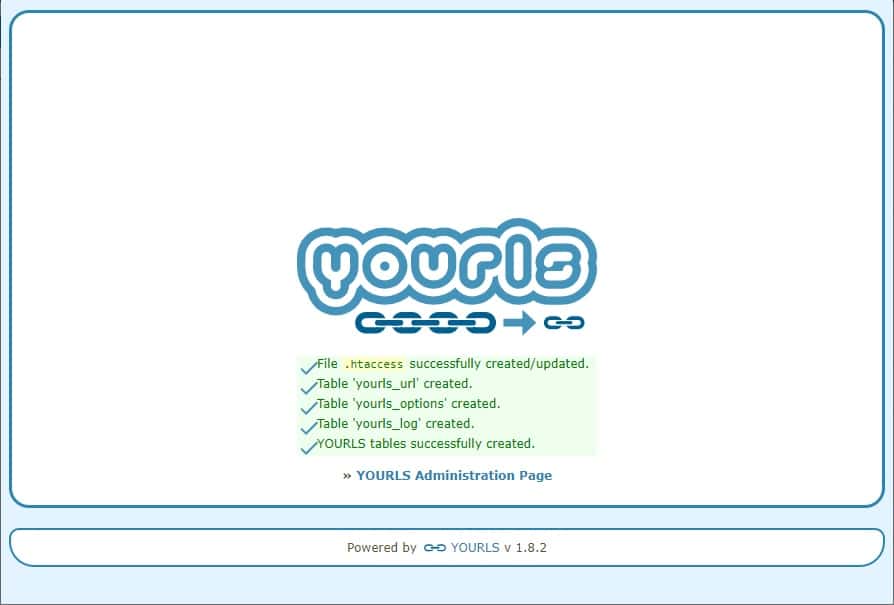
Now you can use the “YOURLS Administration Page” link (or browse the /admin/ page) to go to administration login:
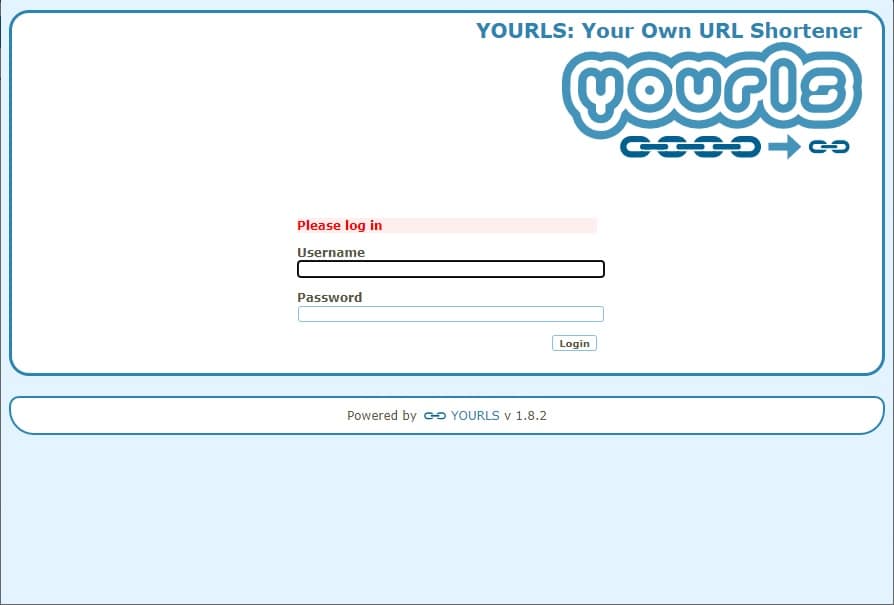
Enter the user credentials inserted in your config.php and login to reach the administration page:

From here your shortening service is ready to be used!
Please refer to the official YOURLS wiki for more administration details.
One more check, as we also created a public home page, you will be also able to reach your public page by using your domain without any suffix (in my case “http:// myhomepi.webhop.me”):
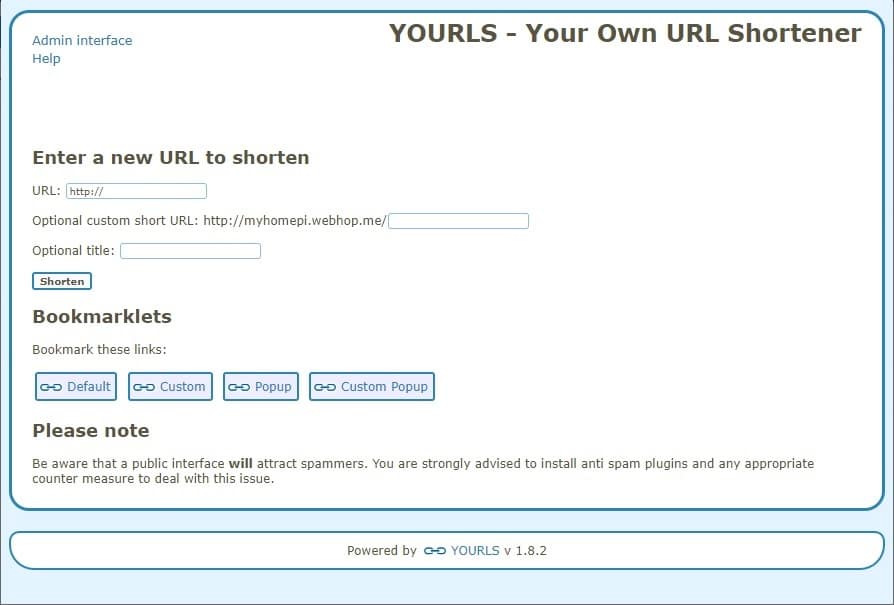
Please note that when a public page is published, the YOURLS team warns to add as soon as possible protection from spammers like, for example, a captcha (available from plugins) or any other spamming protection from the YOURLS plugins available.
Enjoy YOURLS on Raspberry PI!

Open source and Raspberry PI lover, writes tutorials for beginners since 2019. He's an ICT expert, with a strong experience in supporting medium to big companies and public administrations to manage their ICT infrastructures. He's supporting the Italian public administration in digital transformation projects.
![]()
![]()
![]()
![]()
![]()
![]()
![]()


