

Last Updated on 12th April 2024 by peppe8o
In this article, I’ll show you how to create your personal learning portal with Moodle on a Raspberry PI single board computer.
World digitalization is spreading on all life fields. Internet reached each home, so also learning process changed with many web courses rising.
What Is Moodle
Moodle is an Open Source learning management system. It enables educators to create their own private website filled with dynamic courses that extend learning, any time, anywhere.
The Moodle web interface can be accessed from any browser and is easy to navigate on both desktop and mobile devices. You can find a customizable Dashboard (both for users and administrators) displaying current, past and future courses, along with tasks due.
Besides other features, the most important are:
- Collaborative tools and activities
- All-in-one calendar
- File Management
- Simple and intuitive text editor
- Notifications management
- Progress tracking
The full feature list can be found on Moodle Docs feature page.
What We Need
As usual, I suggest adding from now to your favourite e-commerce shopping cart all the needed hardware, so that at the end you will be able to evaluate overall costs and decide if to continue with the project or remove them from the shopping cart. So, hardware will be only:
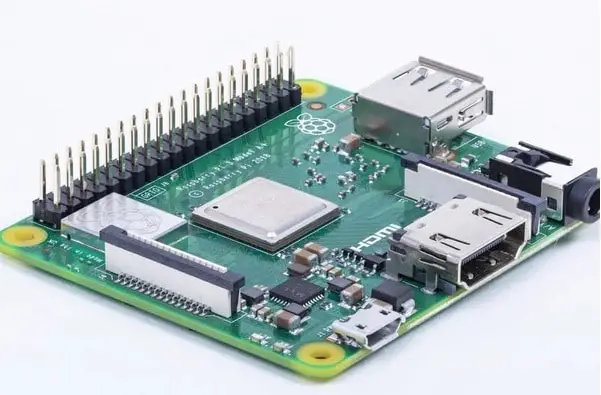
- Raspberry PI 3 Model A+ (including proper power supply or using a smartphone micro usb charger with at least 3A) or newer Raspberry PI Board
- high speed micro SD card (at least 16 GB, at least class 10)
In this guide, I’ll use the cheap Raspberry PI 3 model A+ (please refer to comparing Raspberry PI models for differences between boards).
Check hardware prices with the following links:

Step-by-Step Procedure
Install Operating System
We’ll use a light OS without desktop environment, so having more power for services instead of wasting CPU and RAM. For this preparation part, please refer to install Raspberry PI OS Lite. (I’ve used the 64-bit as it is supported by the RPI 3 Models onward.
Make your operating system up-to-date:
sudo apt update -y && sudo apt upgrade -YYou may also adopt some performance improvements for your Raspberry PI, as reducing the RAM dedicated to graphic board (Manage Raspberry PI GPU Memory Split) and increase Swap space to 1000MB (Set Raspberry PI Swap Memory).
Install Lamp Server
Moodle works on apache web server, but requires also PHP and a database to store its data. We’ll install a simple LAMP (Linux Apache Mysql Php) server, changing Mysql with MariaDB which performs better on Raspberry PI. For this step, please refer to my LAMP server on Raspberry PI tutorial.
Install Requirements
Moodle requires a number of PHP settings and modules to be prepared to work. From terminal, start editing PHP configuration:
sudo nano /etc/php/7.4/apache2/php.iniCheck these settings in your php.ini. For settings that use ON/OFF as their values, you can substitute 1 for ON and 0 for OFF if you prefer. If you change some configurations, don’t forget to restart the server. Bolded comments identify the default php configuration. You can also leave all as is.
- max_input_vars in the default configuration is commented (with a semicolumn at the start of the line). Uncomment and set it to 5000
- memory_limit needs to be at least 128M (although some functions may not work if this low). Moodle will refuse to install if lower. Moodle recommends at least 128M. Large systems may need an even higher setting. > 128 BY DEFAULT
- session.save_handler needs to be set to FILES. > OK BY DEFAULT
- file_uploads needs to be ON. > OK BY DEFAULT
- session.auto_start needs to be OFF. > OK BY DEFAULT
- post_max_size and upload_max_filesize restrict the maximum file size that you can upload. > 8M and 2M by defalut
Close the file and save it (if you have made any changes).
The next list identifies PHP modules and extensions needed or recommended. Bolded comments check if already installed with php. We’ll install the missing ones with the one line apt command at the end of the list:
- iconv extension > OK BY DEFAULT
- mbstring extension > ADDED BELOW
- curl extension > ADDED BELOW
- openssl extension > OK BY DEFAULT
- tokenizer extension > OK BY DEFAULT
- xmlrpc extension > ADDED BELOW
- soap extension > ADDED BELOW
- ctype extension > OK BY DEFAULT
- zip extension > ADDED BELOW
- gd extension > ADDED BELOW
- simplexml extension > ADDED BELOW
- spl extension > OK BY DEFAULT
- pcre extension > OK BY DEFAULT
- dom extension > OK BY DEFAULT
- xml extension > ADDED BELOW (same as simplexml)
- intl extension > ADDED BELOW
- json extension > OK BY DEFAULT
- The appropriate extension for your chosen database is also required. > DONE WITH MARIADB INSTALLATION
- Other PHP extensions may be required to support optional Moodle functionality, especially external authentication and/or enrolment (e.g. LDAP extension for LDAP authentication and the sockets extension for Chat server). > NOT NEEDED IN THIS PROJECT
From terminal, use the following command to install missing packages:
sudo apt install php-mbstring php-curl php-xmlrpc php-soap php-zip php-gd php-xml php-intl -yRestart Apache service:
sudo systemctl restart apache2.serviceWe need also to send mail (like for notifications and user registration). Let’s install Exim:
sudo apt install exim4Configure Exim in sending mail to external domains:
sudo dpkg-reconfigure exim4-configChange only the first screen configuring installation as internet site:
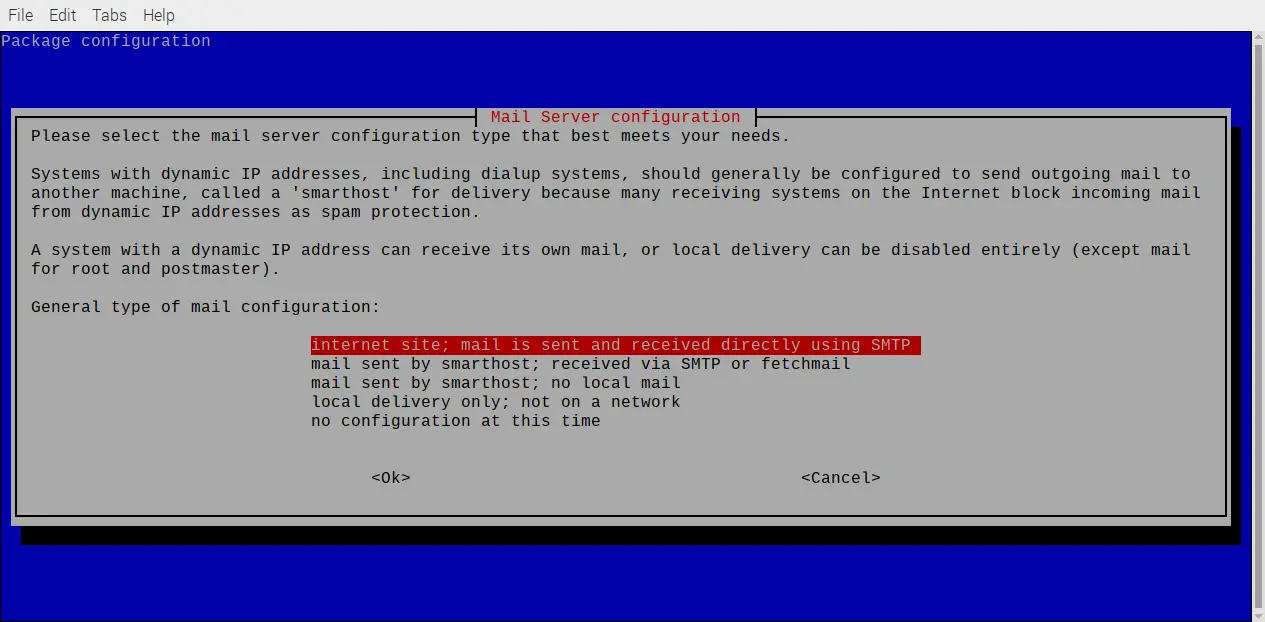
You can leave all other parameters as default or change them at your choice.
Test sending a mail. Following command will open an Exim session. The terminal will listen to what is added from the user to add it in the mail sent (change myEmail@example.com) with your mail:
exim -v myEmail@example.comThen type:
From: yourEmailAddress@example.com
Subject: Exim Subject test
Text to be included in message Body
Then press CTRL+D and your mail will be sent. Once sending is complete, you can press ENTER to go back to the terminal prompt.
NOTE: Please note that your IP Address may be blocked by internet antispam, thus resulting in an error like “Client host [x.x.x.x] blocked using Spamhaus” in sending logs. In this case, you will need to use an authenticated email sending strategy.
Also, check in your recipient Spam box that the test email has been delivered.
Install and Configure Moodle
We’ll connect to MariaDB with root user (default password is empty) to create the new database and grant permissions (remember to use semicolumns at the end of each command row as shown below). Before starting, prepare a user/password combination to use instead of default ones (moodleuser / moodlepassword):
sudo mysql -uroot -pPress ENTER if you have still your MariaDB root password empty or type your password and press ENTER. Run following lines, using your prepared DB moodle user and password):
CREATE DATABASE moodle DEFAULT CHARACTER SET utf8mb4 COLLATE utf8mb4_unicode_ci;
GRANT SELECT,INSERT,UPDATE,DELETE,CREATE,CREATE TEMPORARY TABLES,DROP,INDEX,ALTER ON moodle.* TO 'moodleuser'@'localhost' IDENTIFIED BY 'moodlepassword';
flush privileges;
quit
Prepare an empty folder for Moodle files:
sudo mkdir /opt/moodleAnd grant to www-data (apache user) ownership on this folder:
sudo chown -R www-data:www-data /opt/moodle/We’ll get Moodle code from git (it will take a while, there are some hundreds of MB to be downloaded):
sudo apt install git
git clone -b MOODLE_311_STABLE git://git.moodle.org/moodle.git
This downloads a copy of Moodle code inside a new local directory in your working folder. Copy downloaded content under /var/www/html/ folder:
sudo mkdir /var/www/html/moodle/
sudo cp /home/pi/moodle/* /var/www/html/moodle/ -r
Copy configuration template to config.php:
sudo cp /var/www/html/moodle/config-dist.php /var/www/html/moodle/config.phpEdit config.php to use your configuration
sudo nano /var/www/html/moodle/config.phpEdit variables according to your configuration (192.168.1.177 is my Raspberry PI IP address, so use your one or external address). You need at least to identify and modify the following ones:
$CFG->dbtype = 'mariadb';
$CFG->dbhost = 'localhost';
$CFG->dbname = 'moodle';
$CFG->dbuser = 'moodleuser';
$CFG->dbpass = 'moodlepassword';
$CFG->dataroot = '/opt/moodle';
$CFG->wwwroot = 'http://192.168.1.177/moodle';
Close and save. Assign www-data ownership on html moodle folder:
sudo chown -R www-data:www-data /var/www/html/moodle/Setup the cron for scheduled jobs:
sudo crontab -u www-data -eSelect “1. /bin/nano” by typing 1 and pressing ENTER
Append the following string:
* * * * * /usr/bin/php /var/www/html/moodle/admin/cli/cron.php >/dev/nullWith this setting, our cron will run each minute. Before starting to install moodle, this script needs to run at least 1 time.
From your favourite web browser, use following URL (changing “192.168.1.177” with your Raspberry PI IP address one):
http://192.168.1.177/moodle/
From here, installation proceeds from the web interface.
The first screen requires copyright notice confirmation:
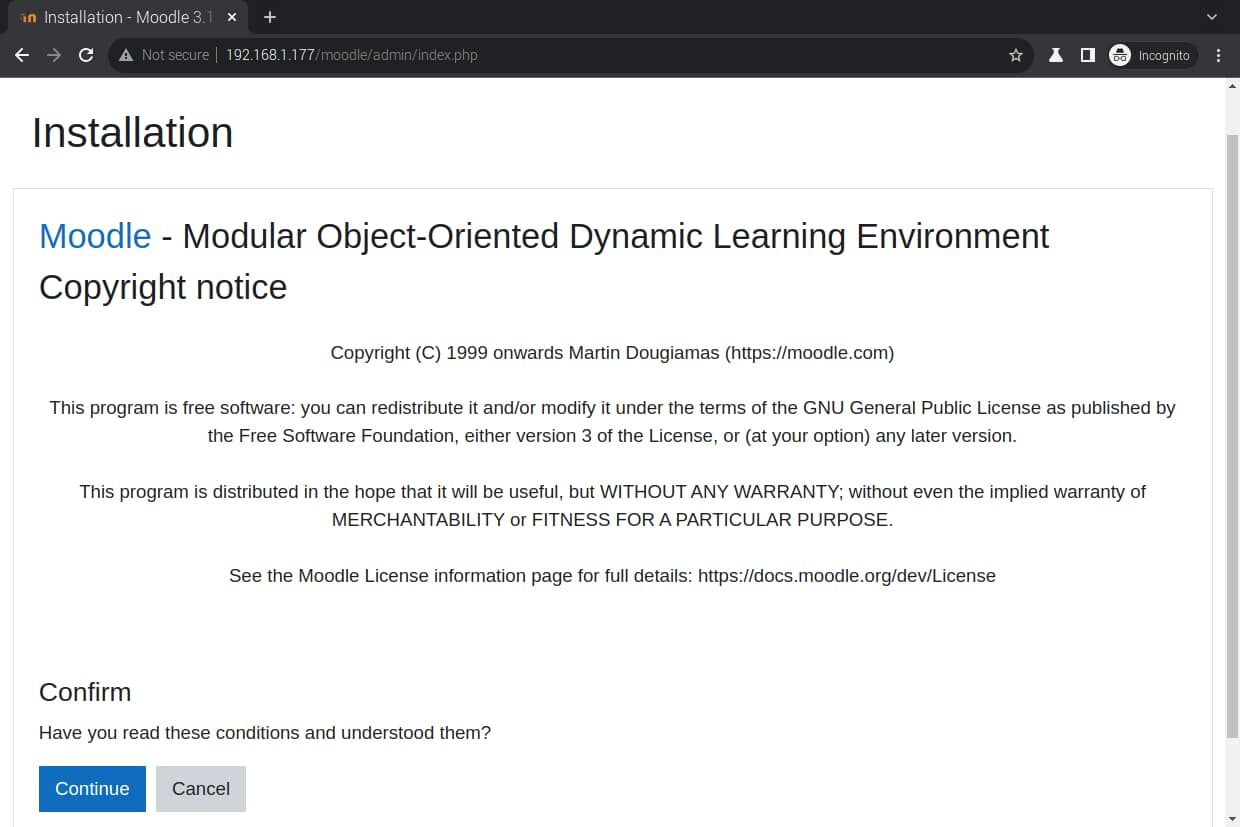
Read License and confirm with the “Continue” if you want to continue the installation. Next screen shows requirements check:
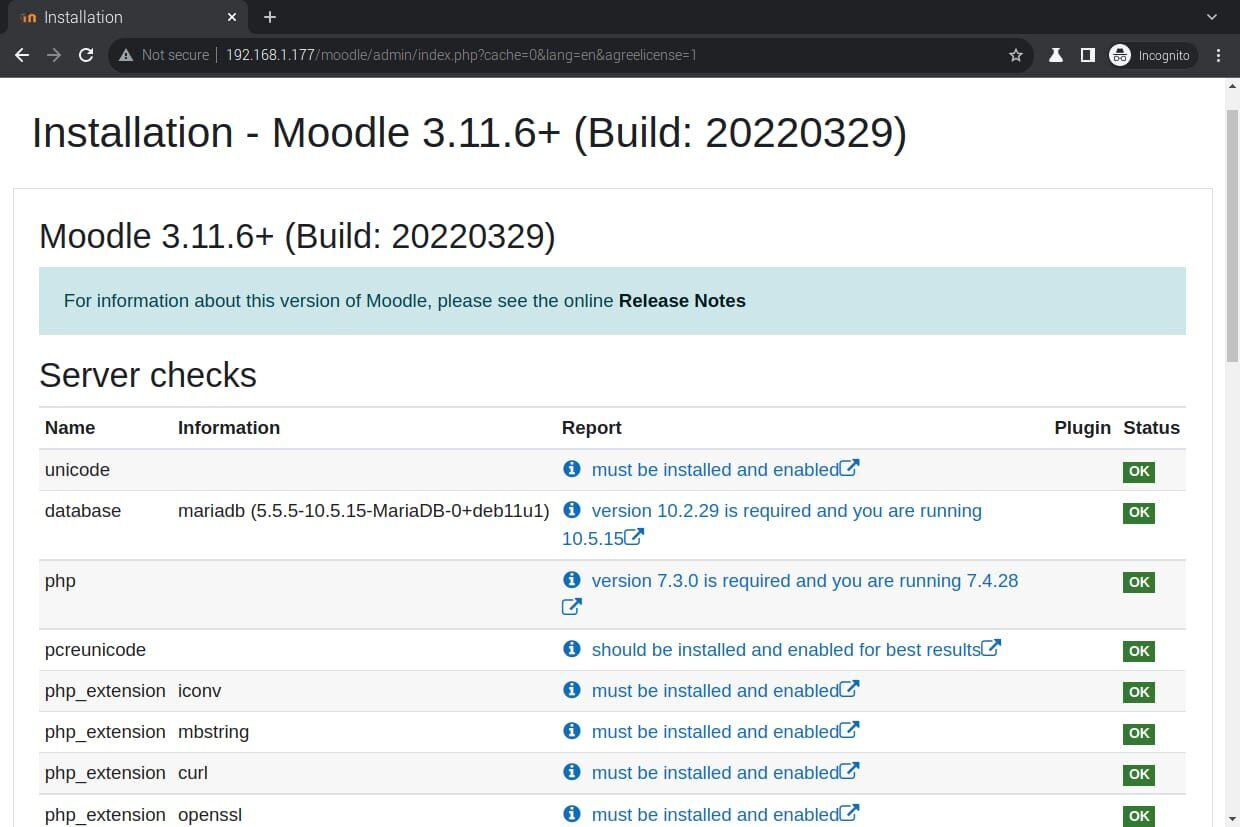
You will find final warnings regarding https activation. This checks is not mandatory and can be skipped at this moment, this will not intake our test installation. In order to get your Raspberry PI supporting https you can use my Self Signed Certificate (https) in Raspberry PI with Apache (where your Raspberry PI is not exposed on internet) or Use Let’s Encrypt and Certbot to secure Raspberry PI-hosted websites automatically (is your Raspberry PI services are exposed on internet).
Please click the “Continue” button at the end of this page.
Platform installation and configuration will start now. taking a while (especially on initial System operations). It will end in a very few minutes, showing the installation progress:
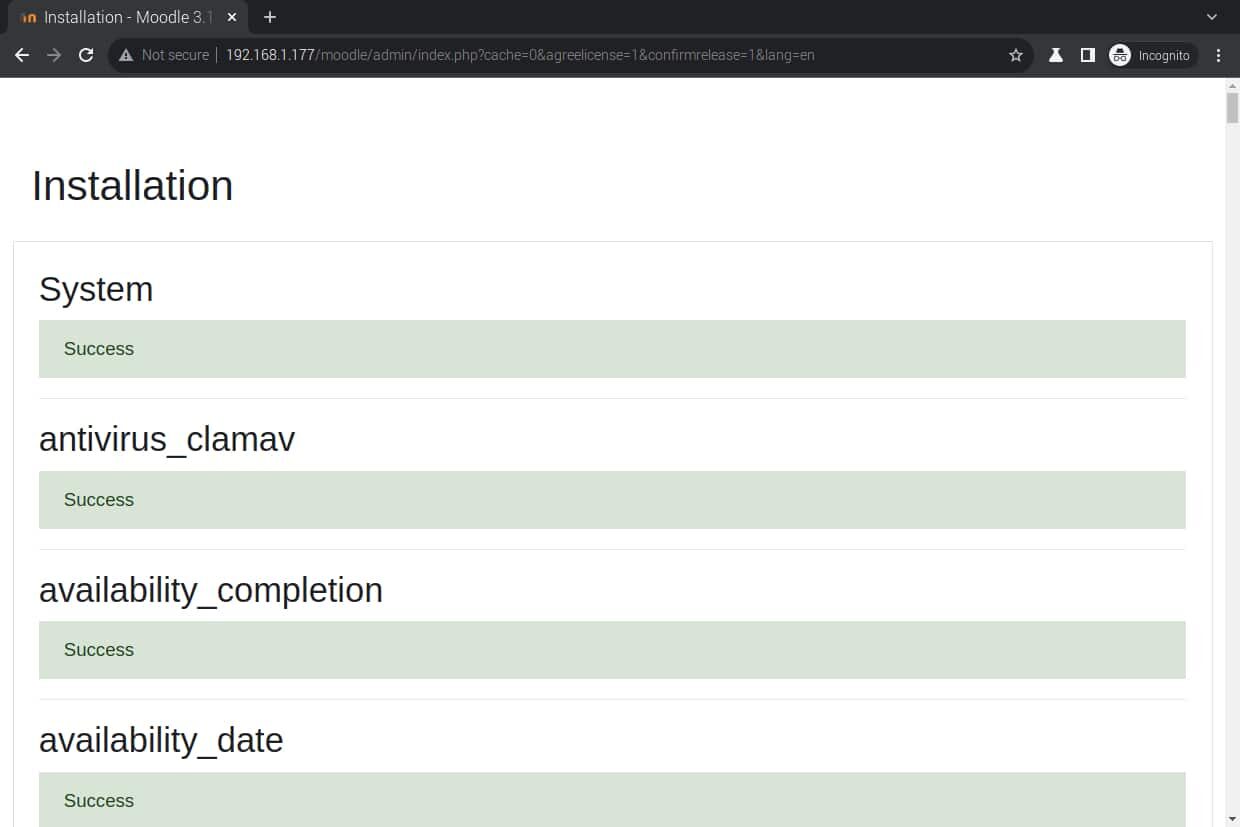
Scroll down to the end of this page and click the “Continue” button. Next page will ask you to configure your first admin user. You will be also able to create later other admin users. Required fields are the new password, first name, surname and email address, but you can also change the “admin” uesername to a custom one:
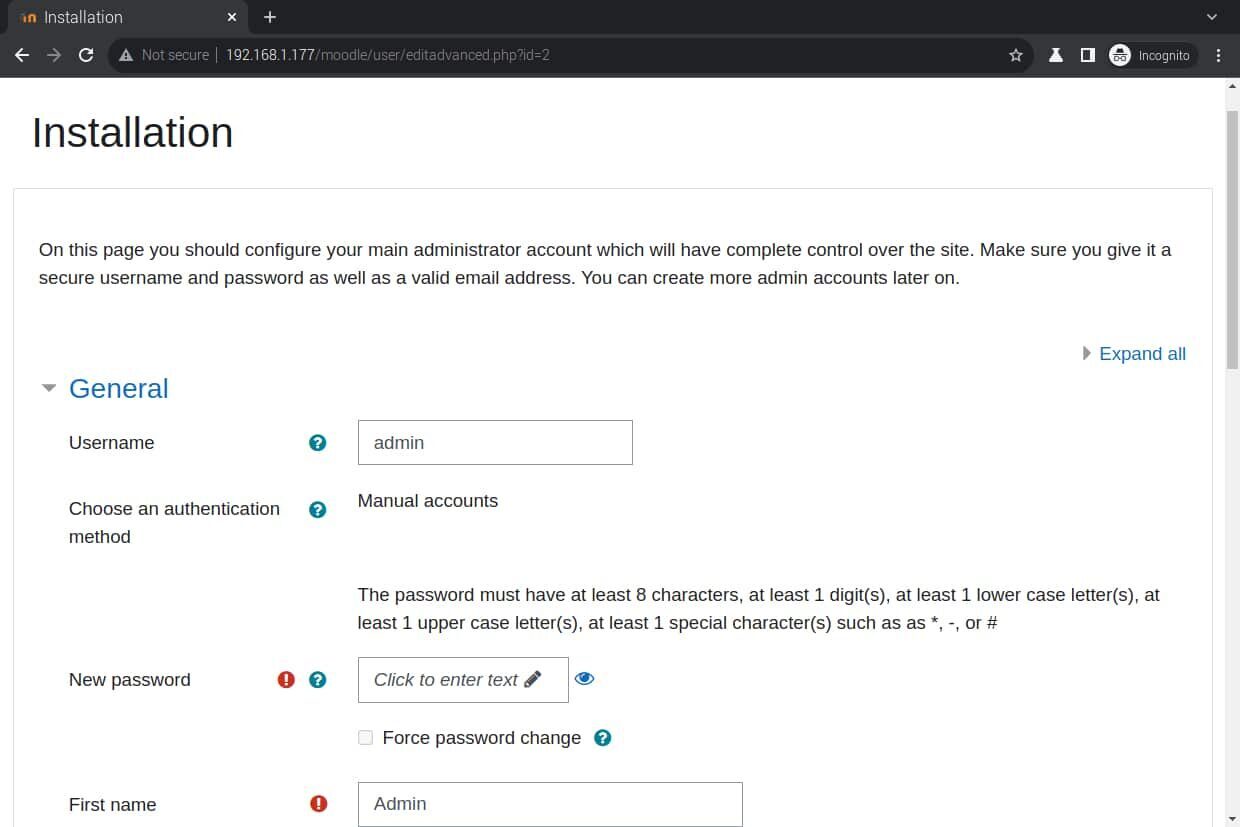
Please fill the forms and click “Update Profile” button at the end of the page. Front page preferences will be shown now:
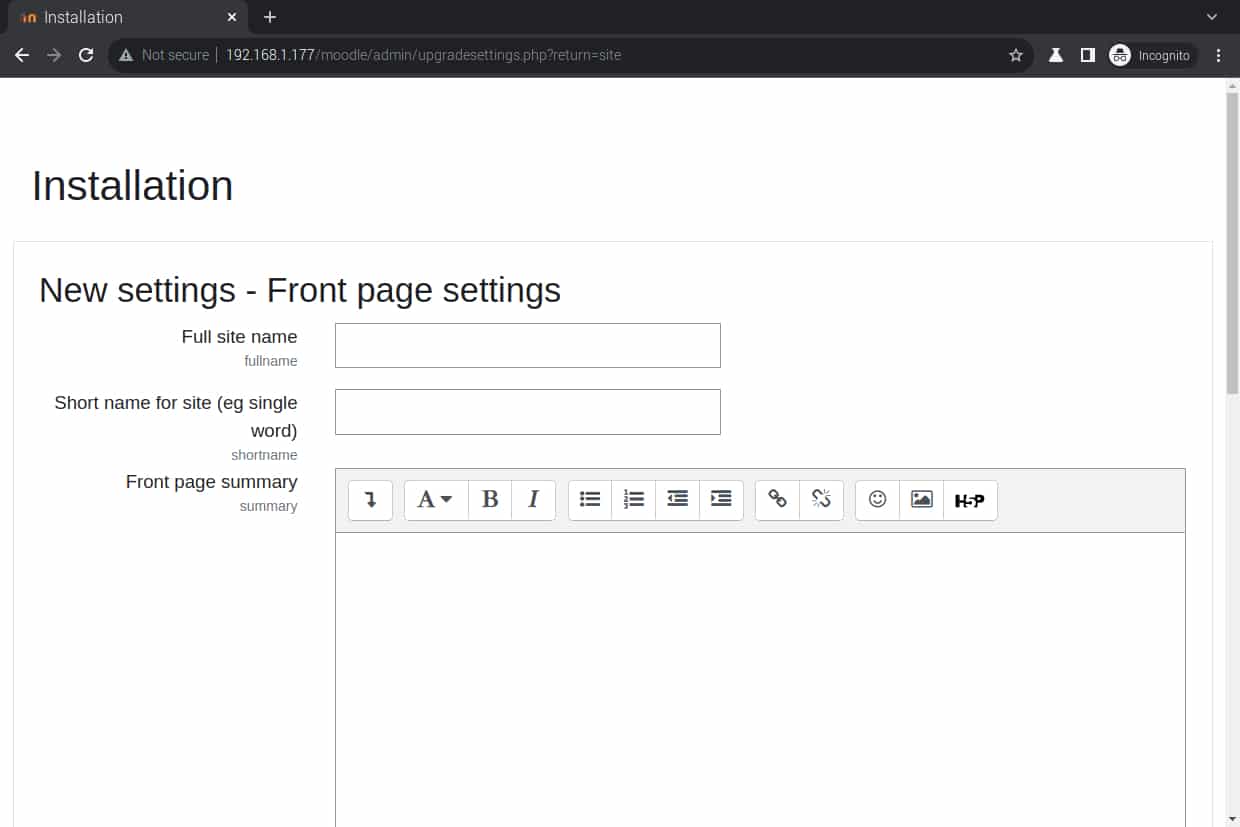
Configure at your choice, taking care in setting correctly the NoReply address (IP address as the domain will not be accepted). Click “Save Changes”.
Your browser will be finally redirected to the admin web dashboard:
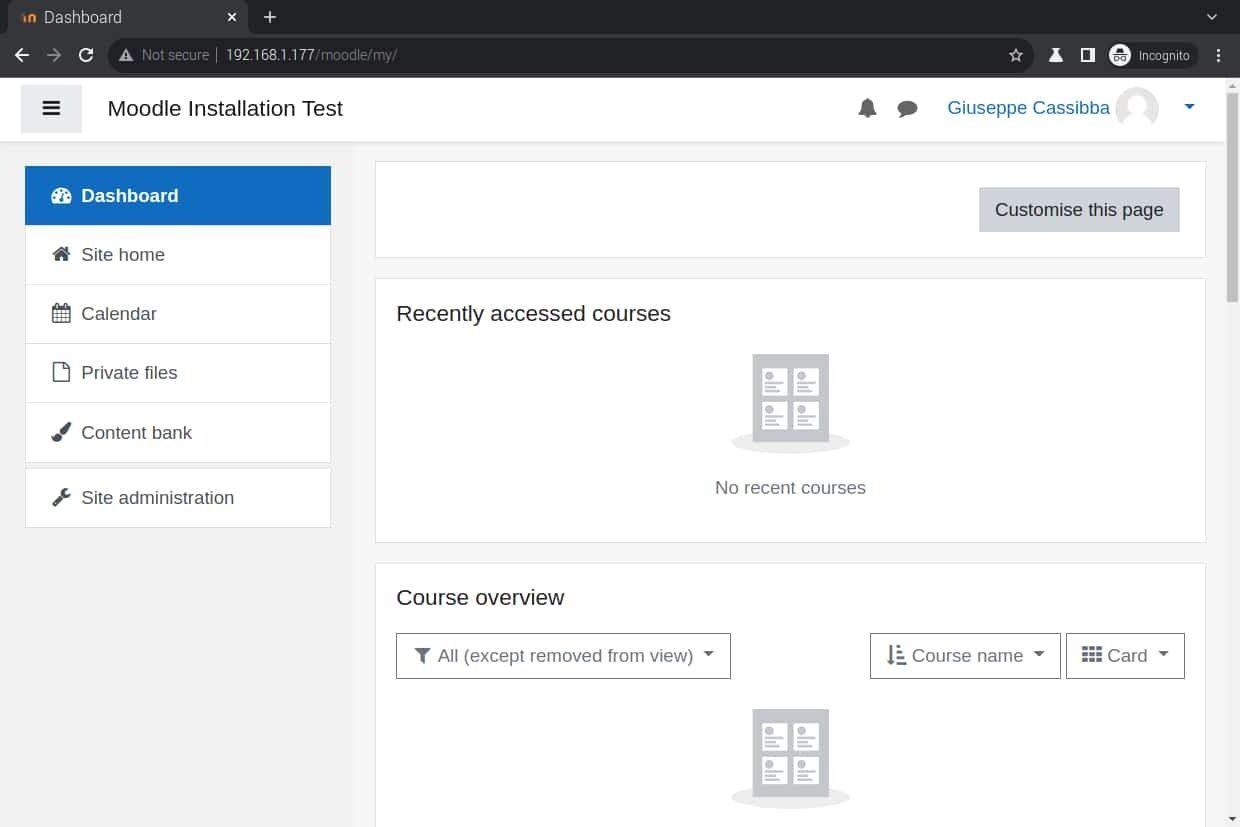
From here you are ready to use your Learning Platform with Moodle on Raspberry PI.
Please refer to Moodle Docs page for customizing and using your site.
What’s Next
If you want to discover many other projects for your Raspberry PI, you can take a look at peppe8o Raspberry PI tutorials.
Enjoy!

Open source and Raspberry PI lover, writes tutorials for beginners since 2019. He's an ICT expert, with a strong experience in supporting medium to big companies and public administrations to manage their ICT infrastructures. He's supporting the Italian public administration in digital transformation projects.
![]()
![]()
![]()
![]()
![]()
![]()
![]()


Very good tutorial guys. I was going mad with so many non-functional step-by-step guides. Appreciate all your effort!
Thank you for your feedback, Andre!
Hello, Peppe.
Hope you are well.
Just so you know, following this configuration was giving me some issues with Cron. Changing one of your strings worked for me. I just added ‘moodle’ folder, after html/, like this:
* * * * * /usr/bin/php /var/www/html/moodle/admin/cli/cron.php >/dev/null
Once again, thank you very much for this.
Speak soon,
André
Thank you Andre, your note is correct: I forgot to include moodle subfolder in cron path. Procedure updated accordingly
Thanks for the directions! Very easy to follow!
One problem: When using the browser for the first time to access: localhost/moodle (or 192.168.2.245/moodle), I get the error message:
Fatal error: $CFG->dataroot is not configured properly, directory does not exist or is not accessible! Exiting.
I checked the php.ini file, and the dataroot line is exactly as you indicated. I checket the existence of /opt/moodle, and it is there… Would you have an idea on what is wrong here? The /opt/moodle contains nothing. Did I forget to move something there?
Thanks for any help!
Follow up: Here is the parameters specified in the php.ini file:
$CFG->dbtype = ‘mariadb’; // ‘pgsql’, ‘mariadb’, ‘mysqli’, ‘sqlsrv’ or ‘oci’
$CFG->dblibrary = ‘native’; // ‘native’ only at the moment
$CFG->dbhost = ‘localhost’; // eg ‘localhost’ or ‘db.isp.com’ or IP
$CFG->dbname = ‘moodle’; // database name, eg moodle
$CFG->dbuser = ‘moodleuser’; // your database username
$CFG->dbpass = ‘Moodlebox4$’; // your database password
$CFG->prefix = ‘mdl_’; // prefix to use for all table names
$CFG->dataroot = ‘/opt/moodle’;
$CFG->wwwroot = ‘http://192.168.2.245/moodle’;
Thanks again
… Sorry, I meant: /var/www/html/moodle/config.php…!!!
Hi Daniel,
maybe you miss “sudo chown -R www-data:www-data /opt/moodle/” command?
Thanks! That works now… Cheers
Hi Peppe,
Thank you for this tutorial. I have followed all the steps, include the step that install missing packages, but when I get to Moodle installation, it said that intl, xmlrpc and soap haven’t installed and enabled. Would you have any idea what is wrong here?
I’ll very appreciated if you could spend some time help me with this. Thank you in advanced!
Hi Nguyen,
These are the dependencies installed in above steps within the following command:
sudo apt install php7.3-mbstring php7.3-curl php7.3-xmlrpc php7.3-soap php7.3-zip php7.3-gd php7.3-xml php7.3-intlWhat does this gives to you?
Thank you for reply,
I have figured it out, so after running the command to install all the missing dependencies I have to restart Apache2 service so that intl, xmlrpc and soap be recognized as installed and enabled by Moodle.
Are you meaning that it worked after the reboot?
Hi i followed all the steps and got the error:
Error: Database connection failed
It is possible that the database is overloaded or otherwise not running properly.
The site administrator should also check that the database details have been correctly specified in config.php
what did i miss?
Hi David, please can you re-check your config.php file? Maybe a typo error or something similar and this should match with the DB name, user and password set at the CREATE DATABASE step