
Last Updated on 24th April 2026 by peppe8o
In this tutorial, I’m going to show you how to install and setup Photoprism on Raspberry PI.
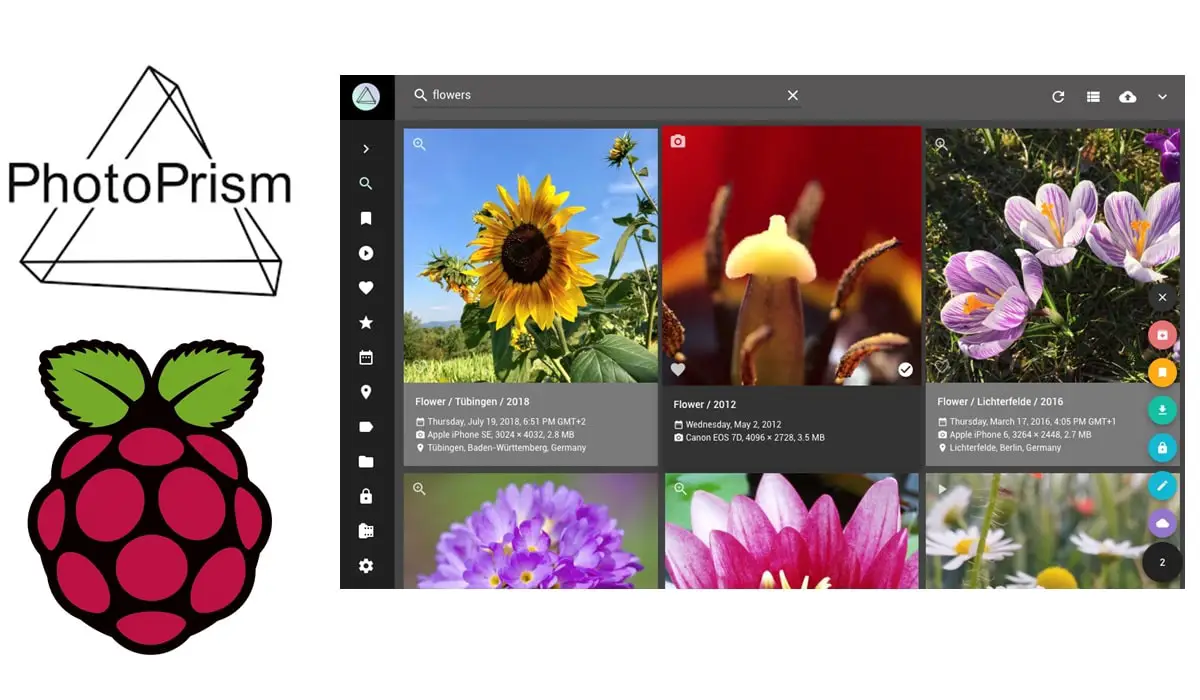
With Smartphone camera quality increasing, thousands of photo files live spread in our hard drives, sometime without a unified organization. Photoprism (running on Raspberry PI) can help handling these files, providing an automated organization and an amazing web browser interface
What is Photoprism
Photoprism is a self-hosted alternative to Google Photos with many additional features. It allows keeping your files private, as they will be stored in your private server (Raspberry PI) and you can keep them available only in your home. It indexes your files to make it easier to show and group them. Photoprism uses Tensorflow to automatically reversing geocode calculation and tagging, rediscovering long-forgotten shots. This enriches your photos data adding location info such as state, city and category. It also helps in identifying duplicates, so that indexed photos will result uniques, removing noise when browsing images. A more complete feature set can be read from Photoprism features page.
Official Photoprism procedure to install on Raspberry PI uses Docker, as it keeps simple installation procedure. But we need to implement some simple tricks because official docker image requires a 64-bit CPU. For this reason, we’ll install the official 32-bit OS, then enabling the built-in 64-bit kernel.
What We Need
As usual, I suggest adding from now to your favourite e-commerce shopping cart all the needed hardware, so that at the end you will be able to evaluate overall costs and decide if to continue with the project or remove them from the shopping cart. So, hardware will be only:
- Raspberry PI Computer Board (including proper power supply or using a smartphone micro usb charger with at least 3A). I used a Raspberry PI 3 model B+. Also RPI 3 model B or newer will work, as we need 64-bit capable boards
- high speed micro SD card (at least 16 GB, at least class 10)
Step-by-Step Procedure
Prepare Operating System
First of all, we need to setup our OS, installing the official 32-bit OS. I suggest using Raspberry PI OS Lite (as it keeps our RPI enough light and fast and we only need web access), but you can also use Raspberry PI OS Desktop (in this case working from its internal terminal).
Make your OS updated. From your terminal, use the following command:
sudo apt update -y && sudo apt upgrade -yAs indexing tasks may be memory expensive, to avoid “out of memory” problems you should change Raspberry PI Swap memory value from default 100 (MB) to 1000.
We can then install Docker in our Raspberry PI. For this step, you can refer to my tutorial to install Docker on Raspberry PI. Remember to install also docker-compose. Portainer is not strictly required.
Enable Raspberry PI OS 64-bit kernel
To do this, we can use a trick coming from the config.txt file. The current OS will result using the 32-bit kernel, as “uname -a” terminal command will show an armv7l architecture, as in following:
pi@raspberrypi:~ $ uname -a
Linux raspberrypi 5.10.17-v7+ #1421 SMP Thu May 27 13:59:01 BST 2021 armv7l GNU/Linux
From the terminal, open this file to edit:
sudo nano /boot/config.txtand append at the end of file the following row:
arm_64bit=1Now you have to reboot your Raspberry PI in order to get 64-bit kernel running:
sudo rebootAfter the reboot, you will have an ARM64 architecture running:
pi@raspberrypi:~ $ uname -a
Linux raspberrypi 5.10.17-v8+ #1421 SMP PREEMPT Thu May 27 14:01:37 BST 2021 aarch64 GNU/Linux
Install Photoprism
Differently from official procedure, I suggest downloading and running the docker-compose file into a dedicated folder in order to avoid conflicts with possible other future docker-compose files. From terminal:
mkdir photoprism
cd photoprism
Download in your Raspberry PI the official docker-compose yml file:
wget https://dl.photoprism.org/docker/arm64/docker-compose.ymlLast but not least, change your photoprism “admin” password from docker-compose file. Open it with nano:
nano docker-compose.ymlidentify following line:
PHOTOPRISM_ADMIN_PASSWORD: "insecure"and change “insecure” (which results in the default “Photoprism” password) with your one. For example, I will set my admin user password to giuseppe by using following line:
PHOTOPRISM_ADMIN_PASSWORD: "giuseppe"Be aware that docker-compose file is indentation sensitive, so take care to not change indentation. Finally, launch Photoprism container download and setup with the following terminal command:
docker-compose up -dThis command will take a some minutes as it needs to download and extract many images and setup database. When terminal prompt is back to you, verify that the 2 docker containers defined in docker-compose file are up and running:
pi@raspberrypi:~/photoprism $ docker ps --format "table {{.Names}}\t{{.Ports}}\t{{.Status}}"

NAMES        PORTS                                       STATUS
photoprism   0.0.0.0:2342->2342/tcp, :::2342->2342/tcp   Up 4 minutes
mariadb      3306/tcp                                    Up 4 minutes
From this command output you can already check that the two containers are both up (status column) and that photoprism service is exposed in its default 2342 port.
Open Photoprism Web Interface
From a web browser, you can reach your Photoprism installation using your Raspberry PI’s IP address and above identified port. As my RPI is located with 192.168.1.238 address, my URL will be http://192.168.1.238:2342. The login page will appear:
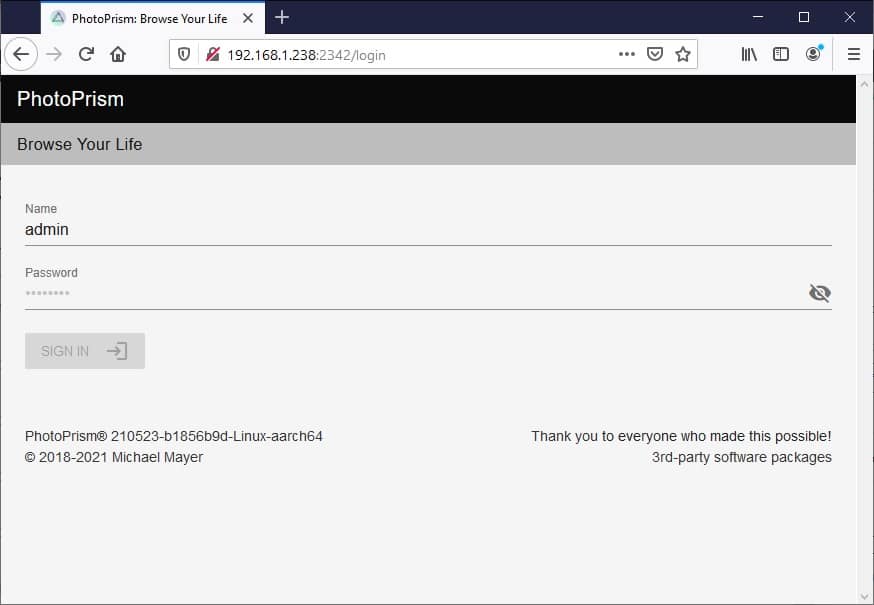
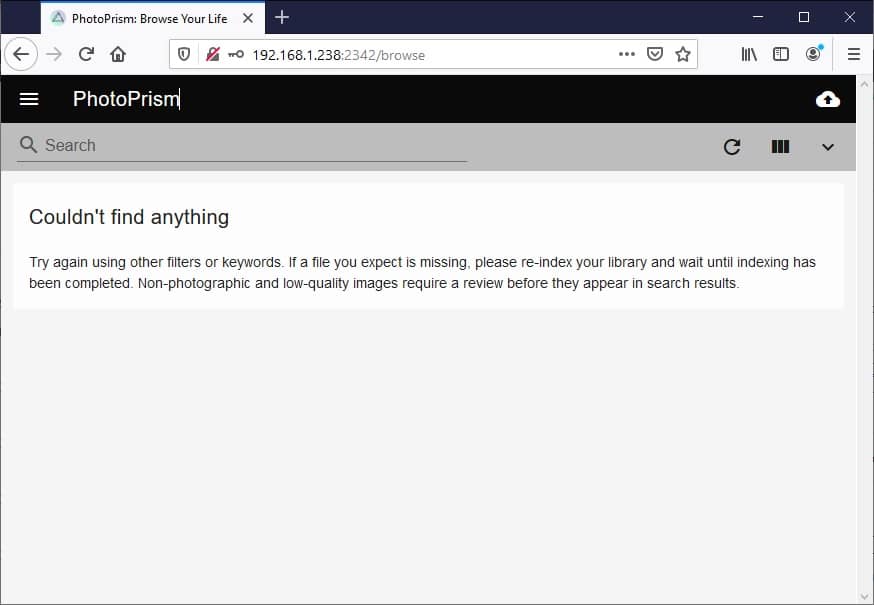
Use your password set in docker compose for your admin user and click “SIGN IN” button. You will enter the Photoprism home which is empty as you haven’t still loaded any photo:
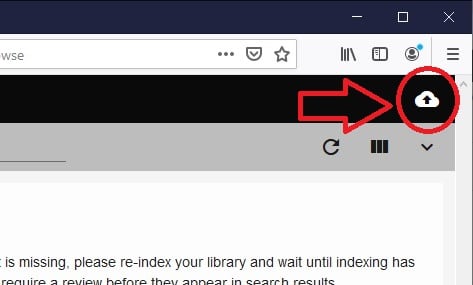
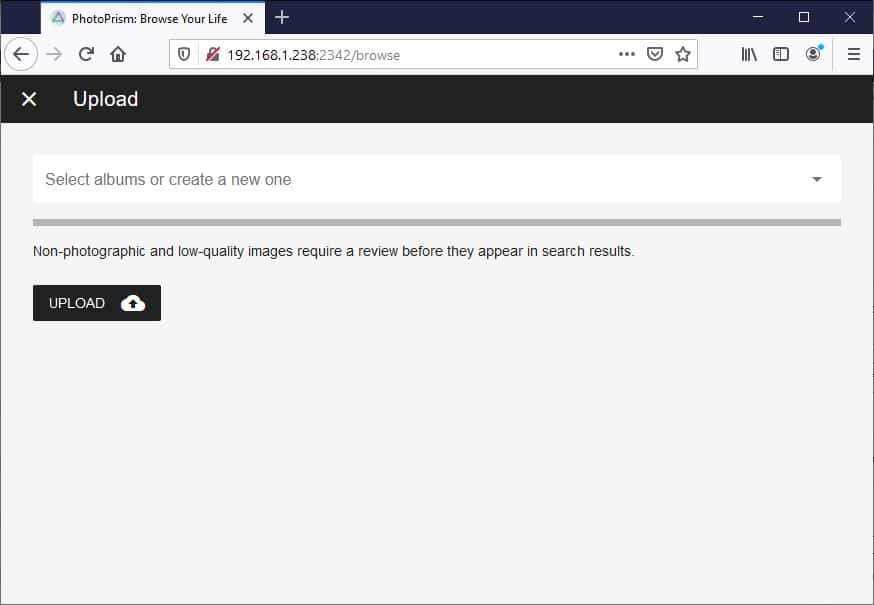
To upload your very first image, identify the upload button on top-right:
Click it for moving to the Upload page:
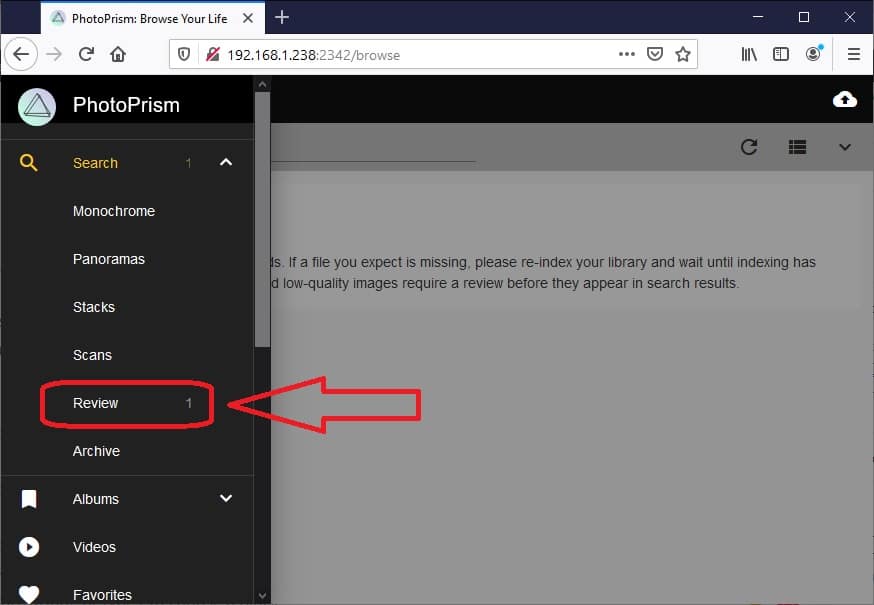
Use the “upload” button from this page to add a photo file from your computer. It will load and index this image and go back to search (home) page. As I used an internet image, it appears to my installation inside the review area, available from left side main menu:
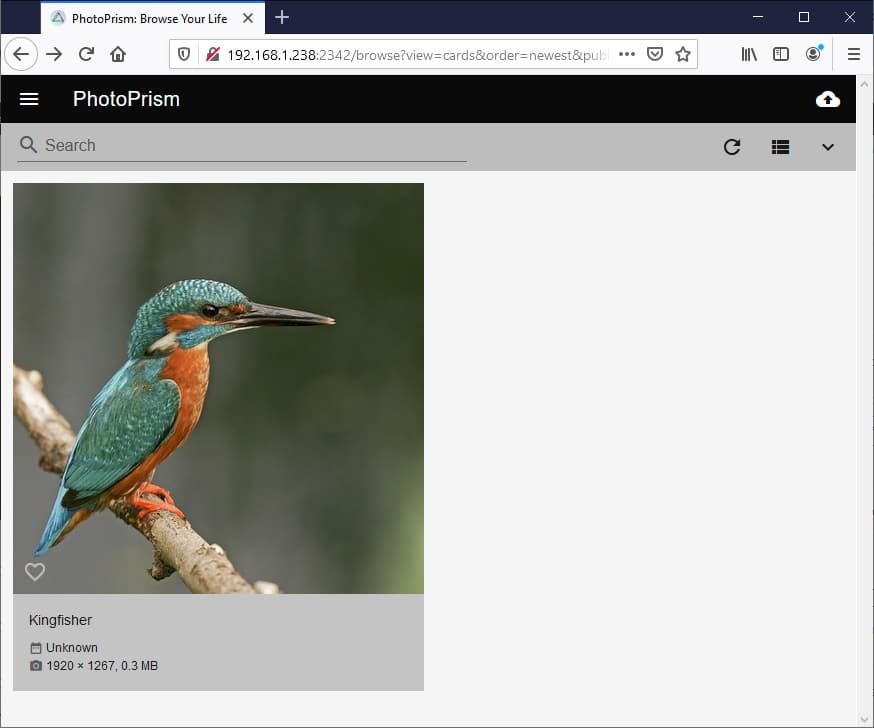
Once te file is approved, you will find it in your home page:
More info on how to use your Photoprism installation are available at Photoprism user guide pages.
Enjoy!

Open source and Raspberry PI lover, writes tutorials for beginners since 2019. He's an ICT expert, with a strong experience in supporting medium to big companies and public administrations to manage their ICT infrastructures. He's supporting the Italian public administration in digital transformation projects.
![]()
![]()
![]()
![]()
![]()
![]()
![]()


Hi,
when i run “docker-compose up -d” , i got error “no matching manifest for linux/arm/v7 in the manifest list entries”
So how i can pass this ?
Hi Enes,
what does the following command show?
docker ps -a
Awesome tutorial. Thanks a lot. Very easy to follow.
Having a lot of photo, I am afraid my sd card capacity will not be enough. Would it be possible to store the uploaded photo in an external HDD plugged to the RPi?
Hi Sylvain,
sure you can do it.
Please note that Raspberry PI OS Lite will not mount the storage automatically on reboot. You have to make this sure with the following tutorial: http://peppe8o.com/automount-usb-storage-with-raspberry-pi-os-lite-fstab-and-autofs/.
In this way you will have the external HDD always remounted with the same path.
Then change the default docker-compose.yml at the volumes section, uncommenting volumes and adding in the first part your media path. For example:
# "/host/folder:/photoprism/folder"becomes:
"/media/myUSB:/photoprism/folder"Thanks for the post. I’m all working although I haven’t uploaded any images yet. I’ve for a 5TB SSD that I’m going to use.
My problem is that when I reboot the photoprism service doesn’t start.
gary@photobox:~/photoprism $ sudo docker ps –format “table {{.Names}}\t{{.Ports}}\t{{.Status}}”
NAMES PORTS STATUS
photoprism_photoprism_1 0.0.0.0:2342->2342/tcp Up 6 seconds
photoprism_mariadb_1 3306/tcp Up About an hour
gary@photobox:~/photoprism $
As you can see, it started only after I manually intervened, while the mariadb server started on bootup.
Do you have any suggestions?
Hi Gary,
have you checked the container logs?
This is the command:
docker logs [OPTIONS] CONTAINER
Is it possible to have the Raspberry Pi running the PhotoPrism and all photo’s/videos are stored on a WD My Cloud EX2 Ultra NAS via through a network drive? Have over 2 TB of video and photo’s I need some help cleaning up and organizing better and just to find a simple solution to speed that process up.
Hi Charles, you should be able to do that.
Steps are:
1.mountong the NAS at a specified and fixed mount point (you can use fstab for this task-> https://peppe8o.com/automount-usb-storage-with-raspberry-pi-os-lite-fstab-and-autofs/)
2. Use the media mount point in your docker-compose file as volume for your /photoprism/folder