
Last Updated on 2nd September 2023 by peppe8o
In this tutorial, I’m going to show you how to install Piwigo on your Raspberry PI computer board. It can also be considered a great Google Photo alternative, as the Google service requires a paid subscription once you require more space. An important thing is, after the Piwigo installation, to use the official users manual to keep our files secure from any outage with periodic backups.
About Piwigo
Keeping your pictures and videos in smartphones can suddenly drain your storage space. Piwigo with Raspberry PI can save your space and give you more features to manage them privately.
Basically, Piwigo is an open source photo management software. It is built on a client-server architecture: all the specific software needed to run the platform is installed in your server (Raspberry PI according to this tutorial). You can use the platform both from a common web browser or from Piwigo client applications available both for Android and Apple devices. For desktop clients, you can use Piwigo with desktop applications like digiKam, Shotwell and Lightroom or FTO clients.
The server component can be installed both in a local computer or can be served from the Piwigo cloud. The latter can be get by subscribing to their cloud plans, but you can self-host Piwigo locally without any fee.
The aim of this software is to enhance photo management, by making it simpler to edit them in batch or filtering images by collections, dates and tags.
Another interesting feature is that you can use the plugin for Google Maps or OpenStreetMap in order to browse your pictures based on the geo metadata on an interactive map.

Piwigo is highly customizable in an easy manner: just browse their themes and plugins, choose your preferred one and click “install” to get it installed.
Finally, you can publish your Piwigo pictures to external users, allowing them to post comments, rates, mark photos as favourites, perform searches and get notified of news by email. With a few more pieces of hardware, you can also create your digital frame and photo management platform hosted on the same RPI running the Raspberry PI in kiosk mode (Raspberry PI OS Desktop is required in this case, but all the remaining steps from this guide remain the same).
For this tutorial, I’m going to use a Raspberry PI 3 Model A+, but you can use these steps with any Raspberry PI computer board.
What We Need
As usual, I suggest adding from now to your favourite e-commerce shopping cart all the needed hardware, so that at the end you will be able to evaluate overall costs and decide if to continue with the project or remove them from the shopping cart. So, hardware will be only:
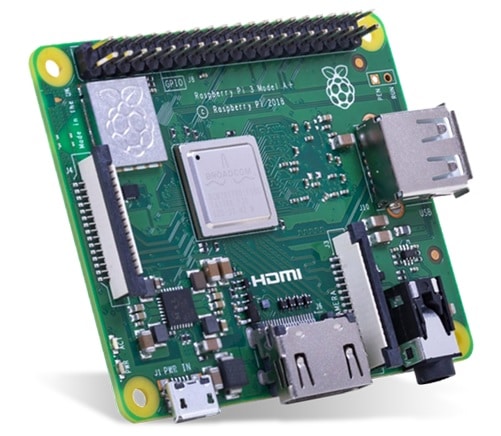
- Raspberry PI 3 Model A+ (including proper power supply or using a smartphone micro USB charger with at least 3A) or newer Raspberry PI Board
- high speed micro SD card (at least 16 GB, at least class 10)
Check hardware prices with the following links:


Step-by-Step Procedure
Prepare The Operating System
Please start with OS installation. You can use both Raspberry PI OS Lite (to get a fast, headless OS) or Raspberry PI OS Desktop (a little slower, but including a full desktop environment).
Make sure that your OS is up to date. From the terminal, please use the following command:
sudo apt update -y && sudo apt upgrade -yYou can now proceed with the next steps by installing LAMP in your Raspberry PI.
Add the required packages
Install the required php modules/packages, according to Piwigo requirements:
- imagick > we’ll install it
- gd > we’ll install it
- exif: already included in php-common
- ffmpeg > we’ll install it
- mbstring (required for Debian) > we’ll install it
- XML (required for Debian) > we’ll install it
You can get them satisfied with the following terminal command:
sudo apt install php-imagick php-gd ffmpeg php-mbstring php-xml -yFinally, restart the Apache service:
sudo systemctl restart apache2.serviceConfigure MariaDB for Piwigo
Log into MariaDB shell as root:
sudo mariadb -u rootCreate a database for Piwigo (I called it “piwigo”, but you can name it as you prefer):
create database piwigo;grant all privileges of Piwigo database to the user (with password) that you will configure in Piwigo in the next steps. Please use your favourite database name, DB user and DB password instead of red ones (respectively piwigo, piwigouser and piwigopassword):
grant all privileges on piwigo.* to piwigouser@localhost identified by 'piwigopassword';Flush the privileges table for the changes to take effect and then exit
flush privileges;
exit;
Install Piwigo in your Raspberry PI
Now we can proceed with the real Piwigo installation. I’ll use the manual install method, as the netinstall method get problems in the past.
Download the installation package directly in your Raspberry PI and uncompress it:
curl http://piwigo.org/download/dlcounter.php?code=latest -o piwigo.zip
unzip piwigo.zip
Move the content into the Apache public folder in a new folder named “piwigo” (or you can name it how you prefer, remembering to use you folder name both on URL and in the following commands):
sudo mkdir /var/www/html/piwigo
sudo mv piwigo/{.,}* /var/www/html/piwigo/
The mv command may result in warnings that can be skipped (as shown in the following code snippet): with the “{.,}” part we moved also the hidden files and with this trick the mv command tries also to move the current folder (“.”) and the parent folder (“..”), but it doesn’t perform the move of the two.
pi@raspberrypi:~ $ sudo mv piwigo/{.,}* /var/www/html/piwigo/
mv: cannot move 'piwigo/.' to '/var/www/html/piwigo/.': Device or resource busy
mv: cannot move 'piwigo/..' to '/var/www/html/piwigo/..': Device or resource busy
Finally, assign the proper privileges to the public folder in order to make it possible for Piwigo installer to do its job:
sudo chown -R www-data:www-data /var/www/html/
We can also remove the old piwigo folder from your user home, as it remained empty after the move operation:
rmdir piwigo/Complete Piwigo Installation from Web GUI
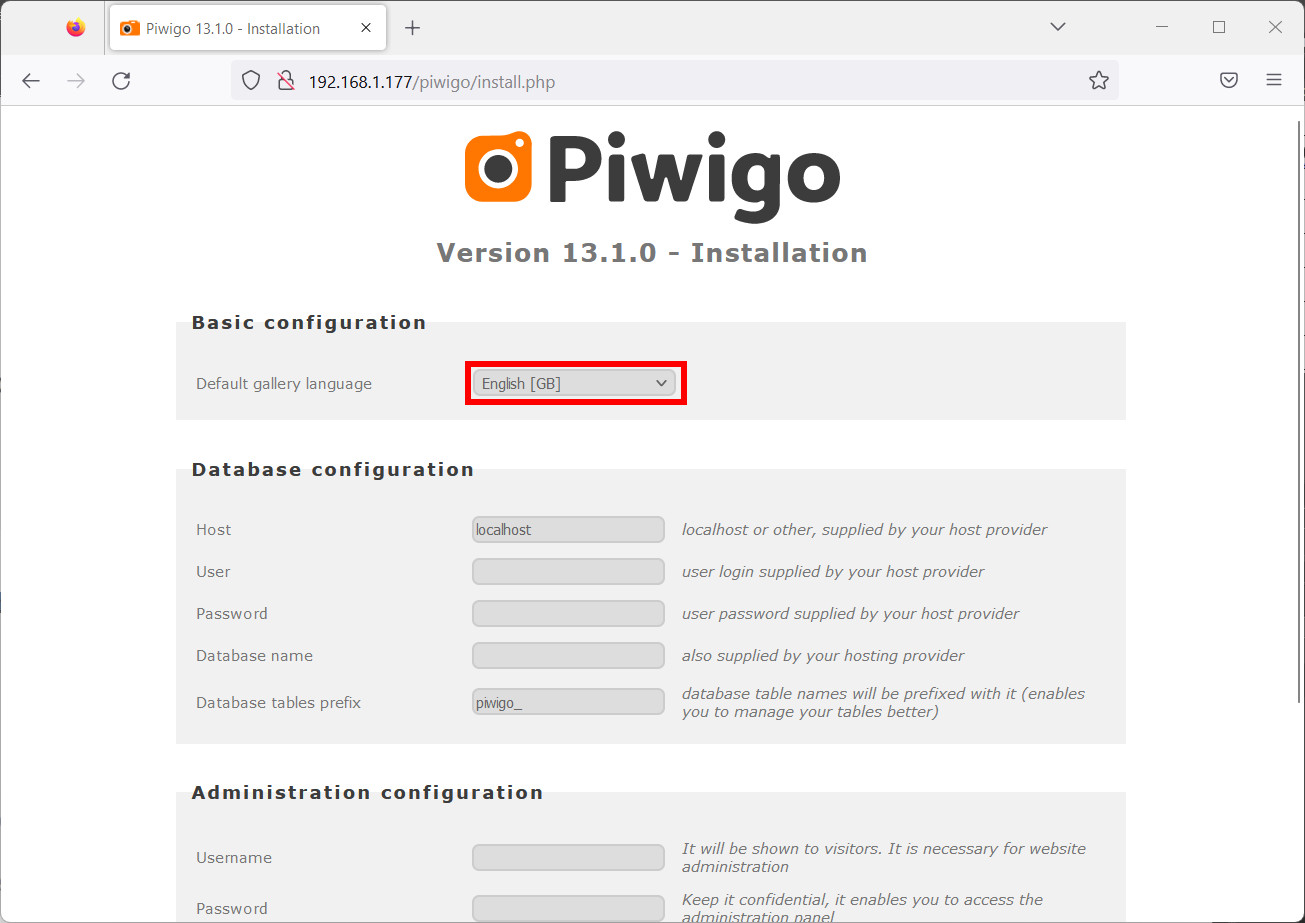
From here, we can use a remote browser to complete the installation steps. Use your Raspberry PI’s IP address, followed by the “piwigo”. That means, for example, being my local RPI IP address 192.168.1.177, my URL will be “http://192.168.1.177/piwigo”. As the software detects that Piwigo installation isn’t still completed, it will automatically propose the installation page. From here, you can already set your favourite language:
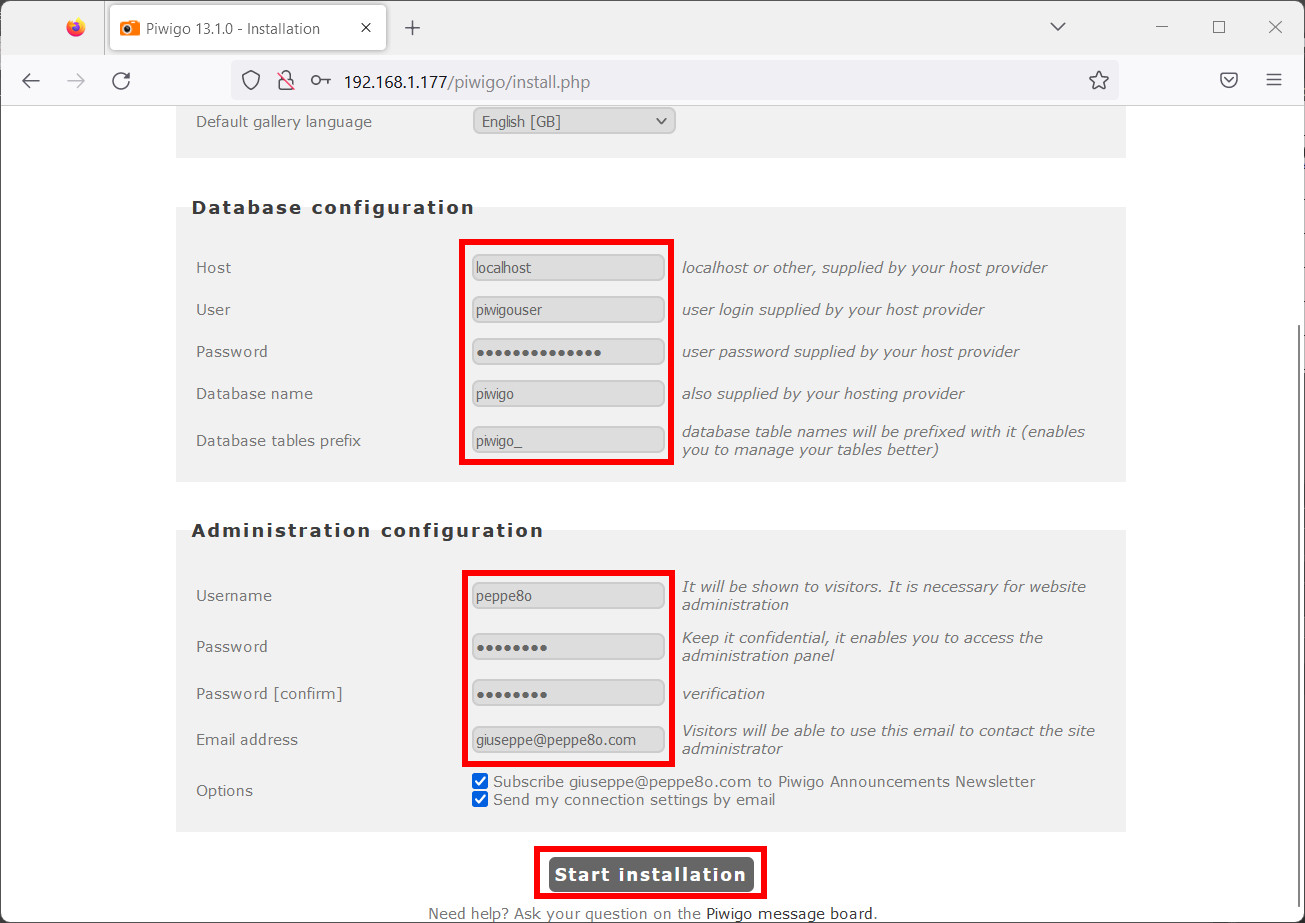
Now, you will have to add your database name, DB user and DB password (according to what was set in the previous “Configure MariaDB for Piwigo” step). Please leave the Host variable set to “localhost”.
Moreover, you will need to choose the administrator username, password and email address. These credentials will be the ones you will use to access the web dashboard. you can also choose or not to subscribe your email for Piwigo Announcements Notices. Finally, click the “Start installation” button:
We are near the installation end… and a confirmation message will be shown once all have been completed successfully:
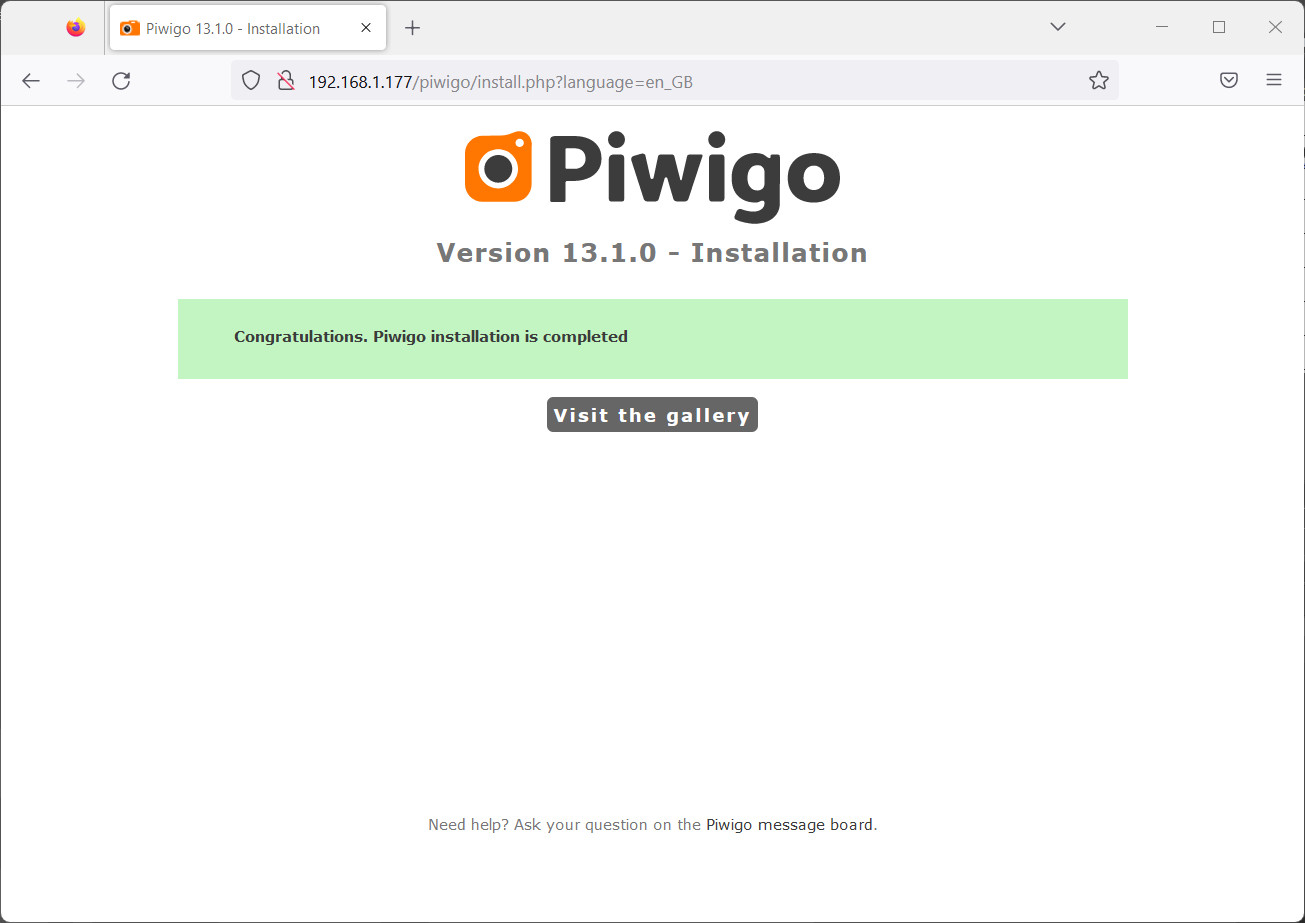
From here, please click the “Visit the gallery” button. Your installation is still empty, so Piwigo is just advising you that your Gallery hasn’t any content:
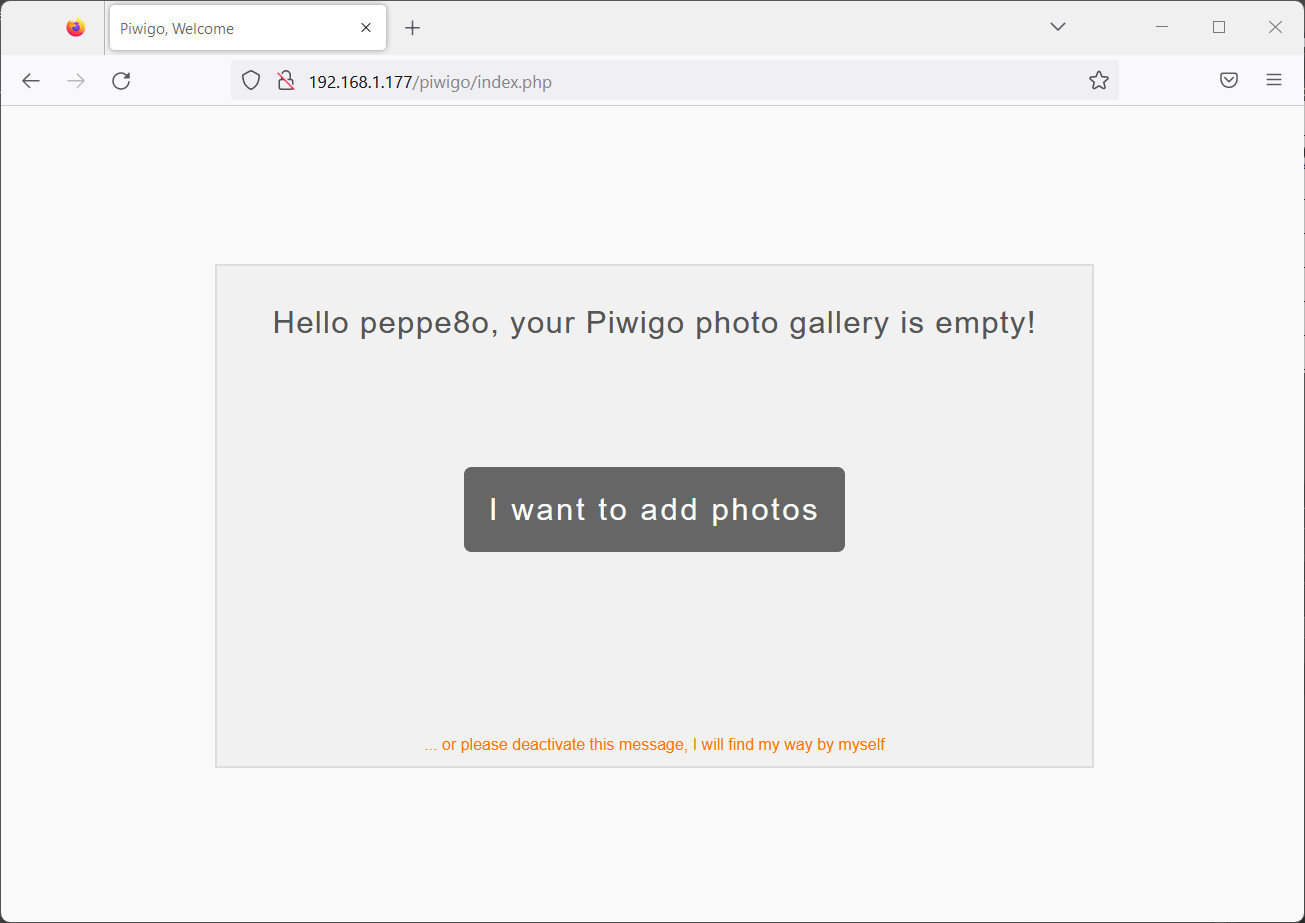
With the “I want to add photos” button, you will go to the Piwigo dashboard:
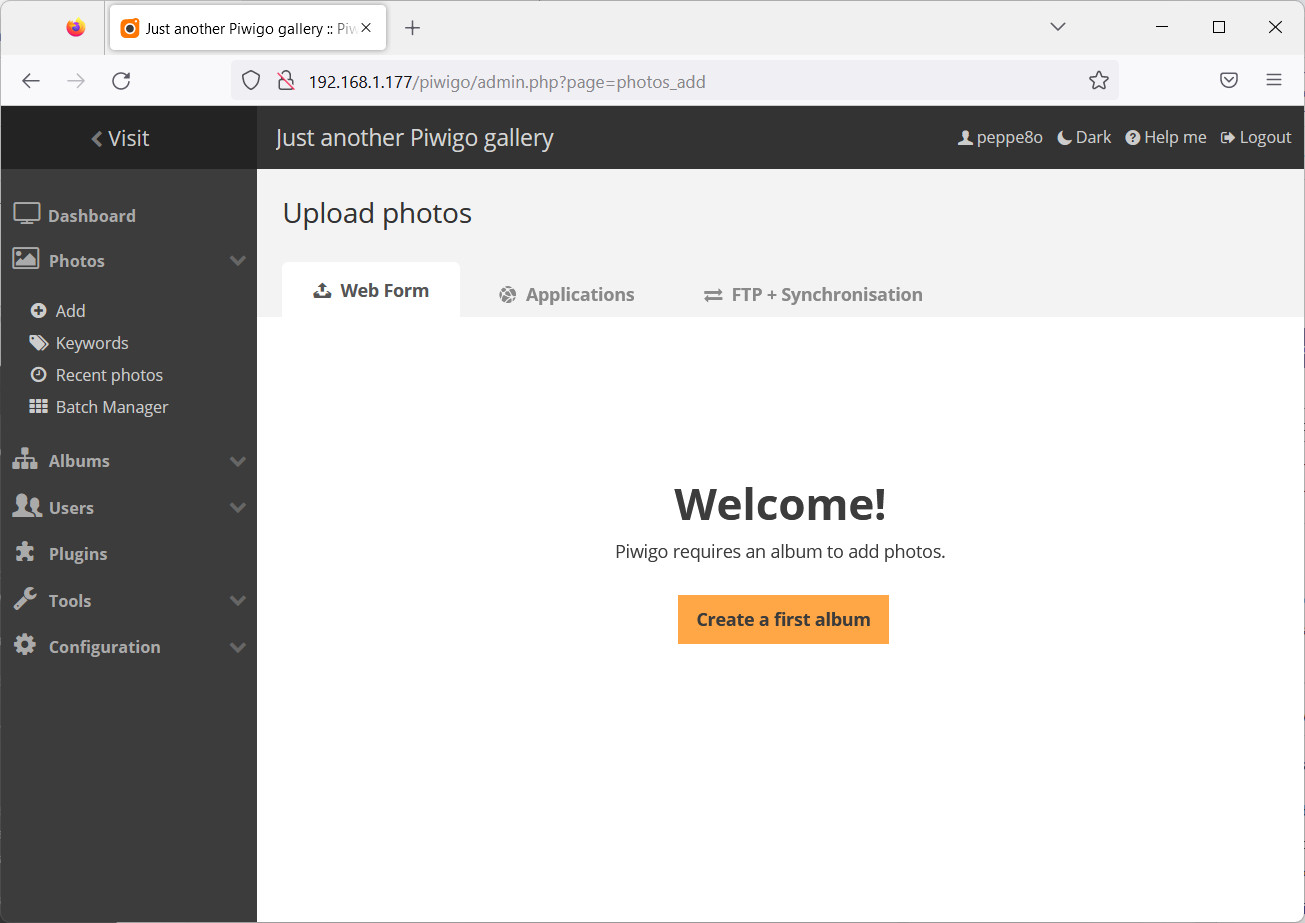
Piwigo installation in your Raspberry PI ended. Once added the first pictures, considering your Raspberry PI IP address instead of the “RPI_address” label, you will have:
- http://RPI_address/piwigo -> from this page you will reach your photo management dashboard
- http://RPI_address/piwigo/admin.php -> from this page you will reach the administration dashboard (only for administrator users)
From here, you can use the official Piwigo user manual, even if the interface is more than intuitive. A few more examples will be shown in the next chapters.
Change Piwigo Theme
Piwigo offers a lot of free themes that can be installed with a few clicks. Please note that themes apply only to the photo management pages, while the administration dashboard will probably remain unchanged even with different themes.
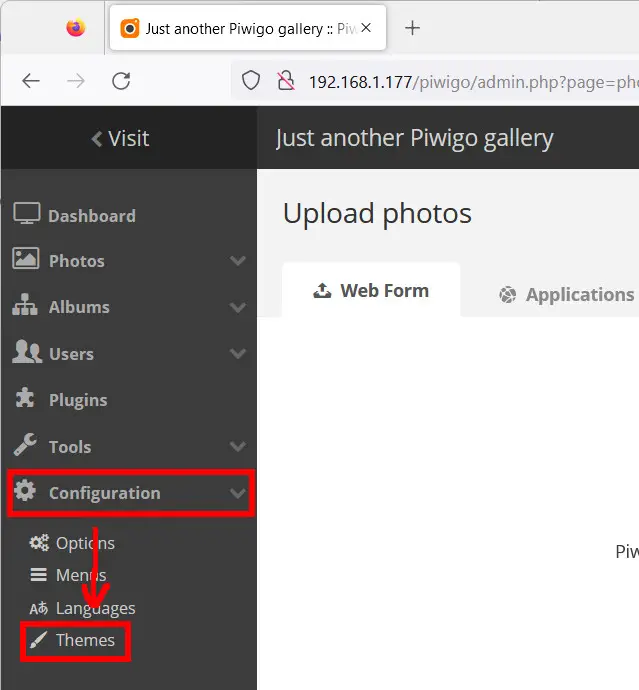
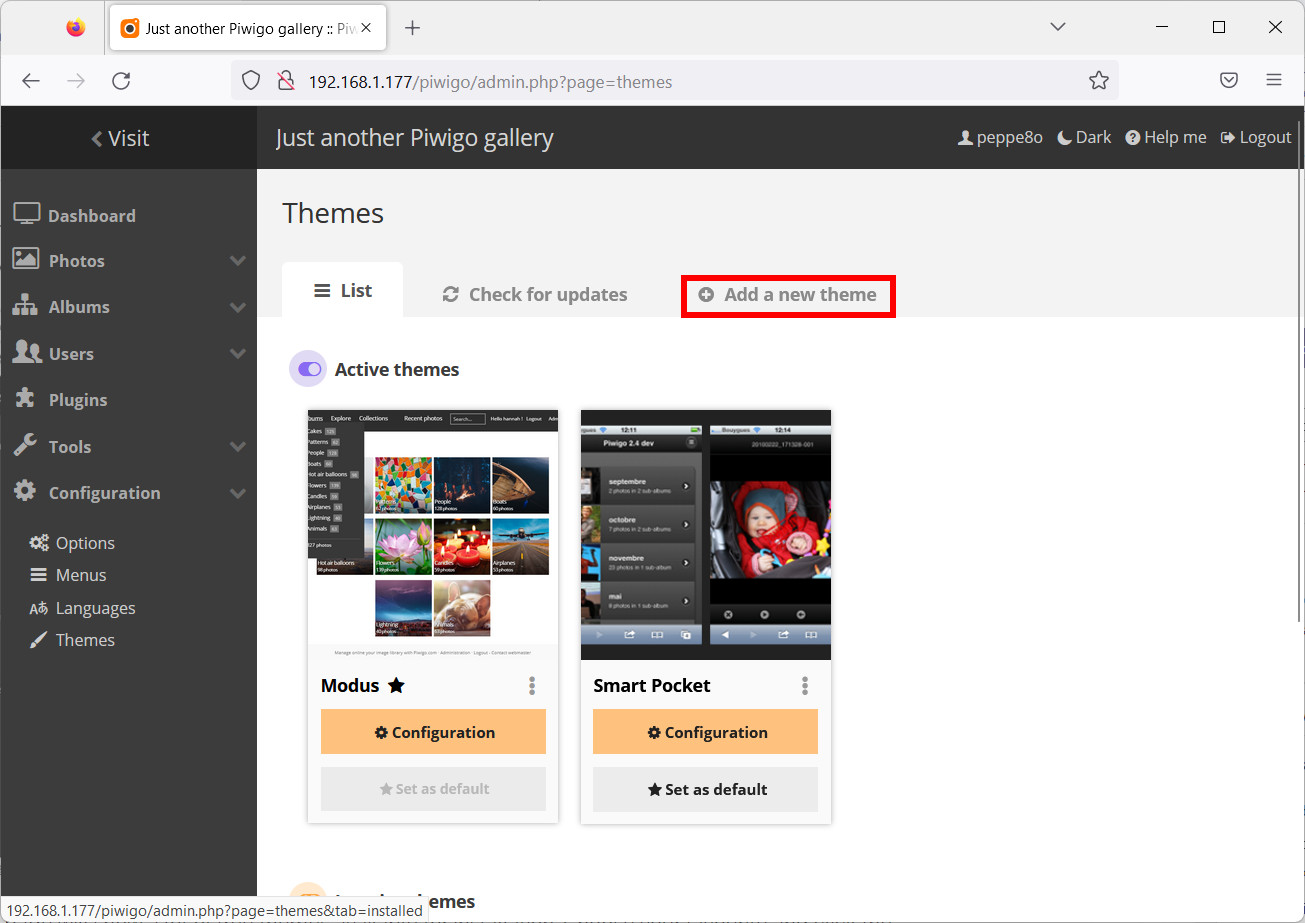
Once logged with the administrator user, from the left sidebar please click Configuration, then select themes:
You will reach the Themes menu, which shows all the installed themes. To search for new themes, please use the “Add a new Theme” tab:
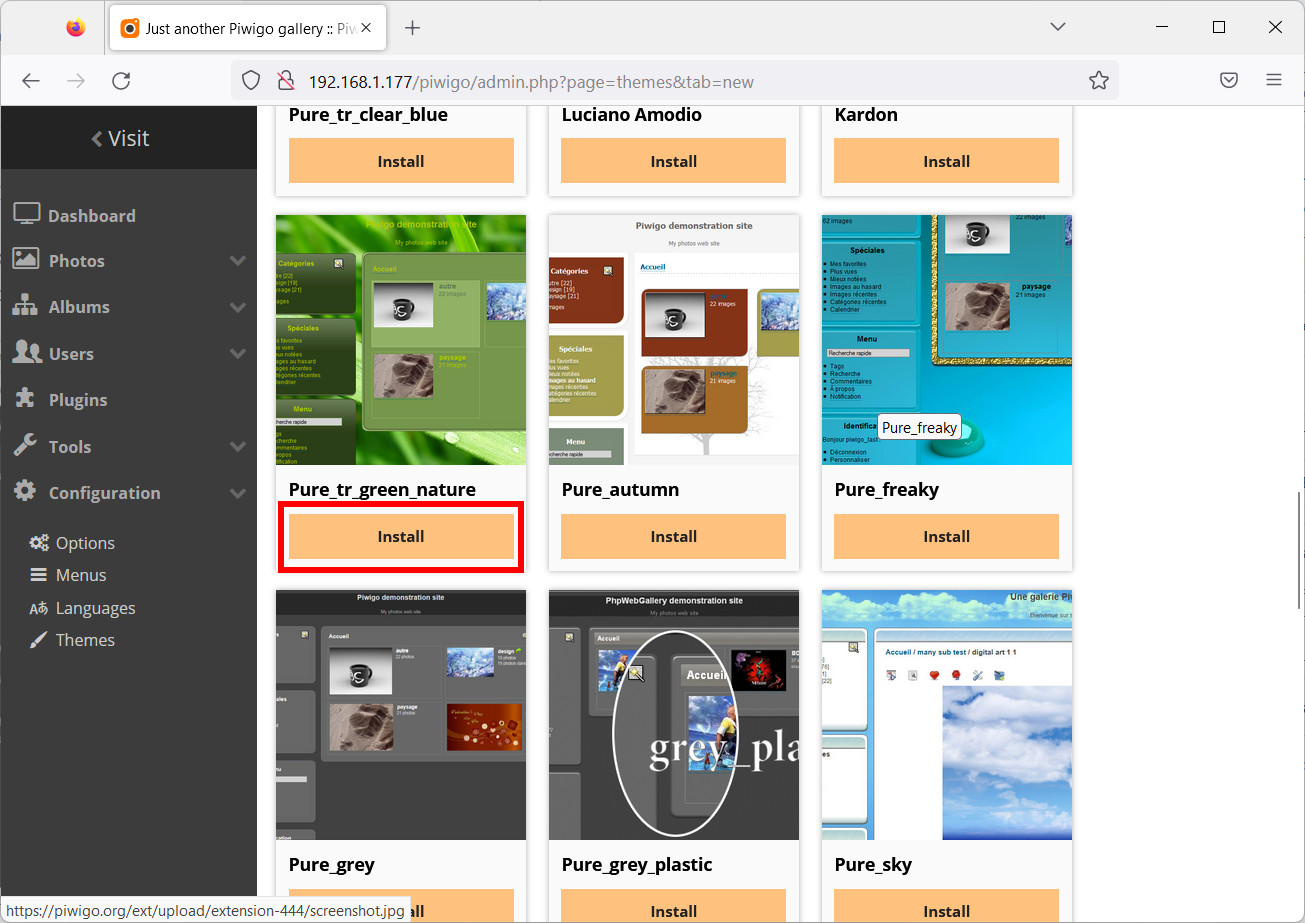
The new page will show a lot of free themes available for installation. Choose your favourite and click the “Install button” for that theme:
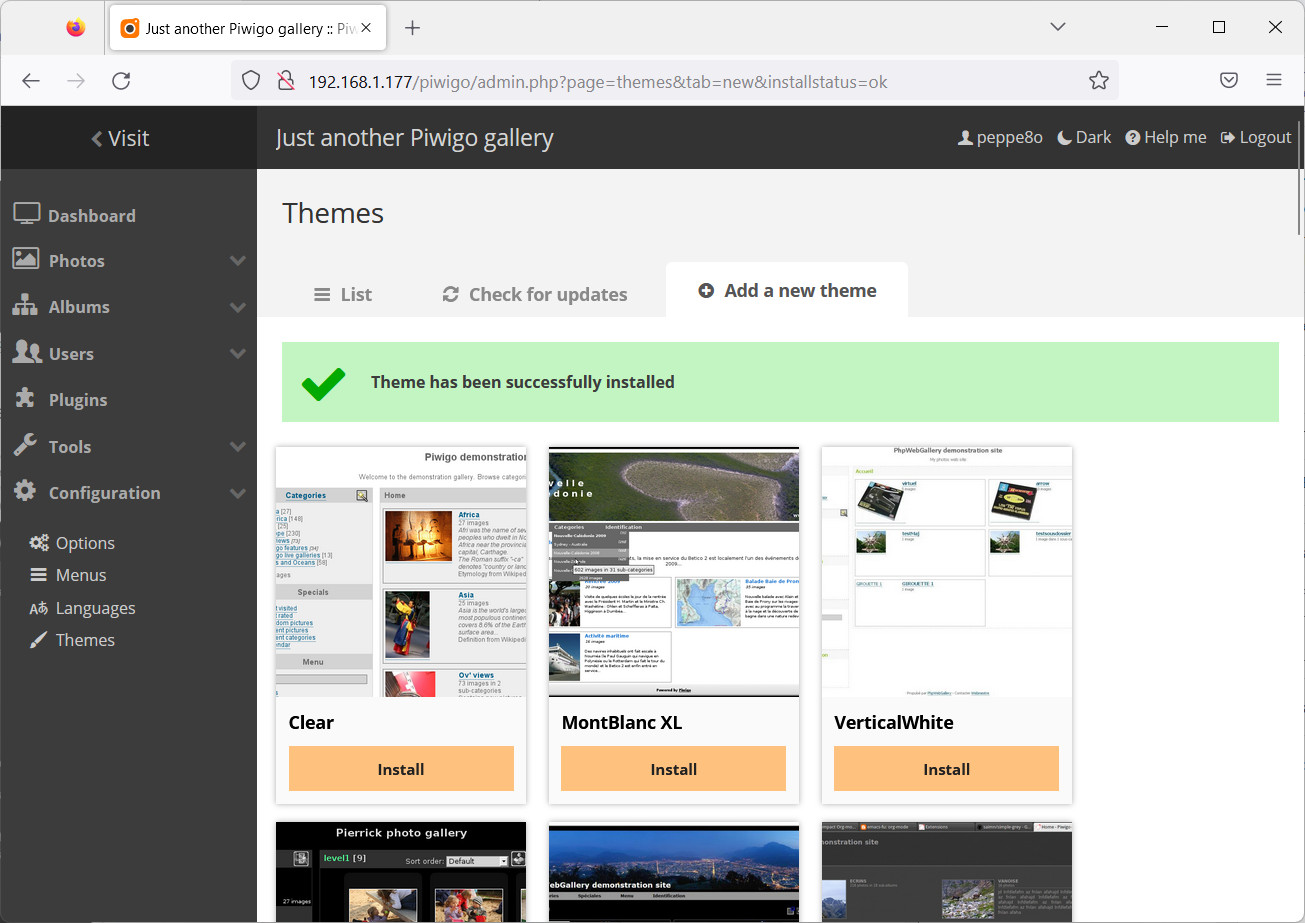
A message will notify that the new theme is installed, even if still not active:
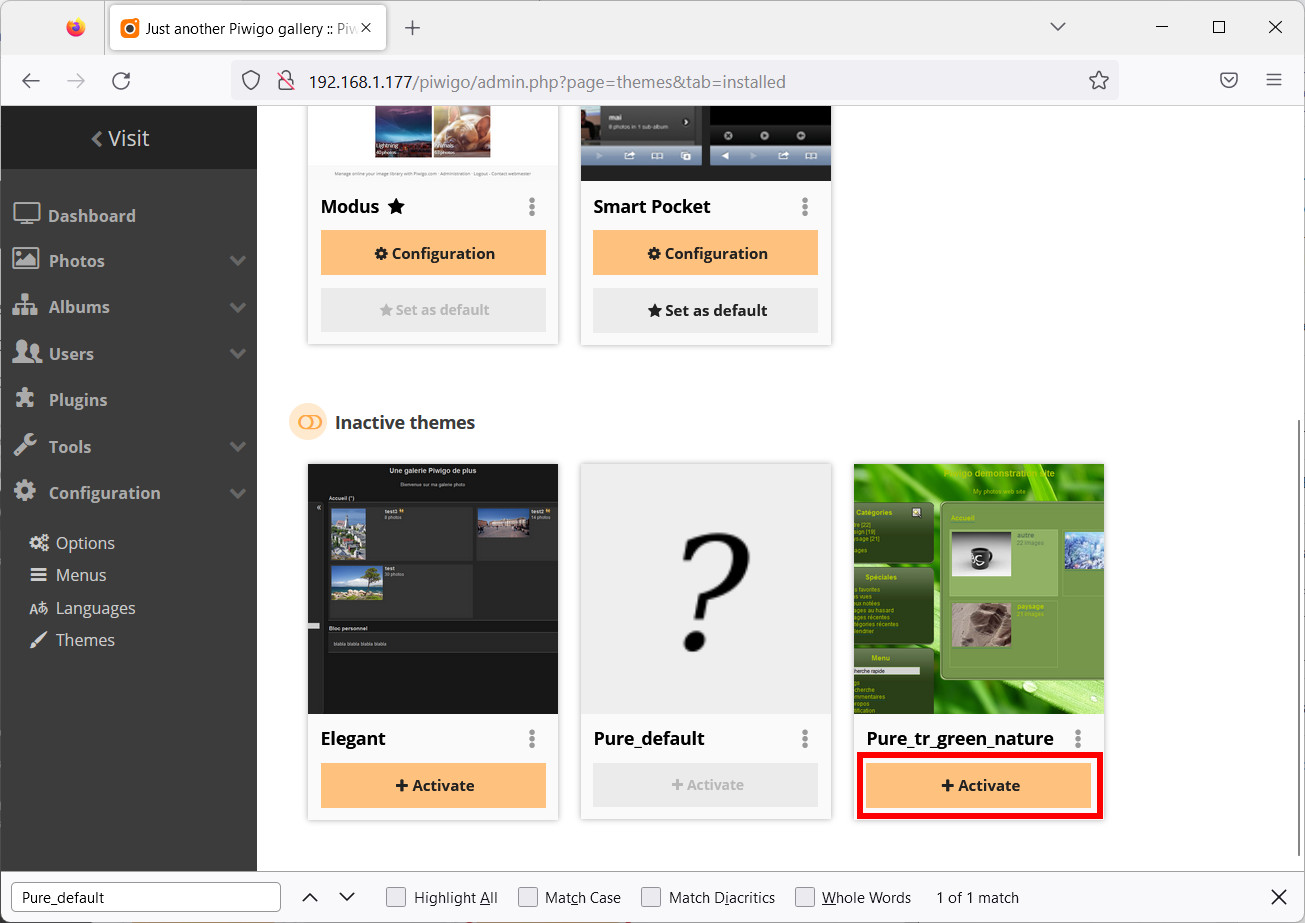
Go back to the “Installed Themes”. In my case, I’ve been “unlucky” as the theme I’ve chosen requires a root theme. This is shown by passing the mouse over the “Activate” button at the installed theme:
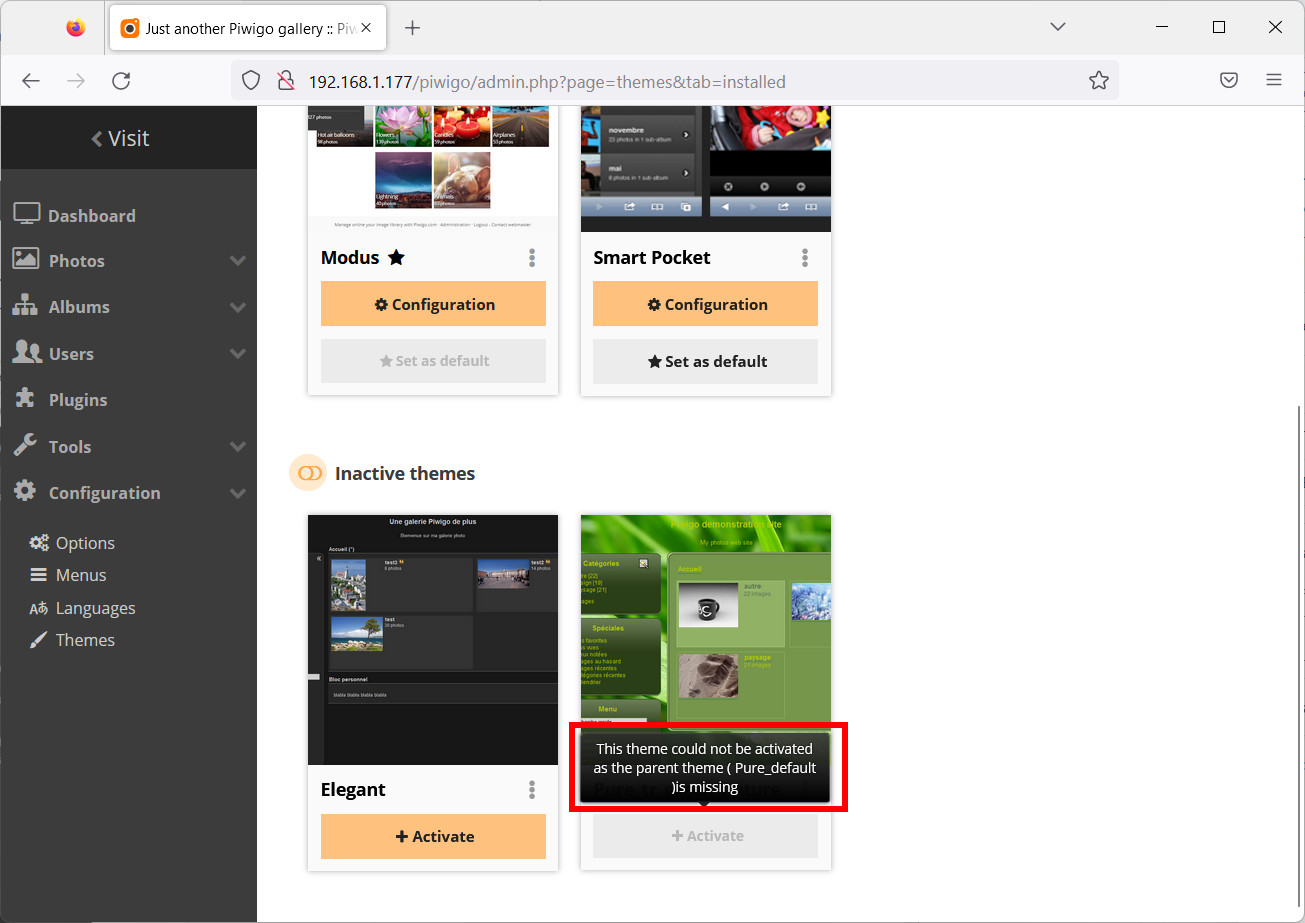
Of course, this depends on what theme you have selected and installed. In my case, I have to go back to the “Add a new theme” to identify the required theme “Pure_default” and install it. Once done, my favourite theme becomes activable (as the Activate button changes colour):
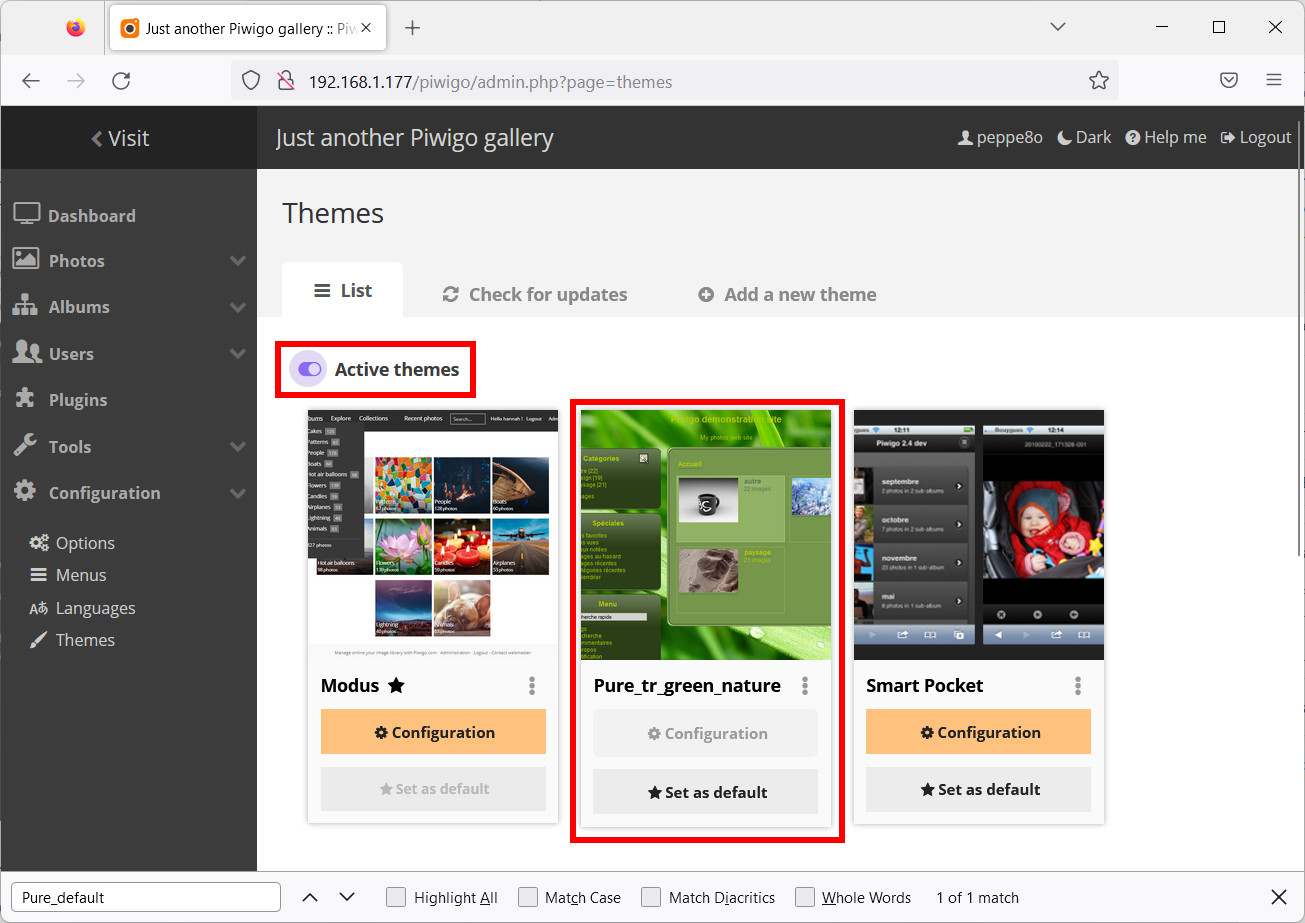
Click Activate button. In this way you will make the new theme available for users, as it will be listed in “Active Themes” section:
You can also “Set as default” the theme so that users will find it active from the first time they connect to your Piwigo pages. As said, it will not apply to the Administration pages, but moving to “http://RPI_address/piwigo” URL will show the new theme:
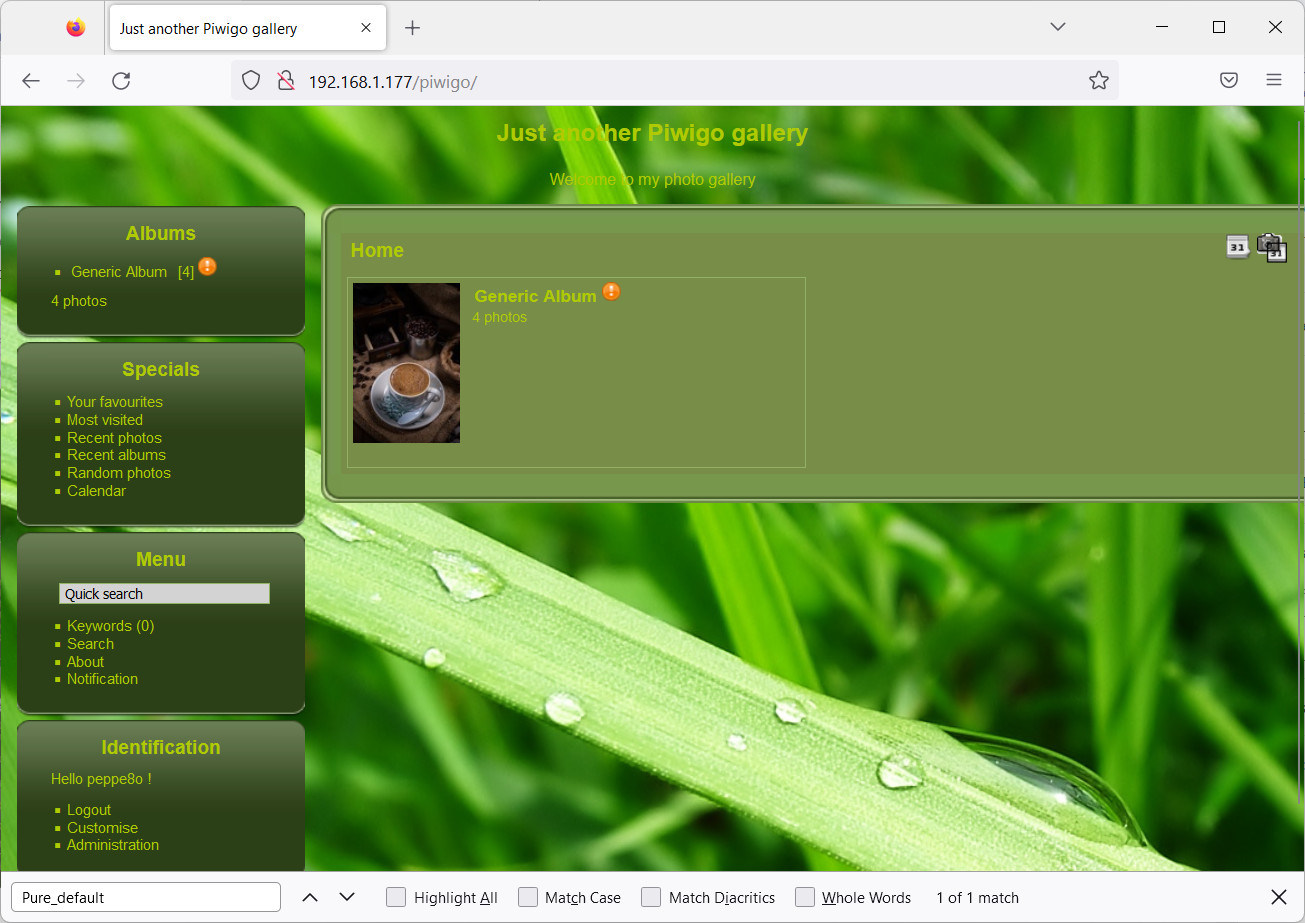
Please note that you need to create at least your first Album in order to be able to see the Piwigo pages with the new theme.
Use External USB Storage with Piwigo and Raspberry PI
As pictures may take a lot of space and usually the Raspberry PI SD card hasn’t enough space for your needs, a common operation required for Piwigo installations is getting the main data on external USB Storage.
For this task, there isn’t an official procedure. But, according to what is mentioned in some Piwigo forum posts, the main folders to move should be:
- galleries
- _data
- upload
First of all, please note that Raspberry PI OS Lite doesn’t mount automatically external USB storage at boot. So, we have to make it fixed and with the right grants for the www-data user and group (Apache) access and edit.
I will use an USB storage formatted with FAT32 File System and I will mount it at the /media/myUSB mount point using the FSTAB, as described in my Automount USB storage with Raspberry PI OS Lite: fstab and autofs tutorial. Please note that the FSTAB row allowing Apache access will be like the following:
UUID=your_disk_UUID /media/myUSB vfat uid=www-data,gid=www-data 0 2Where you must add your USB storage UUID instead of the red chars.
Please remember to assure that the new USB Storage is mounted before proceeding. For this you can both reboot your Raspberry PI or issue the command:
sudo mount -aYou can see the storage with the df command (the “-H” option will simplify the Byte reading), which shows the partitions use:
pi@raspberrypi:~ $ df -H
Filesystem      Size  Used Avail Use% Mounted on
/dev/root        16G  2.3G   13G  16% /
devtmpfs         84M     0   84M   0% /dev
tmpfs           220M     0  220M   0% /dev/shm
tmpfs            88M  988k   87M   2% /run
tmpfs           5.3M  4.1k  5.3M   1% /run/lock
/dev/mmcblk0p1  268M   33M  236M  12% /boot
/dev/sda1        32G   66k   32G   1% /media/myUSB
tmpfs            44M     0   44M   0% /run/user/1000
Once the above steps are completed and the USB Storage is correctly mounted at “/media/myUSB” mount point, we can create a folder on the USB Storage that will contain all the files:
sudo mkdir /media/myUSB/piwigo
Now, we can move all the files for the “_data”, “galleries” and “upload” in our USB Storage:
sudo mv /var/www/html/piwigo/_data/ /media/myUSB/piwigo/
sudo mv /var/www/html/piwigo/galleries/ /media/myUSB/piwigo/
sudo mv /var/www/html/piwigo/upload/ /media/myUSB/piwigo/
We’ll substitute the old folders in Apache with symlinks:
sudo ln -s /media/myUSB/piwigo/galleries/ /var/www/html/piwigo/galleries
sudo ln -s /media/myUSB/piwigo/_data/ /var/www/html/piwigo/_data
sudo ln -s /media/myUSB/piwigo/upload/ /var/www/html/piwigo/upload
and finally give the symlinks again the www-data ownership:
sudo chown -R www-data:www-data /var/www/html/
While adding photos to your Piwigo, you can check that the space in your USB Storage will increase:
pi@raspberrypi:~ $ df -H
Filesystem      Size  Used Avail Use% Mounted on
/dev/root        16G  2.3G   13G  16% /
devtmpfs         84M     0   84M   0% /dev
tmpfs           220M     0  220M   0% /dev/shm
tmpfs            88M  988k   87M   2% /run
tmpfs           5.3M  4.1k  5.3M   1% /run/lock
/dev/mmcblk0p1  268M   33M  236M  12% /boot
/dev/sda1        32G  4.4M   32G   1% /media/myUSB
tmpfs            44M     0   44M   0% /run/user/1000
What’s Next
Interested in more cool ways to use your RPI? Take a look at peppe8o Raspberry PI computer tutorials!
Enjoy your Piwigo on Raspberry PI!

Open source and Raspberry PI lover, writes tutorials for beginners since 2019. He's an ICT expert, with a strong experience in supporting medium to big companies and public administrations to manage their ICT infrastructures. He's supporting the Italian public administration in digital transformation projects.
![]()
![]()
![]()
![]()
![]()
![]()
![]()


Hello, I cannot get piwigo net install to work – I have followed all your instructions exactly – all data base working correctly, and https works as well.
When I attempt to net install the webpage just hangs with no activity. All ad blockers are removed. I have tried multiple browsers with same effect.
Please advise … Thank you!
Hi Adam. Please can you send me the results from the following commands?
sudo systemctl status apache2.servicels -la /var/www/html/If you have many logs, you can contact me also by email (giuseppe@peppe8o.com)
Hello peppe80,
Here is result of first command:
adamsouthside@raspberrypi:~ $ sudo systemctl status apache2.service
● apache2.service – The Apache HTTP Server
Loaded: loaded (/lib/systemd/system/apache2.service; enabled; vendor preset: enabled)
Active: active (running) since Fri 2022-11-11 23:29:34 HKT; 13min ago
Docs: https://httpd.apache.org/docs/2.4/
Process: 20140 ExecStart=/usr/sbin/apachectl start (code=exited, status=0/SUCCESS)
Main PID: 20145 (apache2)
Tasks: 7 (limit: 8986)
CPU: 1.766s
CGroup: /system.slice/apache2.service
├─20145 /usr/sbin/apache2 -k start
├─20146 /usr/sbin/apache2 -k start
├─20147 /usr/sbin/apache2 -k start
├─20148 /usr/sbin/apache2 -k start
├─20149 /usr/sbin/apache2 -k start
├─20150 /usr/sbin/apache2 -k start
└─20183 /usr/sbin/apache2 -k start
Nov 11 23:29:33 raspberrypi systemd[1]: Starting The Apache HTTP Server…
Nov 11 23:29:34 raspberrypi apachectl[20144]: AH00558: apache2: Could not reliably determine the server’s>
Nov 11 23:29:34 raspberrypi systemd[1]: Started The Apache HTTP Server.
lines 1-20/20 (END)
Hello again,
Here is the log from second command:
adamsouthside@raspberrypi:~ $ ls -la /var/www/html/
total 17916
drwxr-xr-x 3 www-data www-data 4096 Nov 11 23:31 .
drwxr-xr-x 3 root root 4096 Nov 11 15:57 ..
-rw-r–r– 1 www-data www-data 10701 Nov 11 15:57 index.html
drwxr-xr-x 3 www-data www-data 4096 Nov 11 22:53 piwigo
-rw-r–r– 1 www-data www-data 18264748 Nov 11 23:32 piwigo-install.zip
-rw-r–r– 1 www-data www-data 15711 Nov 11 23:31 piwigo-netinstall.php
-rw-r–r– 1 www-data www-data 10441 Nov 11 23:31 pwg_files.php
-rw-r–r– 1 www-data www-data 16932 Nov 11 23:31 pwg_unzip.php
-rw-r–r– 1 www-data www-data 20 Nov 11 15:59 test.php