Last Updated on 13th April 2024 by peppe8o
In this tutorial I’m going to show you how to connect and use a 10 segment Led bar with Raspberry PI Pico, using MicroPython.
10 segment LED bar allows to get visual indicators, usually to measure the filling status. These electronic items work easily with Raspberry PI Pico, enabling to switching on-off each led separately-
How 10-segment LED bar works
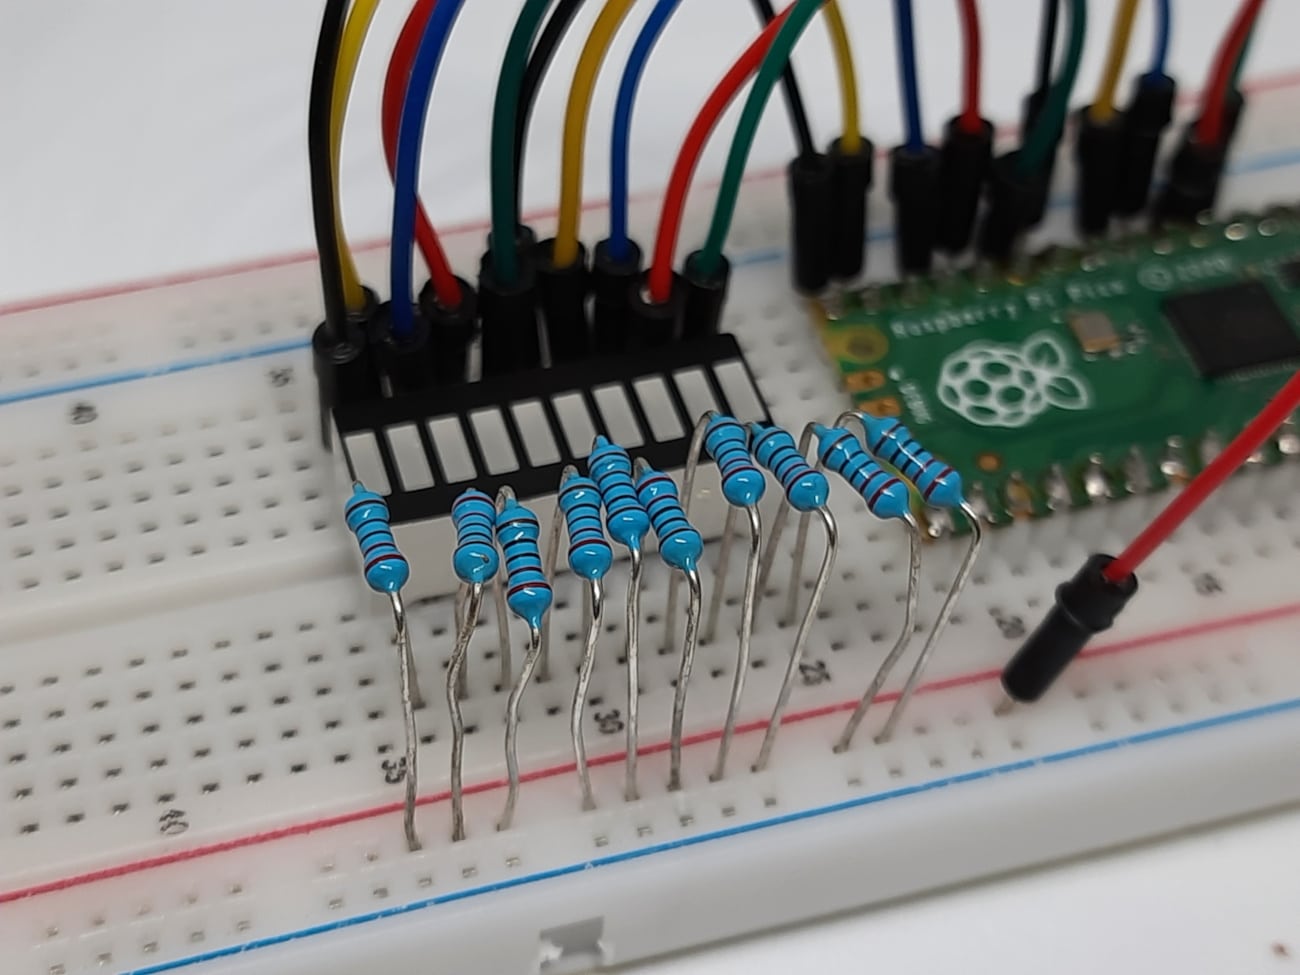
The 10 segment LED bar is composed simply of 10 LEDs put in a single row. We can switch each LED on-off independently from the other. The following picture shows its internal circuit and pinout:
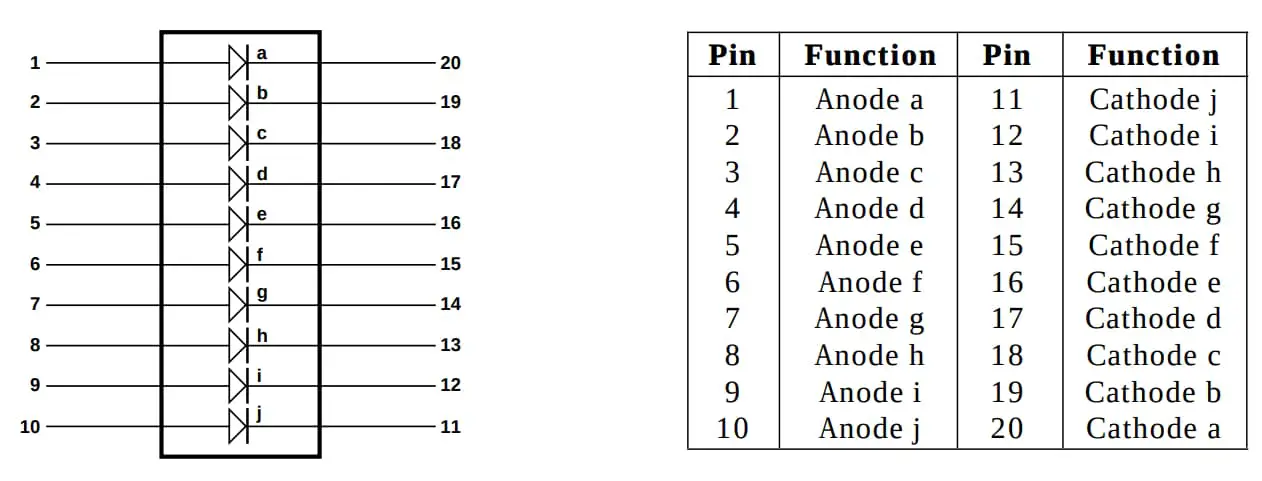
Each LED has 2 pins: you must connect the anode to 3v3 positive current, while we’ll drive the cathodes with Raspberry PI Pico GPs.
Unfortunately, there’s no clear way to identify what side goes to the ground or Vcc (3V). Depending on the producer, some 10 segment LED bars have an angle cut in order to identify the anode side. From what I experienced with mine, the side with the label goes to Raspberry PI GPIOs which will drive on-off single LEDs, while the other side goes to Vcc.
People use 10 segment Led bars in many applications, the most common of which is a visual indicator for the filling level of whatever you want (water tank, battery charge, signal strength and so on).
In this tutorial, I’m going to use a Raspberry PI Pico microcontroller. If you are interested in controlling the 10 segment LED bar with a Raspberry PI computer board, please refer to my Using a 10-segment Led Bar with Raspberry PI and Python tutorial.
What We Need
As usual, I suggest adding from now to your favourite e-commerce shopping cart all the needed hardware, so that at the end you will be able to evaluate overall costs and decide if to continue with the project or remove them from the shopping cart. So, hardware will be only:
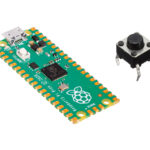
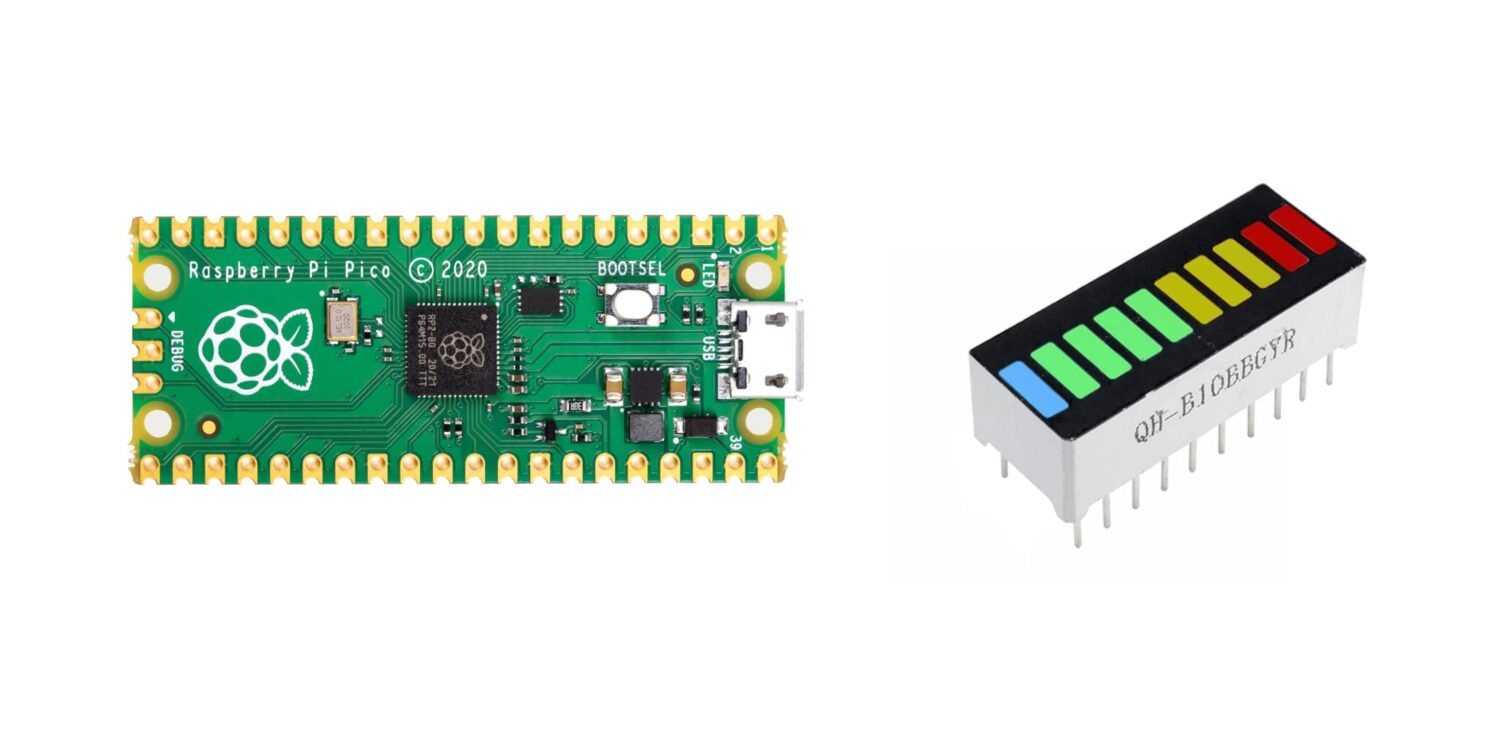
- Raspberry PI Pico microcontroller (with a common micro USB cable)
- a 10 segment LED bar
- resistors
- breadboard
- dupont wirings
Check hardware prices with the following links:


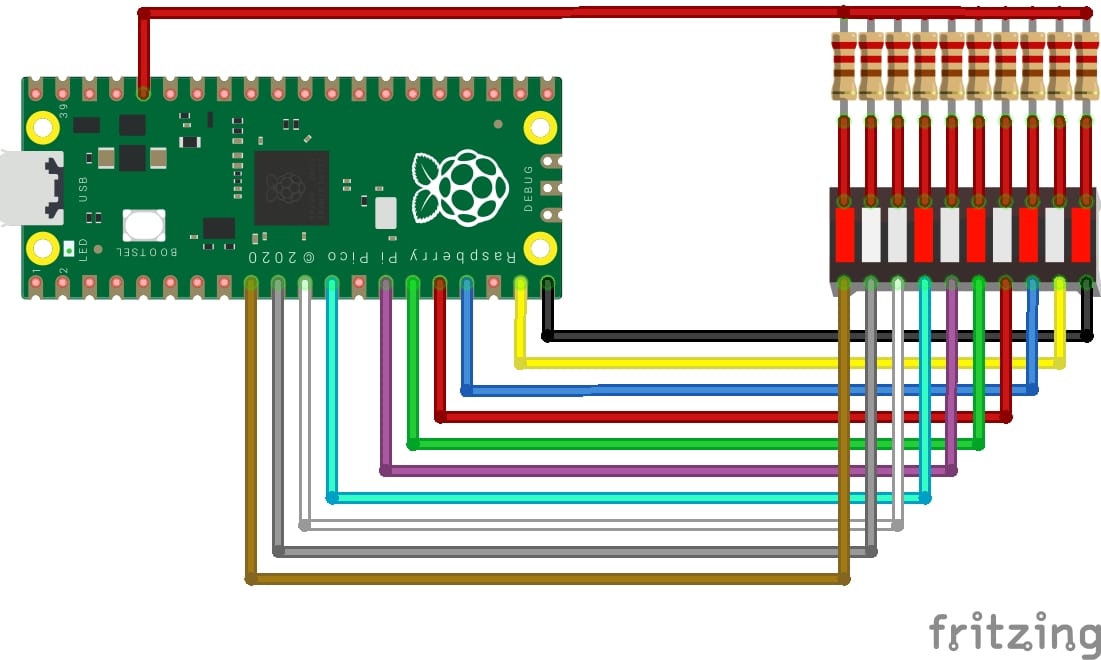
Wiring Diagram
Please arrange wiring as in the following picture, according to Raspberry PI Pico pinout:
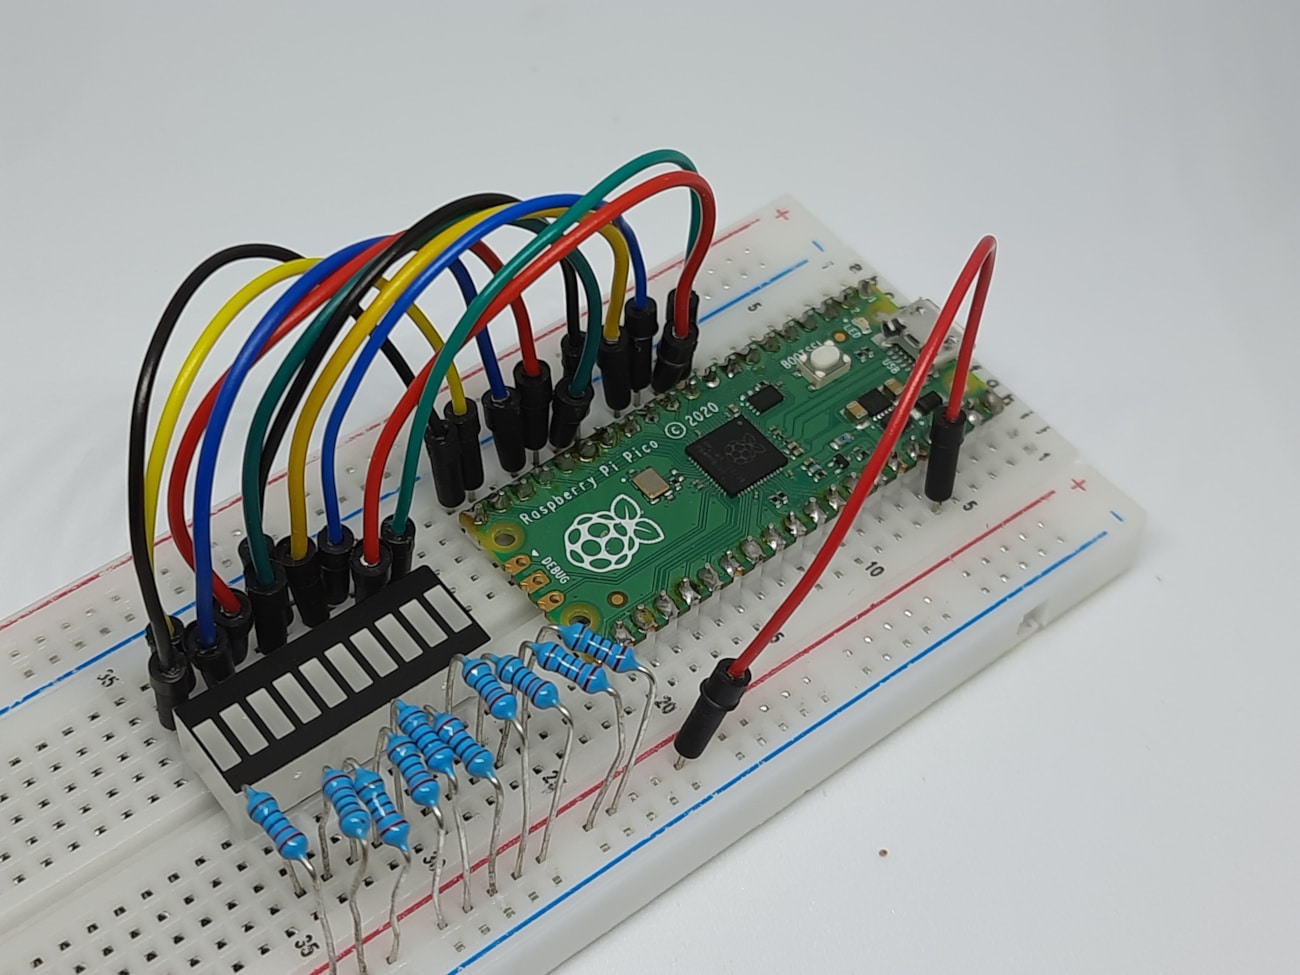
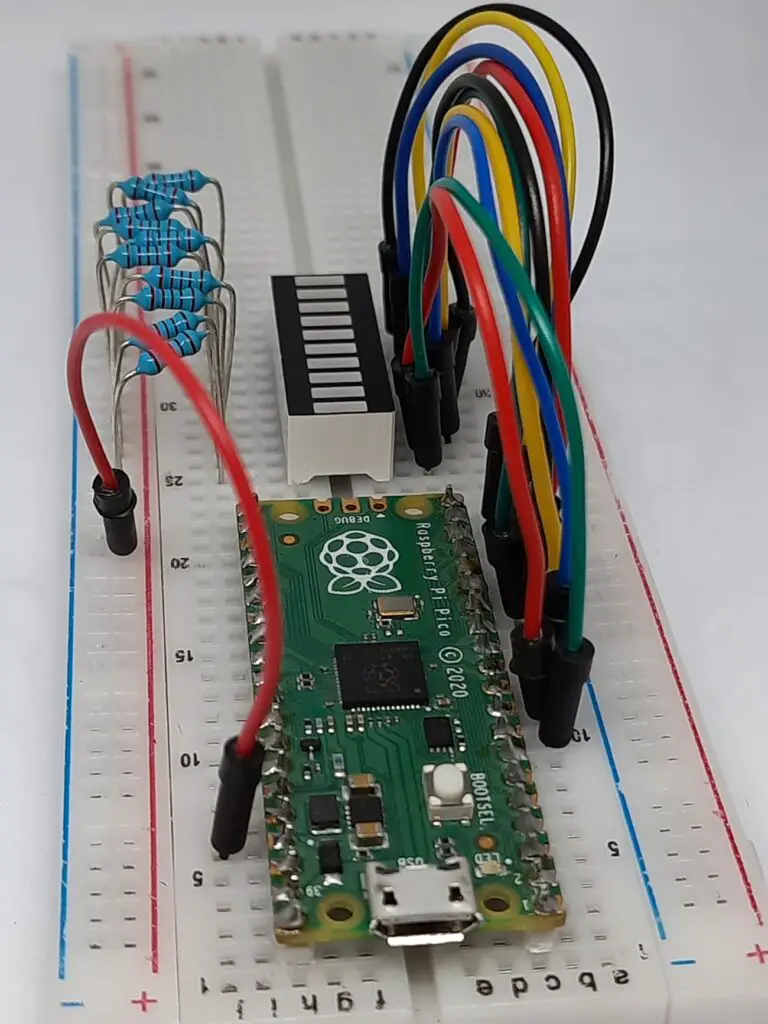
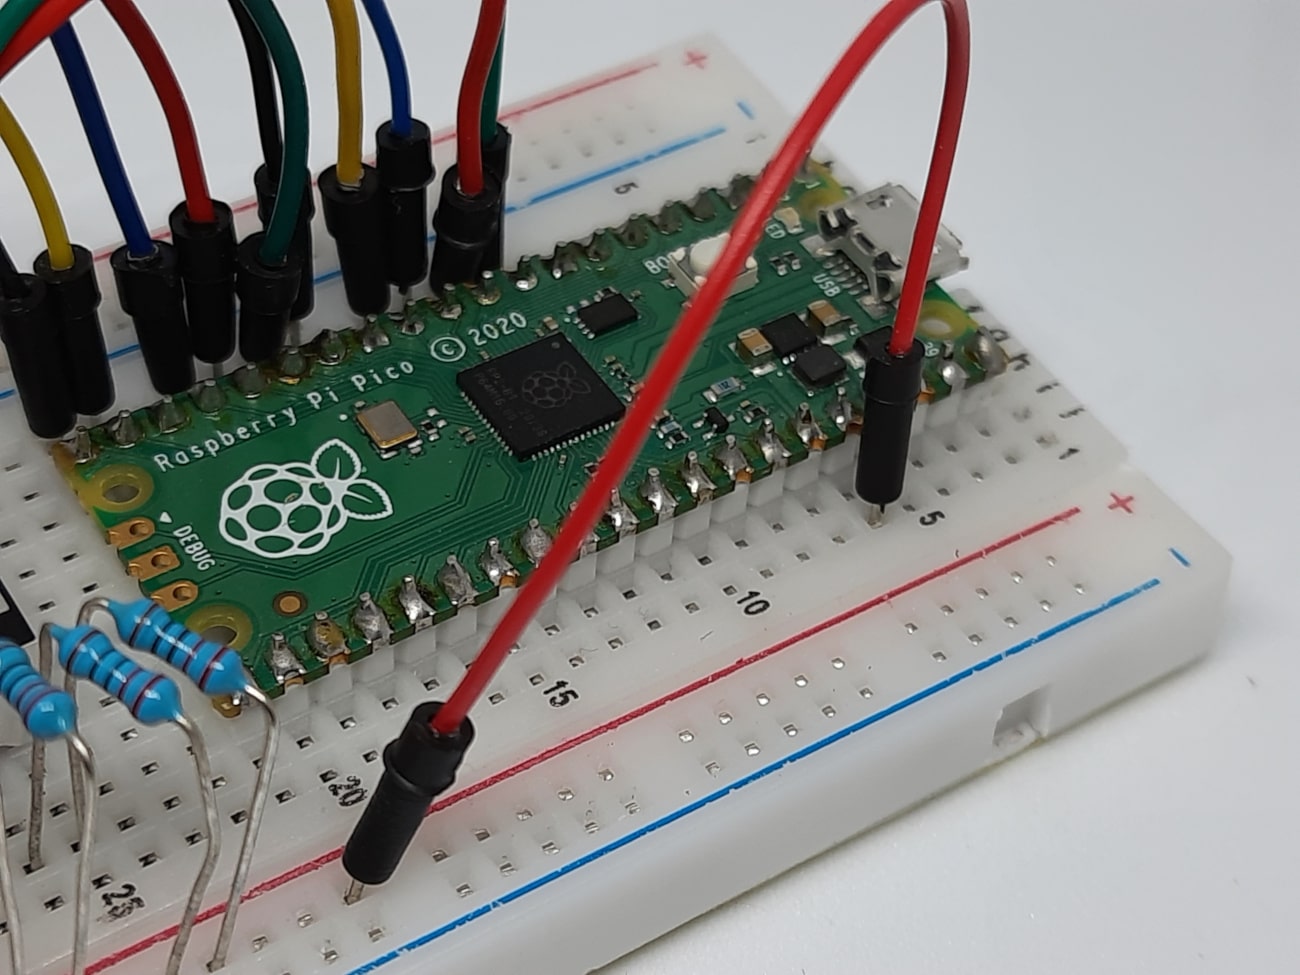
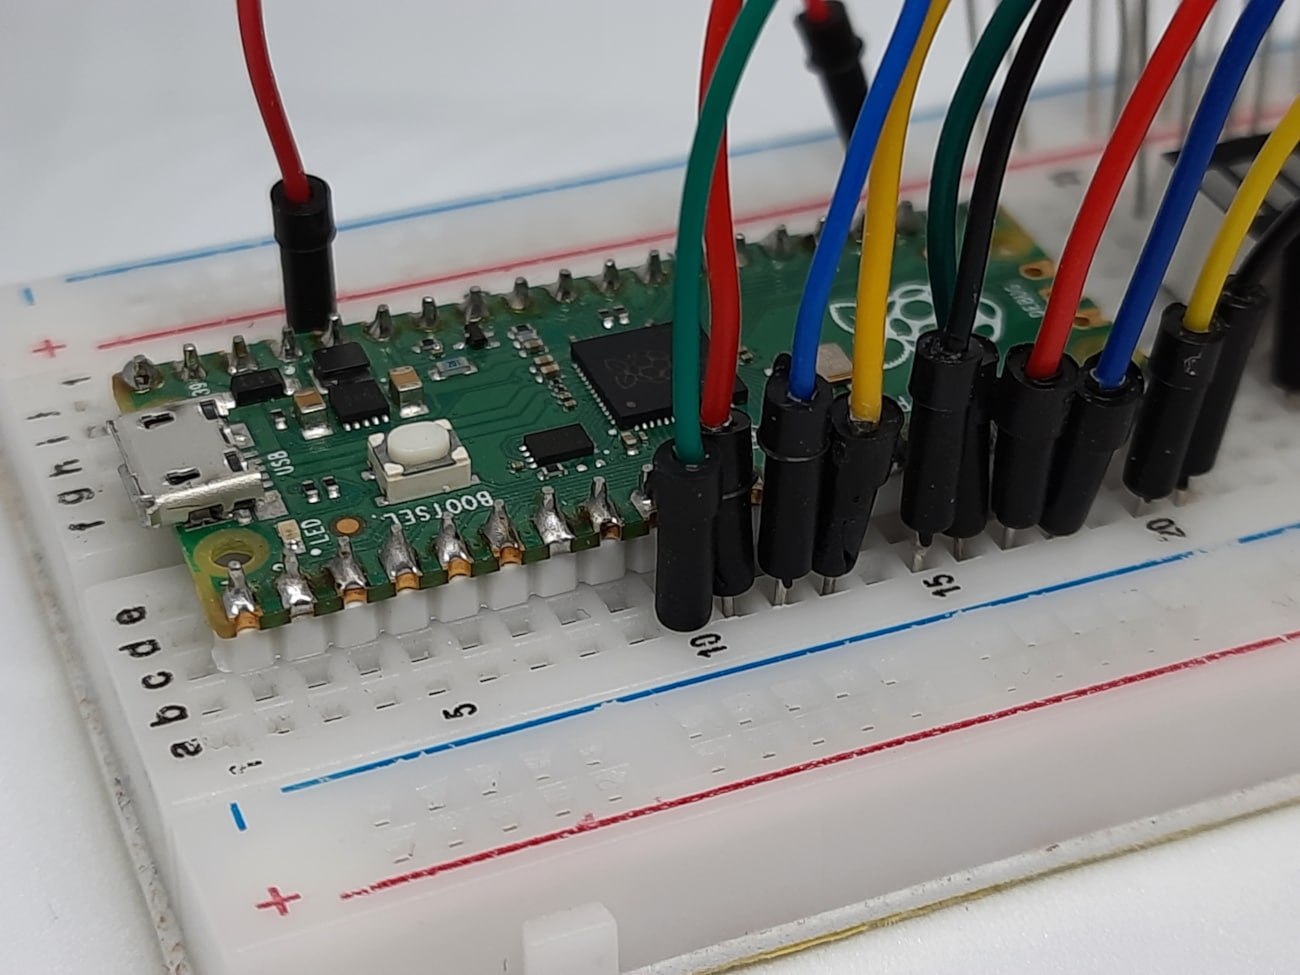
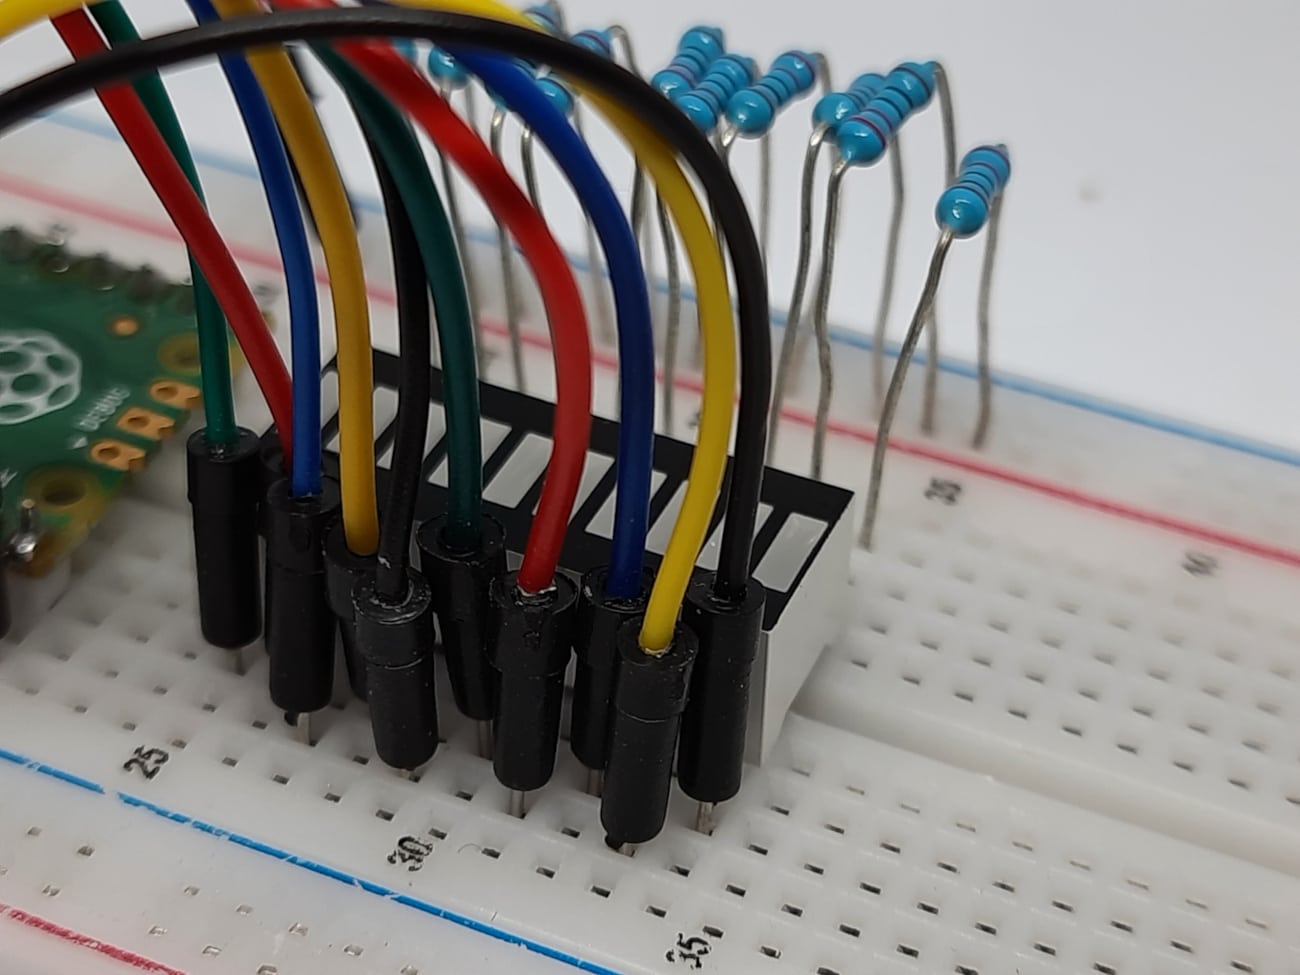
Please find below some pictures from my test lab:
Step-by-Step Procedure
Get my MicroPython Code for Raspberry PI Pico
Connect RPI Pico to Thonny (you can refer to my tutorial about First steps with Raspberry PI Pico). Download my 10segment-led-rpi-pico.py script on your computer and open it with Thonny.
The following paragraphs will describe my code line by line. In the end, you will find the script expected results.
10segment-led-rpi-pico.py Code
Our code starts by importing the required modules:
from machine import Pin
import utime
To make our code smarter, instead of managing Raspberry PI Pico ports one by one, we’ll use a list collecting the GP pins from the higher one (which lights the blue led in my led bar) to the lower one (which powers on the red LED in my led bar). Please change the values if you are going to use different wiring:
led_list = [6,7,8,9,10,11,12,13,14,15]At this point, the list collects only numbers. With the following lines, we’ll convert the list content from numbers to MicroPython PIN objects. We’ll use a variable (“n”) to scan the list:
n=0
for pin_num in led_list:
  led_list[n] = Pin(pin_num, Pin.OUT)
  n+=1
My MicroPython code includes 3 basic functions. The first one keeps an array of 0 or 1 (like a “[0,0,0,0,0,1,1,1,1,1]”) to be shown as output and simply does that. 0 means that the related LED must be switched off, while 1 means that the related LED has to be powered on. The for loop then sets iteratively each PIN object of led_list with the related value (please remember that to power on a led we have to set the GP port to 0, so the not() function inverts bit values:
def LedSegOut(array):
  for x in range(10): led_list[x].value(not(array[x]))
The second function implements a simple cycle that powers on one led at a time, scanning all the bar LEDs. It doesn’t need any input. It uses the MicroPython shift function (“array[1:]+array[:1]”) to change at each while loop iteration of the selected LED. For example, if the starting value of the array variable is [0,0,0,0,0,0,0,0,0,1], after applying the “array[1:]+array[:1]” we’ll get a new value for the array variable getting “[0,0,0,0,0,0,0,0,1,0]”. Each iteration will move the “1” one step left. If the 1 is at the left extremity of the array variable, it will then be moved to the position on the right side.
This function also uses LedSegOut to make LEDs powered on.
The time sleep function defines how much time it takes to pass from one LED to the following one. The lower this delay, the faster your cycle will run:
def LedSegCycle():
  array = [0,0,0,0,0,0,0,0,0,1]
  while True:
    array = array[1:]+array[:1]
    LedSegOut(array)
    utime.sleep(0.05)
LedSegPerc function works by setting thresholds to show in our 10 segment LED bar. It requires a number between 0 and 100 (so you don’t have to specify “%” character). When this function runs, it compares the number in input (“n”) to each thresholds array item. A ternary operator in the lambda function makes it compact. “(1,0)[x>n]” is a compact and fast alternative way to write “if x>n then x=1 else x=0”. So, each threshold value is changed to 0 or 1 if the input is higher or lower than that threshold value:
def LedSegPerc(n):
  thresholds=[100,90,80,70,60,50,40,30,20,10]
  array=list(map(lambda x: (1,0)[x>n],thresholds))
  LedSegOut(array)
In the end, you will find the main loop to run. You have all the 3 functions examples to use. In my code, you will find two of them commented and one active. You can uncomment the one you need and use the 10 segment LED bar with Raspberry PI Pico according to your needs.
while True:
   # LedSegOut([0,0,0,0,0,1,1,1,1,1])
   LedSegCycle()
   # LedSegPerc(82)
What’s Next
Interested to do more with your Raspberry PI Pico? Try to look at my Raspberry PI Pico tutorials for useful and funny projects!
Enjoy!

Open source and Raspberry PI lover, writes tutorials for beginners since 2019. He's an ICT expert, with a strong experience in supporting medium to big companies and public administrations to manage their ICT infrastructures. He's supporting the Italian public administration in digital transformation projects.
![]()
![]()
![]()
![]()
![]()
![]()
![]()