
Last Updated on 13th April 2024 by peppe8o
In this tutorial, I’m going to show you how to install python-docx on Raspberry PI computer boards, also showing how to use it and how to automate report creation and sending by email.
Reports are vital part in many organizations needing to keep under monitoring some aspects which are core for the business. Automating these reports usually require advanced software, but we can achieve the same goal with python-docx and Raspberry PI.
What is Python-docx
Python-docx is a library that allows the creation and manipulation of Microsoft Word (.docx) files from python. Simple, synthetic, and exactly explaining what it aims to do. The advantage of using python-docx is that you can use it inside a python script and create automated procedures to create or edit documents.
I will use it in a script with Mutt, so enabling a fast and direct way to create and send reports from a single python script. Moreover, with cron, we can also automate this execution and schedule to execute at a defined frequency.
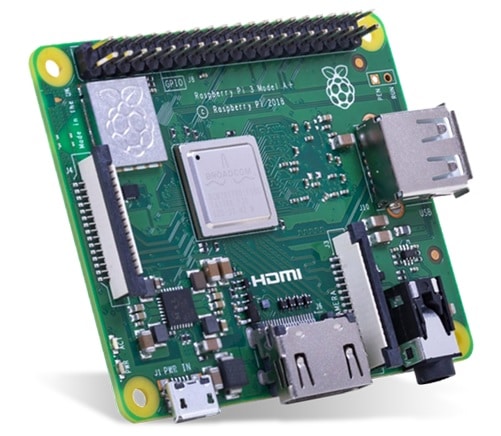
For the following procedure, I’ve used a Raspberry PI 3 Model A+ board. This procedure will work with any Raspberry PI computer board (except Raspberry PI Pico, which is a Microcontroller, not a computer)
What We Need
As usual, I suggest adding from now to your favourite e-commerce shopping cart all the needed hardware, so that at the end you will be able to evaluate overall costs and decide if to continue with the project or remove them from the shopping cart. So, hardware will be only:
- Raspberry PI 3 Model A+ (including proper power supply or using a smartphone micro usb charger with at least 3A) or newer Raspberry PI Board
- high speed micro SD card (at least 16 GB, at least class 10)
Check hardware prices with the following links:


Step-by-Step Procedure
Prepare OS
Start installing your Operating System. I suggest installing Raspberry PI OS Lite, so having a fast, headless OS. But you can also use Raspberry PI OS Desktop, in this case working from its internal terminal.
From the terminal, make sure your OS is updated:
sudo apt update -y && sudo apt upgrade -yNow you can install python-docx, just after installing pip3 and lxml (which is required). From the terminal, use the following 2 commands:
sudo apt install python3-pip python3-lxml
pip3 install python-docx
At this point, you already have everything needed to use python-docx. In the following paragraph, I will explain how to use the main methods.
Python-docs Main Methods/Properties
Creating a New Document
Each python script will need to start by importing python-docx library:
from docx import DocumentWith python-docx you can create a new document by using the following line:
document = Document()With this line, we created a new empty document, but we didn’t still save it. Please note that the Document() class can also open existing documents. This is particularly useful, for example, when we want to start from a template instead of writing an empty file. The code line will be:
document = Document('/path/to/TEMPLATE.docx')
Add a Heading
To add a heading you will use the following line:
from docx import Document
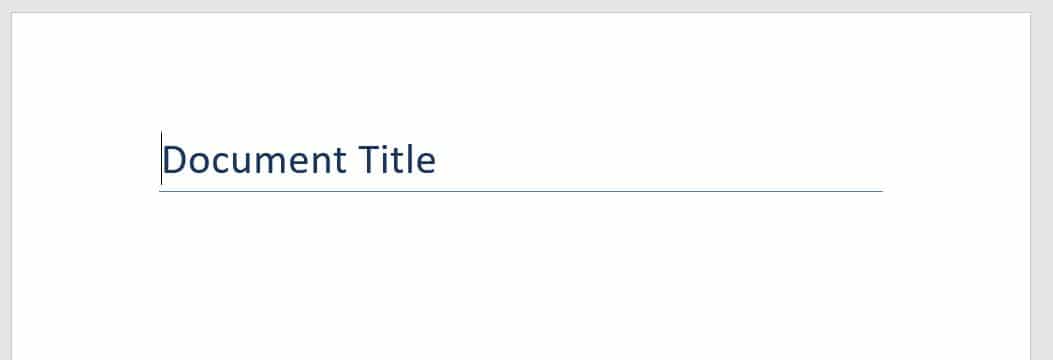
document.add_heading('Document Title', level=0)The “level=0” is an optional parameter and indicates the title level. Level zero is the document title and is the default when no level is indicated:
Other levels can be added and resulting in a complete title structure. Following code:
from docx import Document
document = Document()
document.add_heading('Document Title')
document.add_heading('Title 1', level=1)
document.add_heading('Title 2', level=2)
document.add_heading('Title 3', level=3)
document.add_heading('Title 4', level=4)
document.add_heading('Title 5', level=5)
document.add_heading('Title 6', level=6)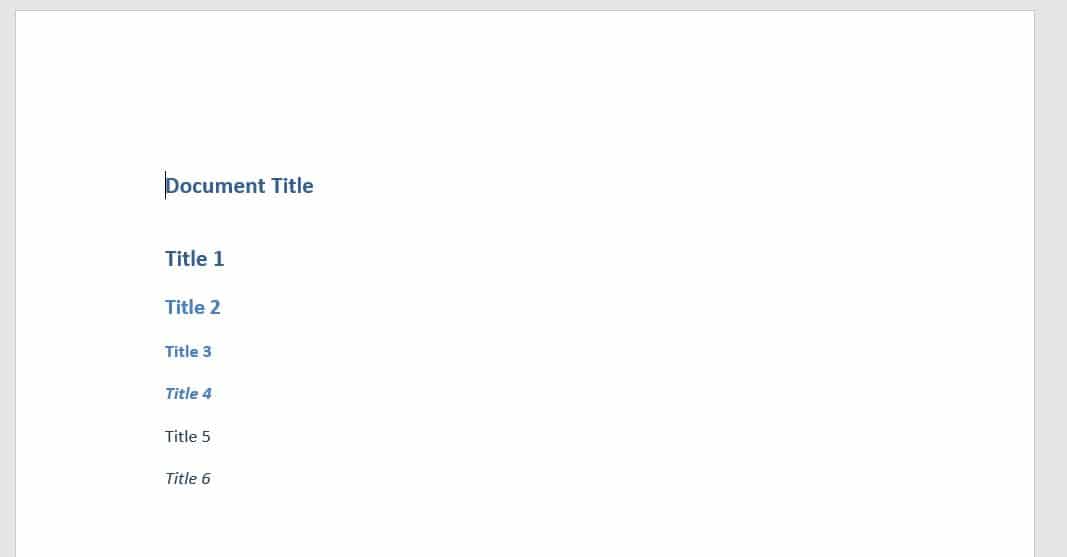
Add a Paragraph
Adding a paragraph can be achieved with following line:
document.add_paragraph("Hello from peppe8o!")With the following result:
When you need to add specific formatting to your paragraph, you can use a variable to add the new text and then apply the new format as follows:
paragraph = document.add_paragraph('This is a bullet')
paragraph.style = 'List Bullet'
having the following result:
This is also a useful way to manage paragraphs with changing character format. In this case, you will use the “add_run” method to add text to be treated with a specific formatting (instead of add_paragraph, which would go to a new line):
paragraph = document.add_paragraph('Hello from ')
run = paragraph.add_run('peppe8o')
run.bold = True
paragraph.add_run(' blog')
Add a Table
Adding a table is as simple as with a paragraph. You will probably need to manage cells in order to insert single values, so using a variable to identify the table is always the best way:
table = document.add_table(rows=3, cols=2)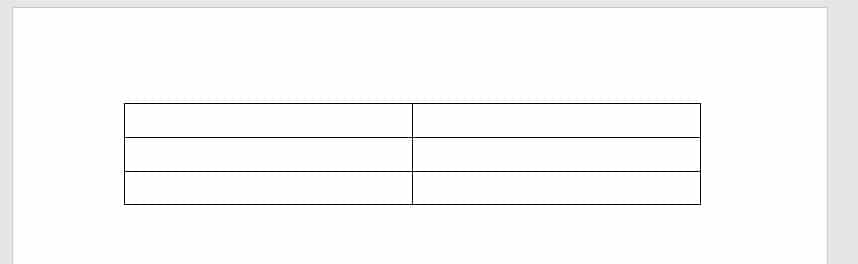
Note: the table is created without borders. I set them in order to make the table visible. But you will have to set the border with table.style = ‘Table Grid’ after add.table statement
You have 2 ways to add content to your cells. The faster one is by directly calling the cell and using text property:
table.cell(0, 1).text='Normal Cell'The second one is by using the paragraphs add_run method, which allows us to apply specific formatting inside the cell after setting the text:
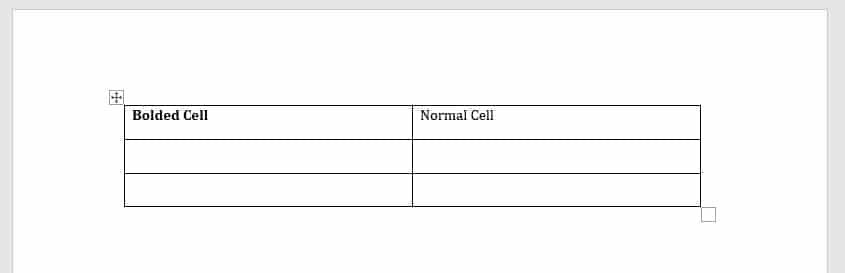
cell = table.cell(0, 0)
run =cell.paragraphs[0].add_run('Bolded Cell')
run.bold = True
The following picture shows the results difference:
If you need to add row to an existing table, you can get it with:
table.add_row()Add a Picture
Pictures are another common object for Word documents. The way python-docx integrates them in documents is always the same:
document.add_picture('image-filename.png')Or, using the absolute path:
document.add_picture('/path/to/file/image-filename.png')Copy a picture in your script path or, if you don’t have, you can get the following from python-openxml GitHub examples:
wget https://github.com/python-openxml/python-docx/raw/master/tests/test_files/python-icon.jpegIn this way, supposing that you are working from /home/pi folder, both the commands:
document.add_picture('python-icon.jpeg')and
document.add_picture('/home/pi/python-icon.jpeg')will return the same output:

Add a page break
When you need to move into a new page, you will likely need the page break element. With python-docx you can add this element with the following line:
document.add_page_break()Example 1: the default Demo.docx
This “docxDemo.py” is also available from my download area:
wget https://peppe8o.com/download/python/python-docx/docxPython.pyIf you want to create it by yourself, open a new file named “docxDemo.py”:
nano docxDemo.pyPaste the following code
from docx import Document
document = Document()
document.add_heading('Document Title', 0)
p = document.add_paragraph('A plain paragraph having some ')
p.add_run('bold').bold = True
p.add_run(' and some ')
p.add_run('italic.').italic = True
document.add_heading('Heading, level 1', level=1)
document.add_paragraph('Intense quote', style='Intense Quote')
document.add_paragraph(
'first item in unordered list', style='List Bullet'
)
document.add_paragraph(
'first item in ordered list', style='List Number'
)
records = (
(3, '101', 'Spam'),
(7, '422', 'Eggs'),
(4, '631', 'Spam, spam, eggs, and spam')
)
table = document.add_table(rows=1, cols=3)
hdr_cells = table.rows[0].cells
hdr_cells[0].text = 'Qty'
hdr_cells[1].text = 'Id'
hdr_cells[2].text = 'Desc'
for qty, id, desc in records:
row_cells = table.add_row().cells
row_cells[0].text = str(qty)
row_cells[1].text = id
row_cells[2].text = desc
document.add_page_break()
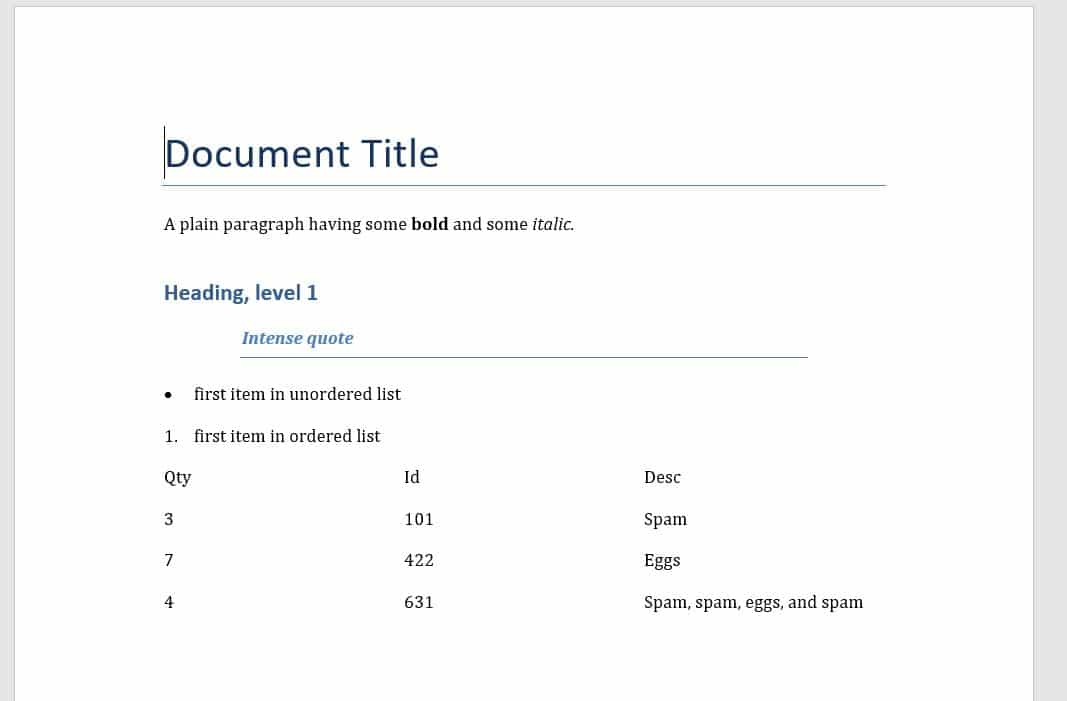
document.save('demo.docx')Save and close.
Run the following command:
python3 docxDemo.pyAt the end, you will find a new file, named “demo.docx”, with the following result followed by an empty page (because of the final “add_page_break” before the final saving command from the script):
Example 2: Custom Report from Raspberry PI System
With this in mind, we can create a custom report collecting info both from Raspberry PI or any external system reachable from your RPI. In this way, the report preparation can be fully automated.
An example of this usage is collecting Raspberry PI internal info like OS version, CPU temperature, networking status and running processes.
The full script is available from my download area and you can get it directly in your Raspberry PI with the command:
wget https://peppe8o.com/download/python/python-docx/myRPIReport.pyThis script is built based on what already explained in previous paragraph, except from the following function:
def console(cmd):
    p = Popen(cmd, shell=True, stdout=PIPE)
    out, err = p.communicate()
    return out.decode('ascii').strip()
This part, using subprocess library imported at the script beginning, executes shell commands from Python script, thus giving you back the shell result.
According to this condition, please remember that you are running te script as pi user. For this you will be able to execute commands available to pi uses (“sudo” commands require authentication, thus not giving back results). For these commands required priviledged permissions, ways are to add a permission to pi user for executing that command or executing python script from root (note that also installation steps has to be done from root to use python-docx from root).
Anyway, my script runs without the need of any additional permission, so running it:
python3 myRPIReport.pywill give you back a result similar to that extract:
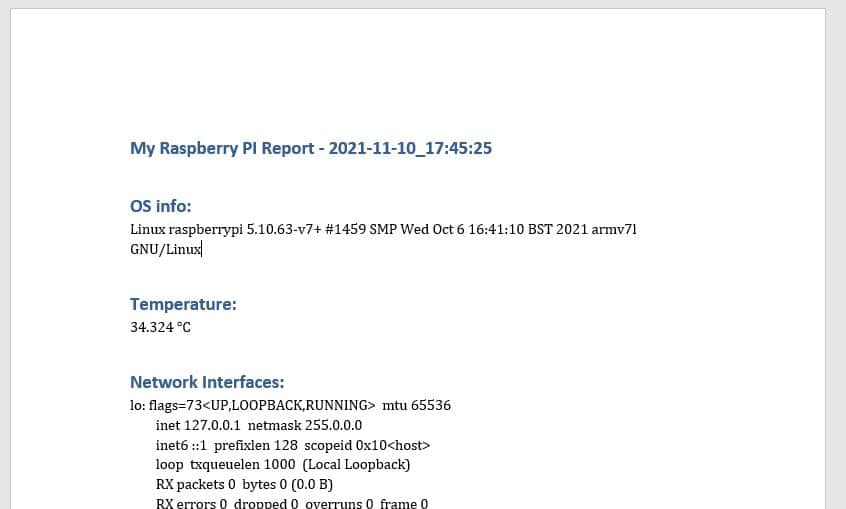
The full report is available from the following link: myReport.docx
Scheduling and Sending Reports by Email
Now, what misses is making reports automatically produced and sent.
Install Mutt to send Email from Raspberry PI
Firstly, install Mutt on your Raspberry PI. For this, you can refer to my Terminal Email Client with Raspberry PI and Mutt tutorial, which already covers all the procedures.
Update myRPIReport.py Script
We’ll add at the end of our script the sending step by using Mutt terminal command.
Append, after the “document.save(‘myReport.docx’)” row, the following line:
console('echo "Please find last report attached" | mutt -s "Updated report from Raspberry PI" recipient@example.com -a "/home/pi/myReport.docx"')Please remember to use your recipient email address.
Test your script with the terminal command:
python3 myRPIReport.pyThis time, it will generate the report and also send it to your recipient’s address. Check your email (also spam folder, if you don’t find it in your Inbox).
Schedule your Reports Generation and Sending
For this goal, we’ll use the built-in cron from Linux. From the terminal, open the cron for the pi user to edit with this command:
crontab -u pi -eSelect your favourite text editor (1. Nano for me):
pi@raspberrypi:~ $ crontab -u pi -e
no crontab for root - using an empty one

Select an editor.  To change later, run 'select-editor'.
  1. /bin/nano        <---- easiest
  2. /usr/bin/vim.tiny
  3. /bin/ed

Choose 1-3 [1]: 1
Append the following line at the end of the cron file, supposing that the script is in the pi home folder (or change accordingly to your folder path):
0 * * * * python3 /home/pi/myRPIReport.pyThis will execute the script (and send the updated report) every hour at minute 0. You can customize frequency according to your needs. At the scheduled time, you will receive the report.
Enjoy!

Open source and Raspberry PI lover, writes tutorials for beginners since 2019. He's an ICT expert, with a strong experience in supporting medium to big companies and public administrations to manage their ICT infrastructures. He's supporting the Italian public administration in digital transformation projects.
![]()
![]()
![]()
![]()
![]()
![]()
![]()


