
Last Updated on 3rd June 2024 by peppe8o
In this tutorial, I’m going to show you how to use an SG90 servo motor with Raspberry PI pico and Micropython.
Servo Motors are common electronics and diy components able to perform rotations (usually in a range between 0 and 180 degrees). You can use SG90 with Raspberry Pi Pico with easy MicroPython code as only PWM is required
Describing the Servo Motor
Servo motor is a compact kind of DC motor equipped also with a set of reduction gears. Usually, it can rotate only in a range between 0 and 180 degrees with its “horn”, even if this accessory can be replaced with the 2 additional inserts available from its standard packaging.
They commonly come with a 3-wire cabling, representing following:
- the orange one for data
- the red one for Vcc
- the brown one for ground
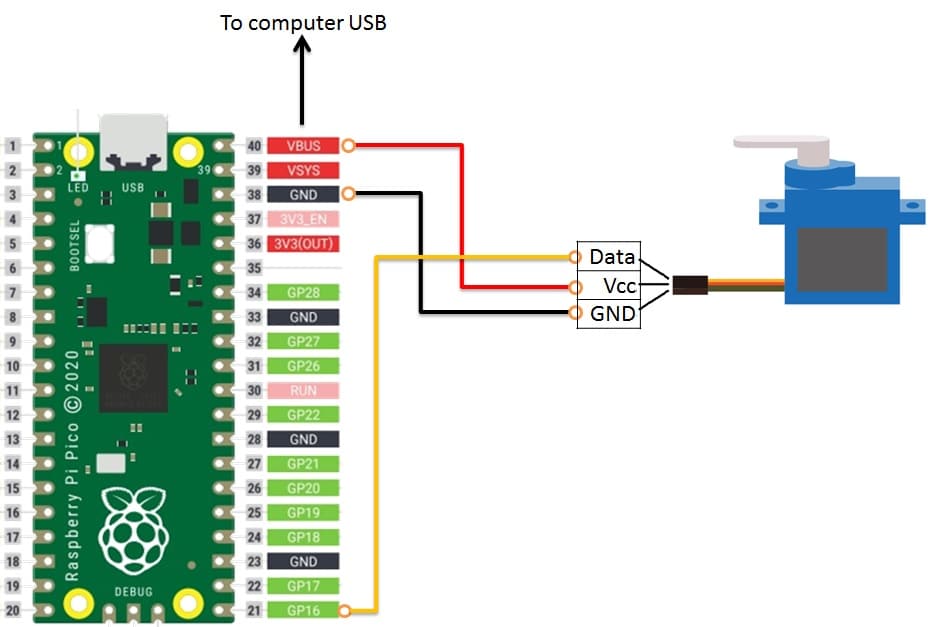
Please note that servo motors require a 5V Vcc power, which is available from Raspberry PI Pico only when connected to USB (taking this voltage from VBUS, according to Raspberry Pi Pico pinout) or with a proper external power supply. We’ll use a 50Hz PWM signal. Its duty cycle will result in driving the servo motor to a specific position: the “high” time of our signal corresponds to the angle performed:
| Time for high level | SG90 angle |
| 0.5 ms | 0 degree |
| 1 ms | 45 degree |
| 1.5 ms | 90 degree |
| 2 ms | 135 degree |
| 2.5 ms | 180 degree |
Finally, consider that SG90 servo motors are power-hungry devices, so consider this when dimensioning power supply packages in your battery-powered projects.
What We Need
As usual, I suggest adding from now to your favourite e-commerce shopping cart all the needed hardware, so that at the end you will be able to evaluate overall costs and decide if to continue with the project or remove them from the shopping cart. So, hardware will be only:
- A common computer (maybe with Windows, Linux, or Mac). It can also be a Raspberry PI Computer board
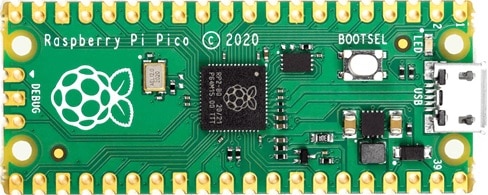
- Raspberry PI Pico microcontroller (with a common micro USB cable)
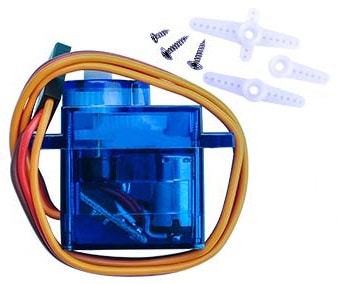
- SG90 Servo Motor
- (optional) breadboard
- dupont wirings
Check hardware prices with following links:


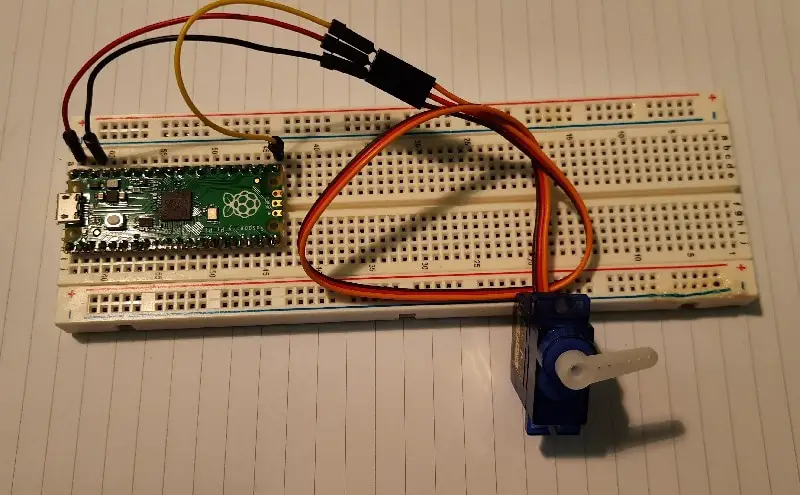
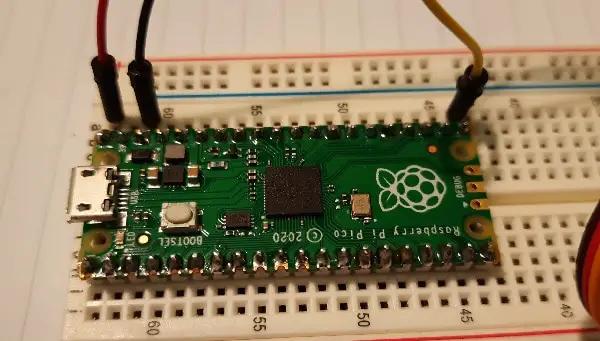
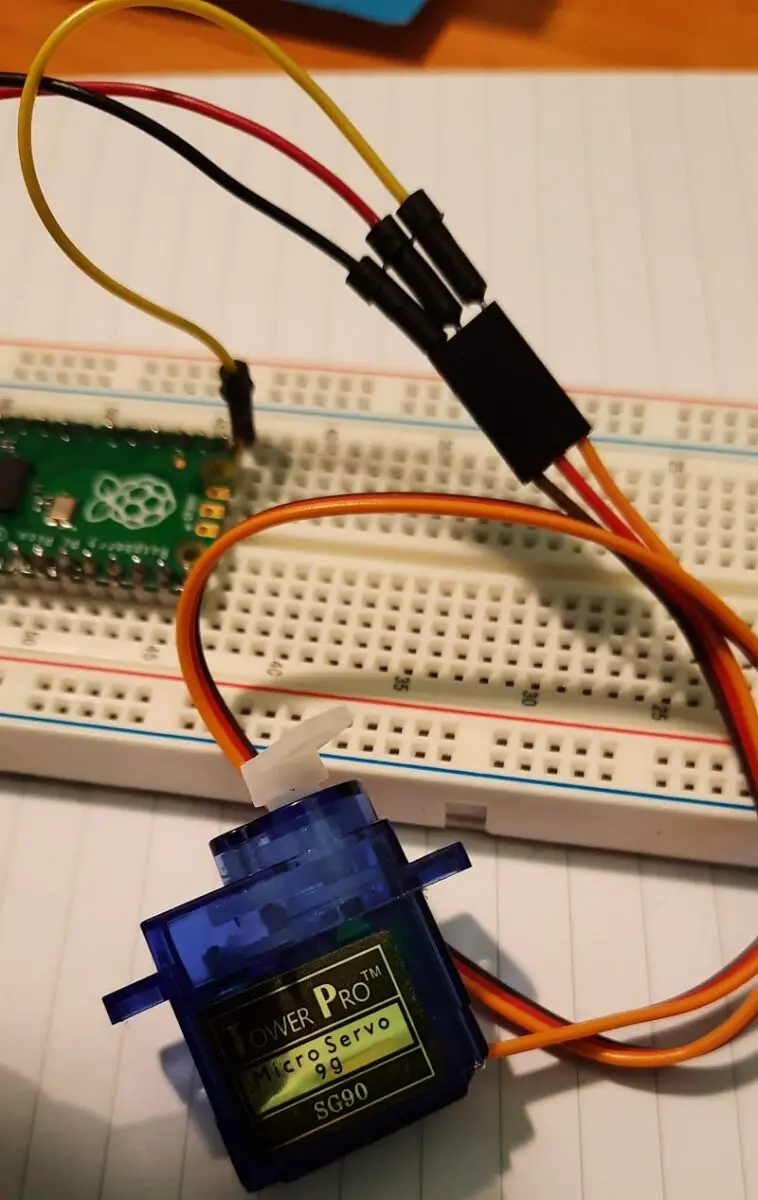
Wiring Diagram
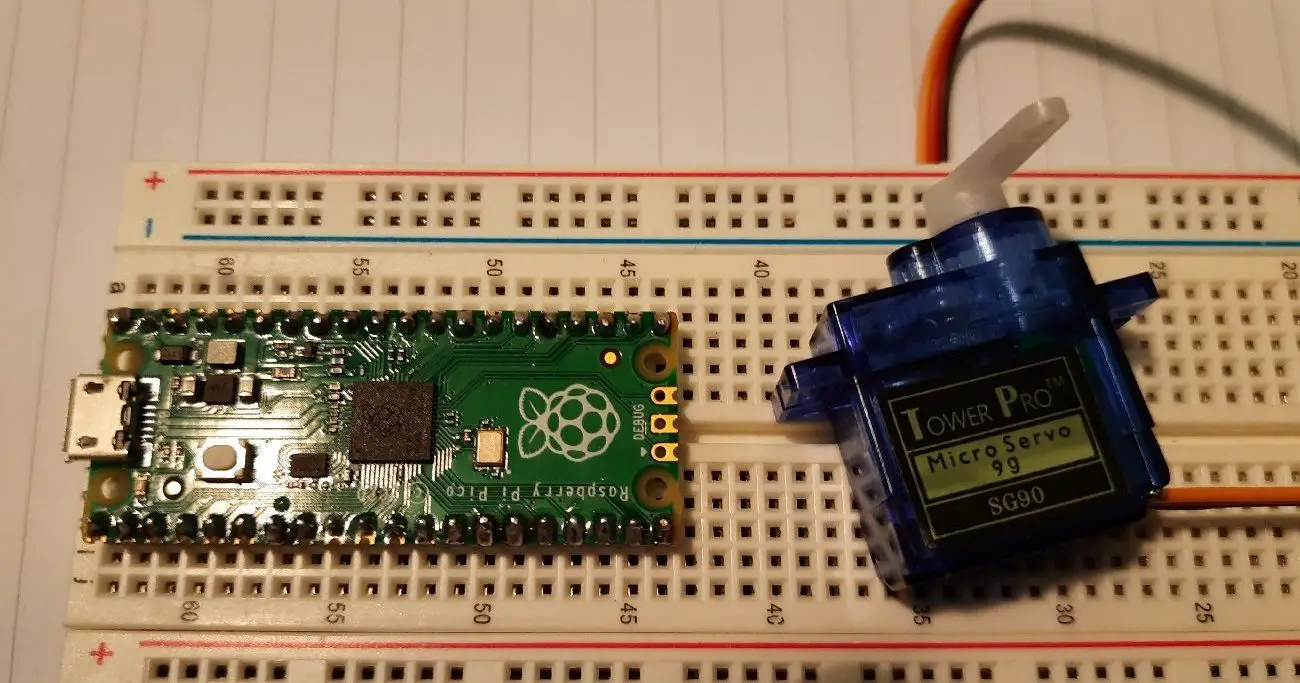
Please find below my wiring diagram schema:
Following pictures include some cabling details:
Step-by-Step Procedure
Connect RPI Pico to Thonny (you can refer to my tutorial about First steps with Raspberry PI Pico). Download my picoSg90servo.py script on your computer and open it with Thonny.
Following paragraphs will describe my code line by line.
As usual, we start importing required libraries at the first lines of our script:
from machine import Pin, PWM
from time import sleep
ServoPIN variable links a PWM instance on Pin 16 (as with our wiring). Its frequency is set to 50Hz:
servoPin = PWM(Pin(16))
servoPin.freq(50)
Then we define our main function. The servo function, which requires as input the position angle to reach (in degrees), checks that input ranges between 0 and 180. We’ll cut outer values to stay in this range:
def servo(degrees):
    if degrees > 180: degrees=180
    if degrees < 0: degrees=0
Even if the duty cycle for Raspberry PI Pico PWM can be set in a range between 0 and 65536 (as it results from a 16-bits logical level), the servo motor performs all the available angles between 1000 and 9000. maxDuty and minDuty make this explicit:
    maxDuty=9000
    minDuty=1000
Degrees value (0-180) is proportioned to 1000-9000 range with following formula. Please note that the resulting newDuty is a floating value:
newDuty=minDuty+(maxDuty-minDuty)*(degrees/180)Finally, the new duty value is set to our PWM pin with the duty_u16 function. As it requires an integer input, the int() function will convert from floating to integer:
servoPin.duty_u16(int(newDuty))With this, our servo function is complete. This script also includes a while loop testing our servo. This while loop has 2 nested loops with for statement. The first “for” statement tests the servo motor with an increasing degree value. It sets the SG90 position, waits a few time (to avoid this movement from being too fast) and then prints on Thonny shell current cycle (increasing) and angle:
while True:
  for degree in range(0,180,1):
    servo(degree)
    sleep(0.001)
    print("increasing -- "+str(degree))
Second loop performs same movement, in reverse direction:
  for degree in range(180, 0, -1):
    servo(degree)
    sleep(0.001)
    print("decreasing -- "+str(degree))
Running the picoSg90servo Script
Run this script in your Thonny IDE (F5) and you will start seeing your servo moving from one side to the other (and vice versa) while Thonny shell will print logging info:
MicroPython v1.15 on 2021-04-18; Raspberry Pi Pico with RP2040

Type "help()" for more information.
>>> %Run -c $EDITOR_CONTENT
increasing -- 0
increasing -- 1
increasing -- 2
increasing -- 3
increasing -- 4
increasing -- 5
increasing -- 6
increasing -- 7
increasing -- 8
....
....
increasing -- 177
increasing -- 178
increasing -- 179
decreasing -- 180
decreasing -- 179
decreasing -- 178
decreasing -- 177
....
What’s Next
Interested to do more with your Raspberry PI Pico? Try to look at my Raspberry PI Pico tutorials for useful and funny projects!
Enjoy!

Open source and Raspberry PI lover, writes tutorials for beginners since 2019. He's an ICT expert, with a strong experience in supporting medium to big companies and public administrations to manage their ICT infrastructures. He's supporting the Italian public administration in digital transformation projects.
![]()
![]()
![]()
![]()
![]()
![]()
![]()


