
Last Updated on 30th January 2026 by peppe8o
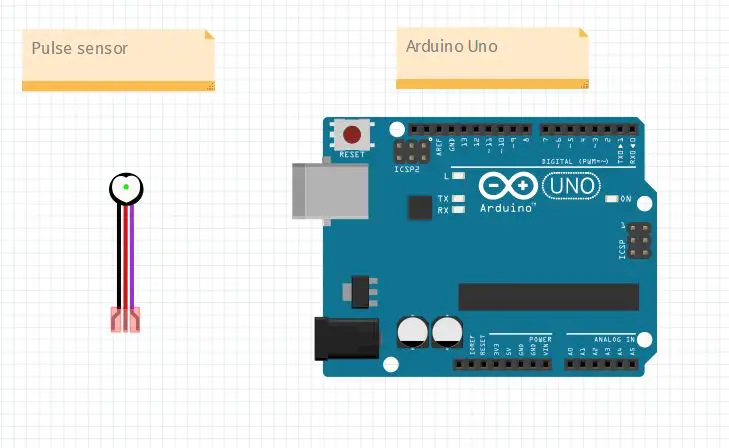
In this tutorial, we will use a heart rate sensor with Arduino Uno. The heart rate sensor uses to measure the pulse. The finger places on the sensor to get the value of the pulse and displayed on the Serial monitor.
Introduction
A pulse sensor is a particular kind of sensor that measures a person’s pulse or heart rate. By putting a light on the skin and measuring the reflected light, it typically detects changes in blood volume in a blood artery caused by the heartbeat. This sensor can be worn on the finger, wrist, or earlobe, and is frequently utilized in research projects, medical equipment, and fitness-tracking gadgets. The pulse sensor connects with microcontrollers like Arduino to create a variety of applications, including heart rate monitors and biofeedback systems.
Working principle of Remote control
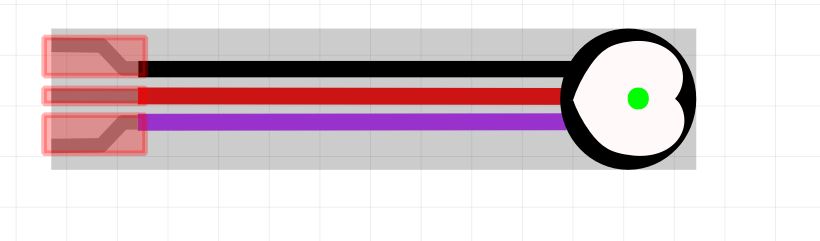
A pulse sensor is a tool that measures a person’s pulse or heart rate. Although there are numerous varieties of pulse sensors, the photoplethysmography (PPG) sensor is the most used. PPG sensors operate by illuminating the skin and detecting how much light reflects back. A light beam emitted by the sensor penetrates the skin and enters the blood vessels. Some of the light absorbs by the blood as it circulates through the arteries. With each heartbeat, the volume of blood in the vessels changes, which in turn affects how much light absorbs. The other types of pulse sensors are electrocardiogram (ECG), Piezoelectric sensors, and capacitive sensors.
What We Need

As usual, I suggest adding from now to your favourite e-commerce shopping cart all the needed hardware, so that at the end you will be able to evaluate overall costs and decide if to continue with the project or remove them from the shopping cart. So, hardware will be only:
Step-by-Step Procedure
Wiring Diagram of remote control with Arduino and LCD
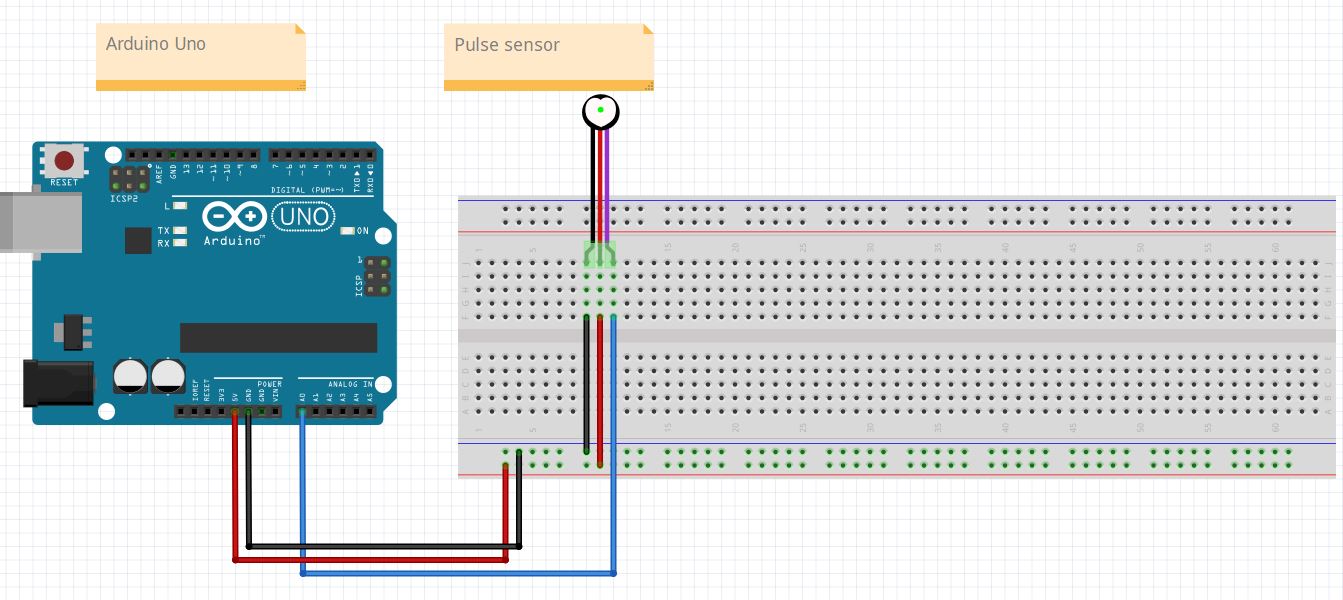
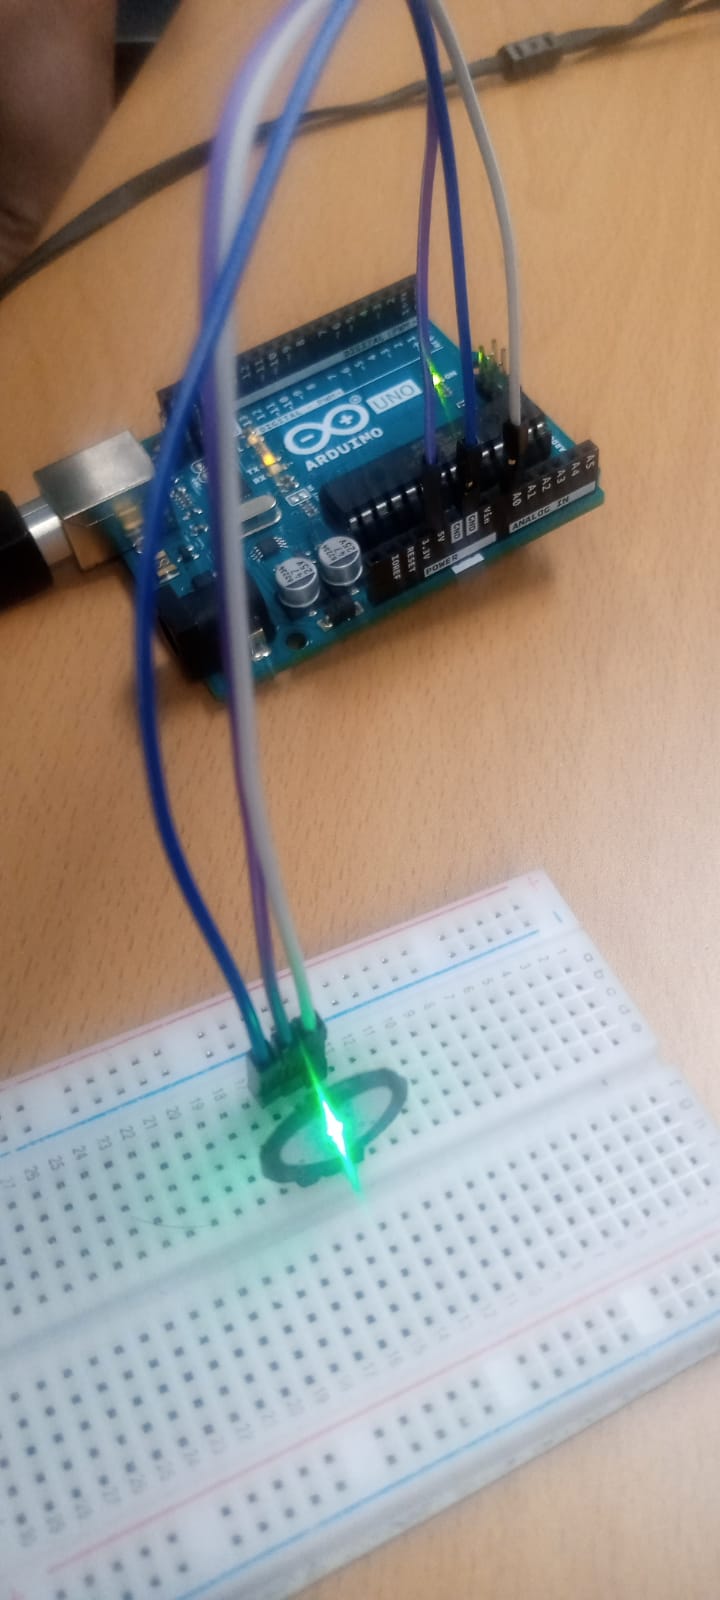
The figure represents the wiring diagram of the pulse sensor with Arduino Uno. This sensor module works on an analogue pin so can be connected with any pin from A0 to A5. The pulse sensor with the Arduino connects in this pattern.
| Pulse sensor | Arduino |
| Pin 1 (right side) | A0 |
| Pin 2 | 5 V |
| Pin 3 | GND |
Get the code and remote control Libraries
Connect your PC to Arduino and open Arduino IDE. For the very first steps, you can refer to Connecting Windows PC with Arduino tutorial. You can get the .ino code from my download area with the following link:
You also need to install the following library, according to my Install Arduino Libraries: methods to add libraries with Arduino IDE tutorial:
pulsesensorplayground-master.zip
Code Explanation
Section 1: Before setup and library
This is the section before setup which we’ll use for adding libraries.
The first line is a preprocessor directive that enables Arduino interrupts. Interrupts allow the program to respond immediately to external events, which is useful for sensors like the pulse sensor that needs to be read continuously.
#define USE_ARDUINO_INTERRUPTS true
The second line includes the PulseSensorPlayground library in the program. This library provides functions and tools for reading data from pulse sensors.
#include <PulseSensorPlayground.h>
The third line is the PIN number at which the sensor is connected, Then, we set a threshold: if the read value raises over this, then this is acknowledged as the vibration for the sensor. A child label of the library is created.
const int PulseWire = 0;
int Threshold = 550;
PulseSensorPlayground pulseSensor;
Section 2: Setup section
In the setup section, The first line initializes the serial communication between the Arduino board and the computer, with a baud rate of 9600.
void setup()
{
  Serial.begin(9600);
The second line initializes the pulse sensor pin as an input. While the third line gives the threshold set.
  pulseSensor.analogInput(PulseWire);
  pulseSensor.setThreshold(Threshold);
After this, check the sensor to initiate.
  if (pulseSensor.begin()) {
    Serial.println("A pulseSensor Object !");
  }
}
Section 3: Loop section
This particular version of the loop() function on the Arduino board read out the pulse to get the beats per minute. If there is amplitude in the beat which is compared with the threshold then it is counted as the beat.
The serials are the prints on the serial monitor for the Beats per minute (BPM).
void loop()
{
int myBPM = pulseSensor.getBeatsPerMinute();
if (pulseSensor.sawStartOfBeat())
{
Serial.println("♥ A HeartBeat Happened ! ");
Serial.print("BPM: ");
Serial.println(myBPM);
}
delay(20);
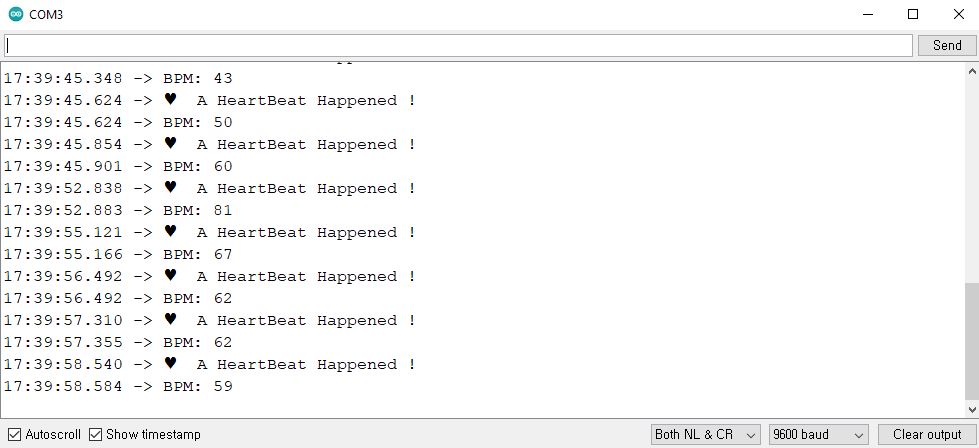
}Results
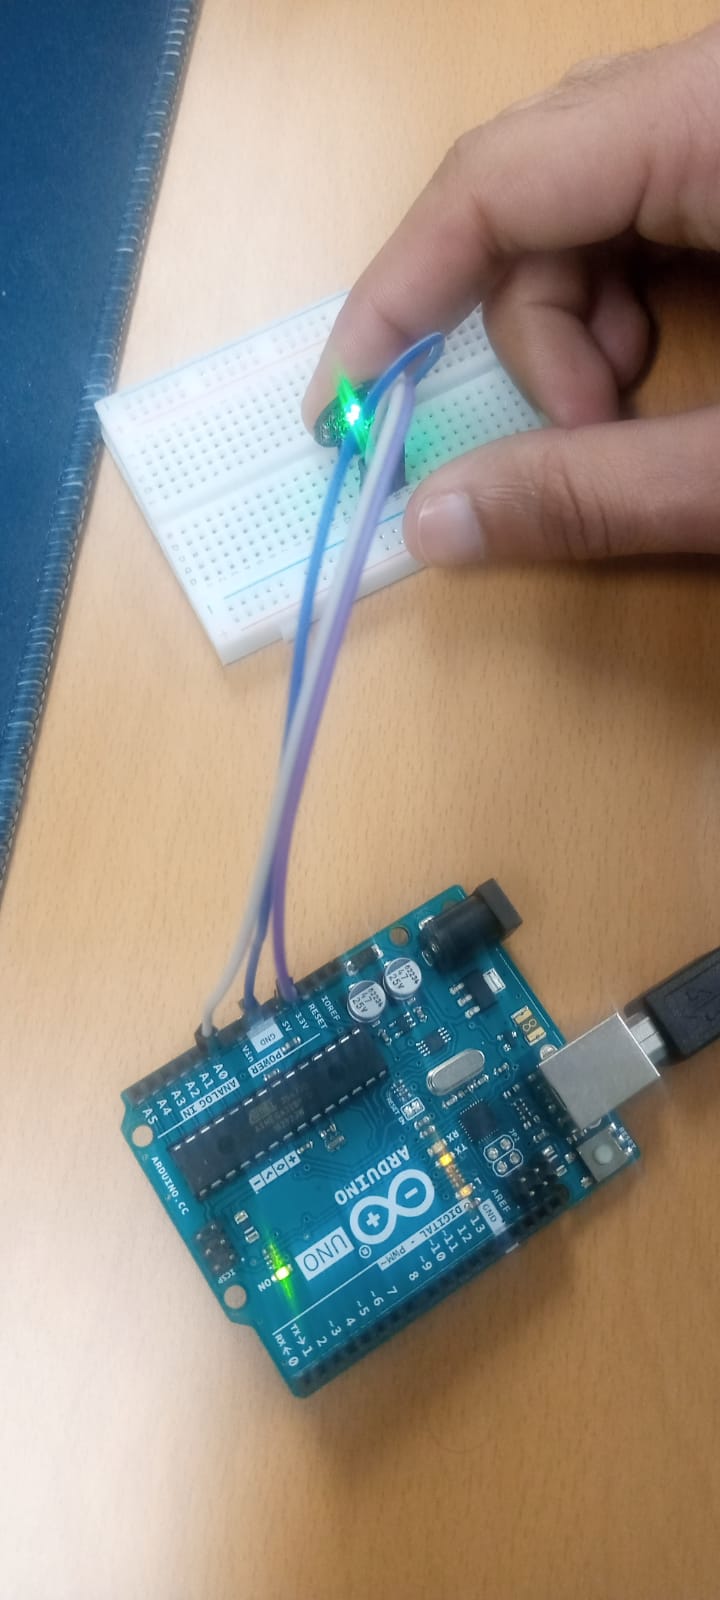
The results display the heartbeat on the serial monitor of the sensor which connects to Arduino Uno. The beat while sitting normally comes in the range of 60-100, depending on the activity the person is performing. The finger placement on the front side where displays the heart sign as the light and the noise cancelling circuit connects over there.
What’s Next
Please find more tutorials on Arduino in peppe8o Arduino archives.
Enjoy!
Umar Jamil
For any queries and help for work, please contact me at:
Whatsapp: +92-346-661-7017/ Link
Fiverr: Link

I'm an Electronic Engineer, well-skilled to solve the issues of hardware and software. I do have laboratory which contains unlimited sensors and modules for testing the working. Also, I am experienced in Arduino programming, Android mobile application, microcontroller programming, IOTs and embedded projects. I provide services to control, realize the sensor data in the Mobile Application. For any queries and help for work Contact: Whatsapp:+92-346-661-7017 Email: umarjamil0007@gmail.com
![]()


