

Last Updated on 13th April 2024 by peppe8o
In this tutorial, I’m going to show you how to install LimeSurvey on Raspberry PI computer boards (excluding Raspberry PI Pico, as it is a microcontroller).
How many times did you need to ask your friends for an opinion or a vote? Some Google modules can help this but when you want to privately host your surveys the best answer is LimeSurvey on Raspberry PI.
About LimeSurvey
LimeSurvey is a useful, web-based survey tool allowing you to organize in a simple way your requests for opinions, interests, and much more. LimeSurvey helps you both in creating simple questionnaires or working on sophisticated surveys with complex validation rules, conditional logic and quota management. It is also a complete tool able to allow professional market researchers to investigate potential customer’s opinions and interests, so driving decisions based on what people like.
LimeSurvey has cloud based services (with fees), but they release also an open source, community version (LimeSurvey CE) of their software for people wanting to use their tool on self hosted environments.
For this project, I’m going to use a Raspberry PI 3 model B+, but this will work with any Raspberry PI computer boards (no Raspberry PI Pico, as it is a microcontroller and not a computer).
Please note that if you want to publish your surveys on the internet, you can use my tutorial on No-IP with Raspberry PI, which also tells you what checks are to be performed to understand if you have all IPS requirements satisfied.
What We Need

As usual, I suggest adding from now to your favourite e-commerce shopping cart all the needed hardware, so that at the end you will be able to evaluate overall costs and decide if to continue with the project or remove them from the shopping cart. So, hardware will be only:
- Raspberry PI computer board (including proper power supply or using a smartphone micro usb charger with at least 3A)
- high speed micro SD card (at least 16 GB, at least class 10)
Check hardware prices with following links:


Step-by-Step Procedure
Prepare Operating System
Start installing the OS for your RPI. I suggest using Raspberry PI OS Lite as it assures a fast environment with a headless configuration. But you can also use Raspberry PI OS Desktop, in this case using its internal terminal.
Make sure your OS is up to date. From terminal, use the following command:
sudo apt update -y && sudo apt upgrade -ySetup the LAMP server
We need to configure a Linux-Apache-Mysql-Php server in order to run LimeSurvey. Instead of MySQL, we’ll use MariaDB as assures better performances also in low capacity hardware as Raspberry PI. For this step, please refer to my tutorial to install LAMP server in Raspberry PI (phpmyadmin is optional).
Install required modules
According to LimeSurvey docs, the minimum requirements are following:
- Minimum 250 MB disk space
- MySQL 5.5.3 or later
- Minimum PHP 7.2.5 or later; with the following modules/libraries enabled:
- mbstring
- PDO database driver
Optional PHP Extensions are following:
- gd-library
- IMAP
- LDAP
- zip
- zlib
With our previous installation step, we’ll find the following modules already installed by default:
- PDO: available in default php installation
- hash: available in default php installation
- session: available in default php installation
- openssl: available in default php installation
- zlib: available in default php installation
- fileinfo: available in default php installation
Install missing packages with the terminal command:
sudo apt install php-mbstring php-gd php-imap php-ldap php-zip php-xml -yWe also need a restart of apache service to get all modules activated:
sudo systemctl restart apache2.serviceGet LimeSurvey copy
Check the latest LimeSurvey community edition version from LimeSurvey download page. You can both download it from an external PC and then move the package to your RPI via an SFTP software (like Filezilla) or you can get the download link by right click on “Download” button, then “Copy link address”:

and finally using the get command from your Raspberry PI terminal to download the package directly in your device (please change the link with the one you just copied):
wget https://download.limesurvey.org/latest-stable-release/limesurvey5.3.19+220607.zipNow we need to uncompress the package and move its content to the default apache web folder. These can be achieved with a single command (please use the correct name for the package downloaded according to the version available at your time):
sudo unzip limesurvey5.3.19+220607.zip -d /var/www/html/Finally, “sudo” copies files as root user. To apply the correct permissions we also need to give files ownership to the default apache user (www-data) and group (www-data):
sudo chown www-data:www-data /var/www/html/ -RPrepare Database Permissions
LimeSurvey needs proper database permissions to work. The minimal are SELECT, CREATE, INSERT, UPDATE, DELETE, ALTER, DROP, INDEX. We’ll grant all privileges into a specific, dedicated database inside MariaDB so that all the minimum requirements will be satisfied. Before running the following command, please choose your personal database name, user and password and use that instead of my “limeSurveyDB”, “limeSurveyUser” and “limeSurveyPassword”. Please also remember these values for the next installation steps and for future possible needs.
Also, note that the default password for mysql command with MariaDB is empty (just press RETURN) unless modified with the “sudo mysql_secure_installation” command at LAMP installation time.
From terminal:
sudo mysql -uroot -p
create database limeSurveyDB;
create user limeSurveyUser@localhost identified by 'limeSurveyPassword';
grant all privileges on limeSurveyDB.* to limeSurveyUser@localhost;
flush privileges;
quit
If everything gone successful, we are now ready to move to browser steps.
Finalize LimeSurvey Installation
The latest steps can be done from a web browser. Using your favourite one, keep your Raspberry PI’s IP address instead of mine “192.168.1.178” (or use your domain, if you have one) and go to URL “http://192.168.1.178/limesurvey/admin”:
The first page welcomes you and allows selecting the preferred language. Please choose your preferred one and click “Start installation” button at the bottom right:

The next page gives you the license overview. Continuing installation requires accepting it by clicking “I accept” button:

The following page checks that all requirements are met. By scrolling down, you will find all requirements available. Please press “next” button at the end of the page to move forward:

Now database configuration page has to be filled. Using the ones you defined in the previous “Prepare Database Permissions”, set according to the following map (please use your user/password/db name set when prepared the permissions for MariaDB in previous step):
- Database type: MySQL (leave default)
- MySQL database engine type: MyISAM (leave default)
- Database location: localhost (leave default)
- Database user: limeSurveyUser
- Database password: limeSurveyPassword
- Database name: limeSurveyDB
- Table prefix: lime_ (you can leave default)
Finally press “next” button at the end of the page

Next page warns you that a database with “limeSurveyDB” name already exists. This is correct, as we defined the user and its permission restricted only to this specific database, without extending all privileges for limeSurveyUser to the whole MariaDB instance.
You can press “Populate database” button to continue:

The final page confirms that the database has been successfully populated and let you choose your administrative account details/password (for web interface use) instead of the default Limesurvey user:
- Admin login name: admin
- Admin login password: password
Please fill according to your preferences and press “next” button at the end of the page:

Finally, a confirmation page tells us that everything has gone correctly, showing the administrator credentials set in previous step (for the password it would be better if LimeSurvey had hide in this page, but that’s it…):

The “Administration” button brings us to the login page:

Once logged in, LimeSurvey will propose you to create your very first Survey:

Create Your First Survey
At this point, your Limesurvey installation is finished. You can now start creating surveys, as described in the official LimeSurvey guide to create a new survey.
For example, I’ve created a simple multiple option survey to ask friends what time they prefer to schedule for a dinner. This will be a simple survey with only 1 question, asking to friends to select the favourite time for a dinner.
You can create a new survey both from the “Create Survey” button in LimeSurvey home page or from the arrow next to Surveys located on the main toolbar of your LimeSurvey home page.
At the first stage, you are required for the survey title. You can leave the other settings as default (or change according to your needs):

Click “Create Survey” button. It will move the page on survey builder:

Click the “Edit” button to enter the question editor. As our goal is to show the users a list of possible answers, we have to change the question type from the default one (that is he “Long Free Text”) to “Multiple Choice”. Please click the “Long Free Text” button:

From the following window, please select “Multiple coice questions” and then “Bootstrap buttons”:

Click “Select” to apply the new template to your question. Fill the text to include what you are asking to the user:

Scrolling down the question editor, you can add your answer options for user. You can add as many options you like, by adding a new line with the “+” button on the right side of every row. The text area in the “Subquestion” column will be the text printed on answer buttons. For my example I’ve used it to propose the time slots:

After this, you can click the “Save and Close” button. By moving to the Survey Settings (button on top-left), the “Activate this Survey” button will appear:

By clicking it, LimeSurvey will ask you for a final review before publishing:

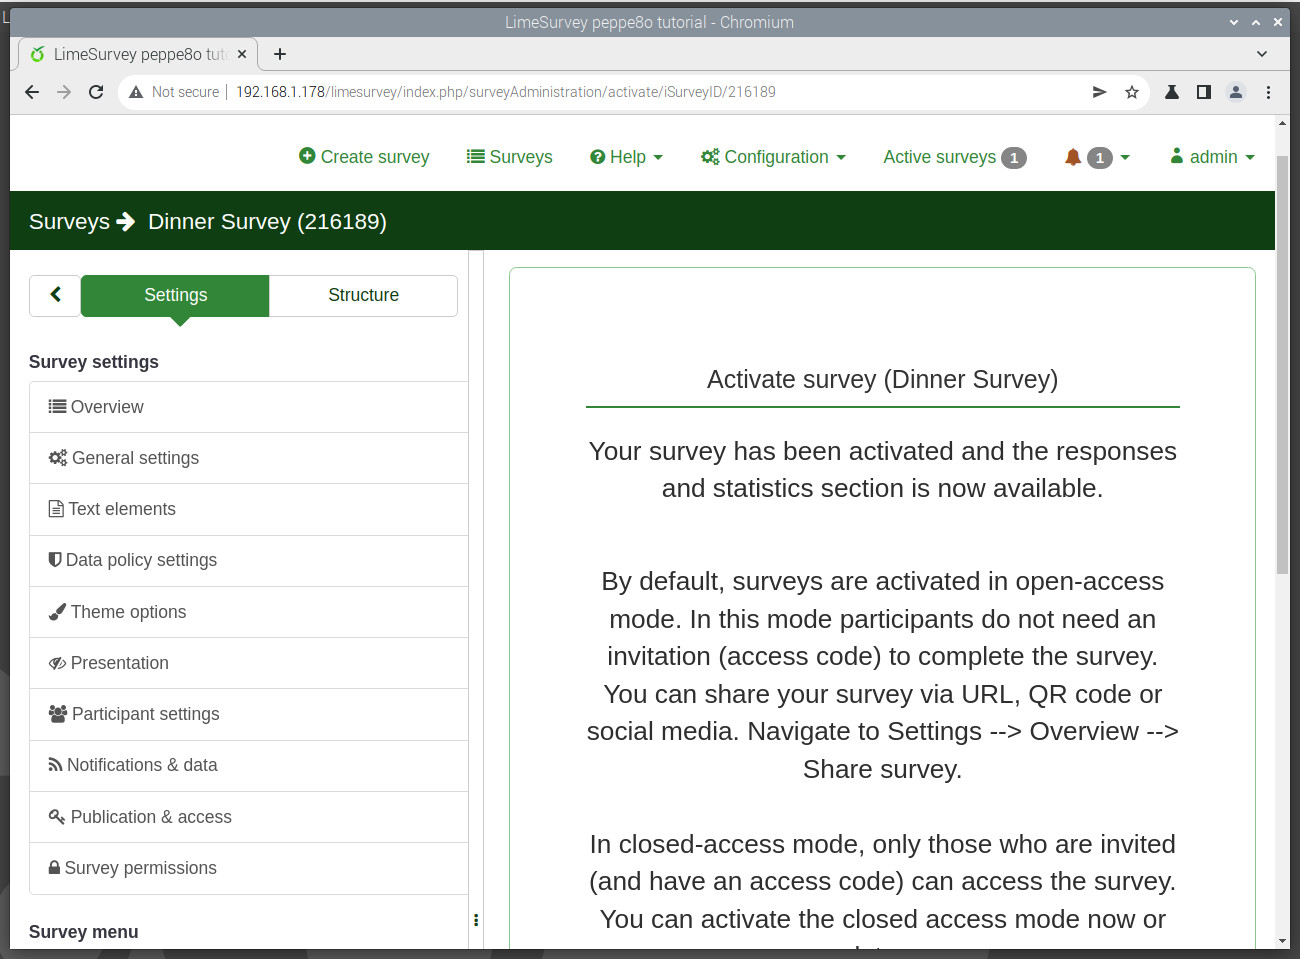
Scroll down and click “Save and Activate Survey”. The next page will confirm that the survey has been published:
As referred from this page, you you can get the survey link to share from “Settings -> Overview -> Share survey” menu on left part of the page:

The above settings will show the user a first page introducing the survey:

And then the question with answers:

From the administration page, with the “Active Surveys” link on top bar you can now see this first survey available and running and we’ll find, in the related row, a button to see its statistics:

The stats page will appear something similar to the following (after the first answers):

What’s Next
If you want to discover many other projects for your Raspberry PI, you can take a look at peppe8o Raspberry PI tutorials.
Enjoy!

Open source and Raspberry PI lover, writes tutorials for beginners since 2019. He's an ICT expert, with a strong experience in supporting medium to big companies and public administrations to manage their ICT infrastructures. He's supporting the Italian public administration in digital transformation projects.
![]()
![]()
![]()
![]()
![]()
![]()
![]()


