
Last Updated on 22nd March 2024 by peppe8o
This tutorial shows how to connect and use a vibration module with Raspberry PI computer board using Python.
One of the most effective and immediate feedback to the user, the Vibration Module with Raspberry PI adds a prompt vibration notice to your projects
How Vibration Motors work
While the vibration module gives a device that makes your code independent from the used technology, it’s good to know that there are several kinds of vibration motors. the main ones are below described.
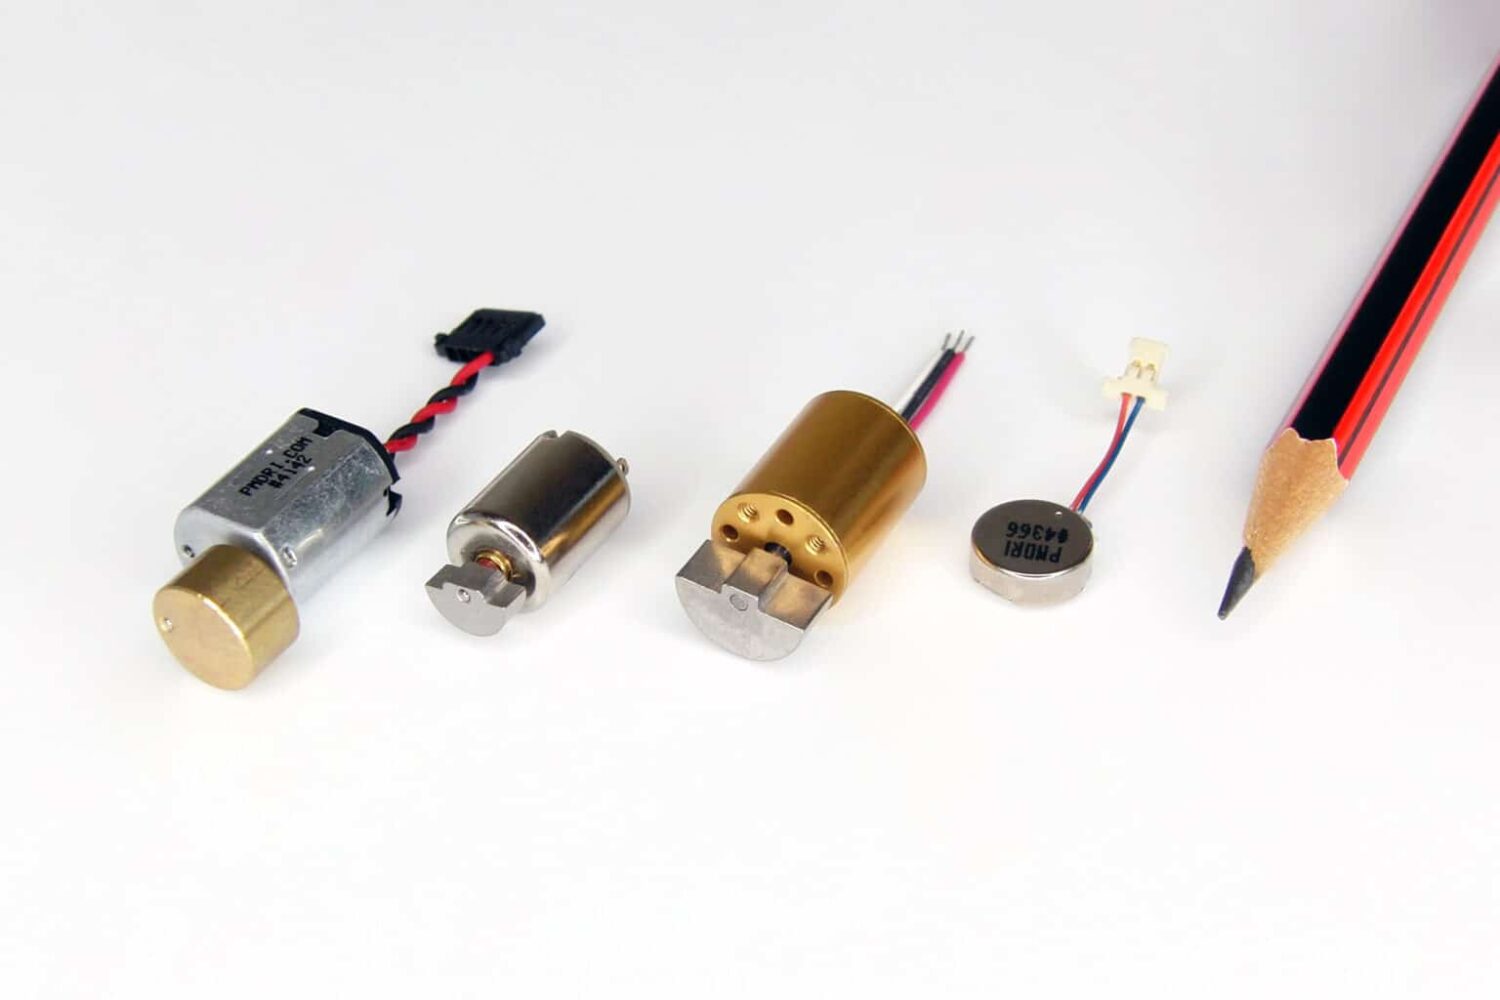
Eccentric Rotating Mass (ERM) motors have been the original way to generate vibration.
They are composed of a common DC motor that activates an eccentric mass. The mass rotation produces an unbalanced lateral movement that simulates a vibration.
The Linear Resonant Actuators (LRA) work more like a loud speaker. It includes a mass which is moved back and forth by a voice coil and a spring.
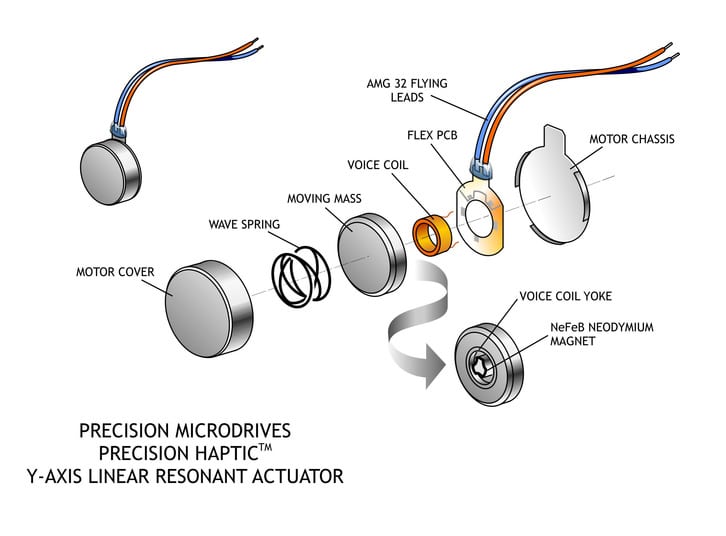
The vibration switch module we’re going to use is an LRA type.
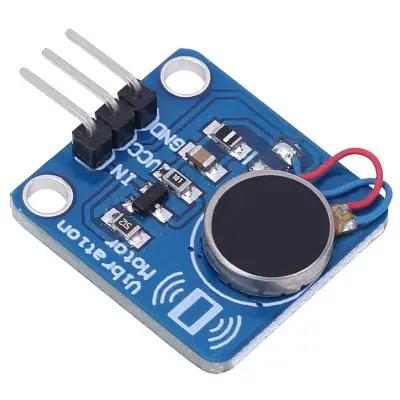
It has 3 PINs. The signal (IN) activates the vibration. The VCC and the GND bring the current to the module in order to make it work. Some models have a V+ label instead of Vcc.
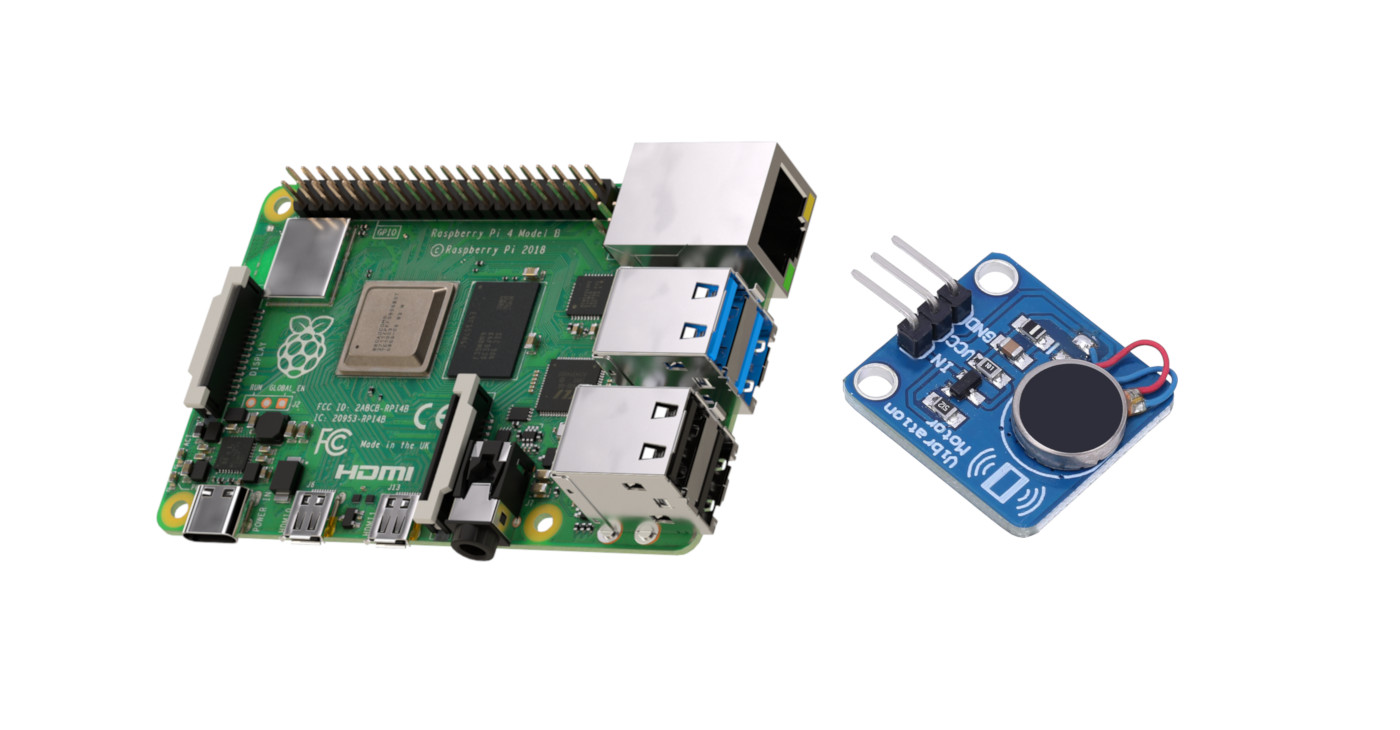
What We Need
As usual, I suggest adding from now to your favourite e-commerce shopping cart all the needed hardware, so that at the end you will be able to evaluate overall costs and decide if to continue with the project or remove them from the shopping cart. So, hardware will be only:
- Raspberry PI Computer Board(including proper power supply or using a smartphone micro usb charger with at least 3A)
- high speed micro SD card (at least 16 GB, at least class 10)
- a Vibration Module
- breadboard (optional)
- dupont wirings
Step-by-Step Procedure
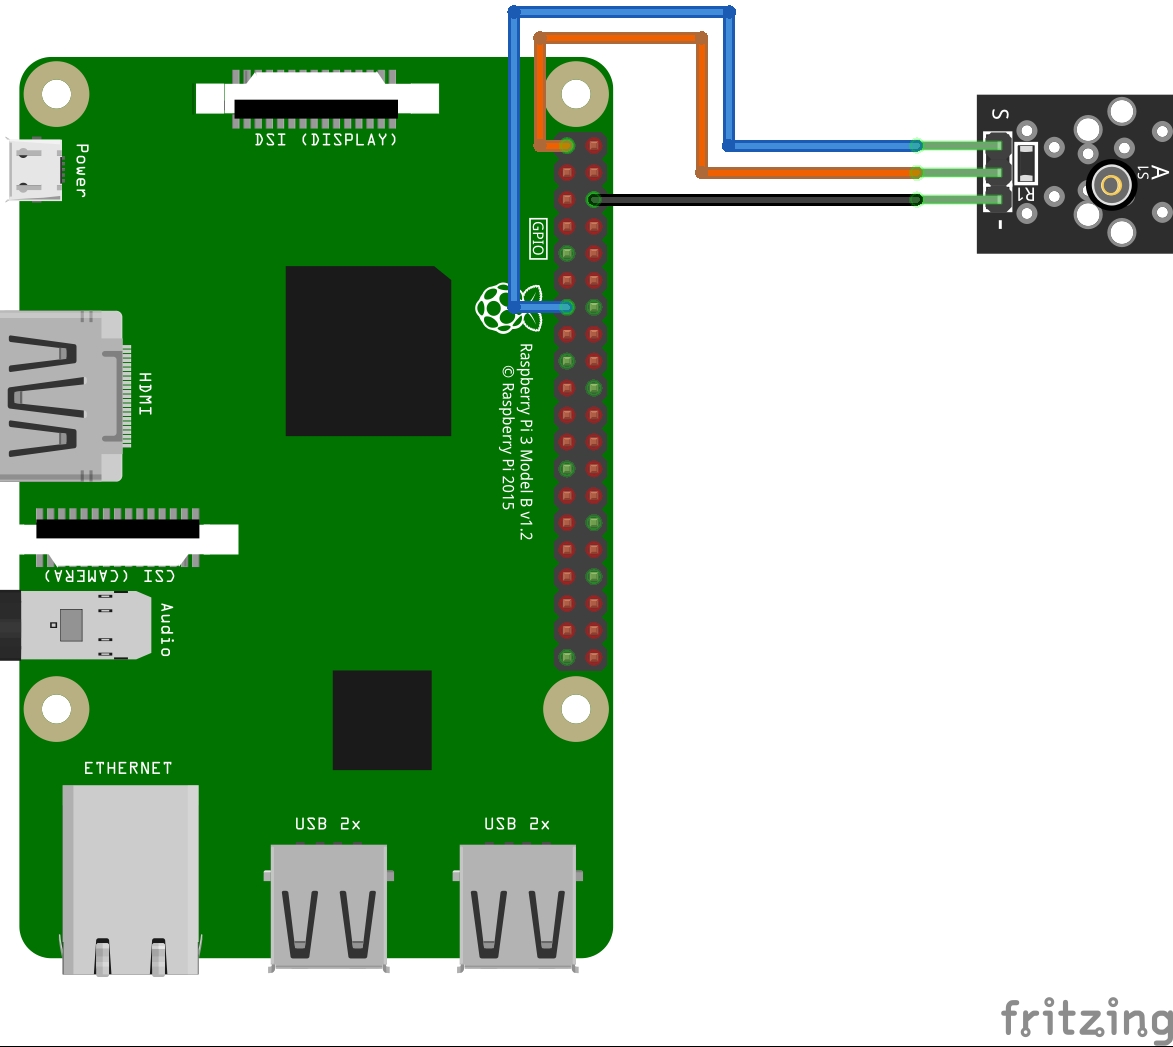
Vibration Module and Raspberry PI Wiring Diagram
Prepare connections as shown in the following picture, according to Raspberry PI Pinout (that is the same as Raspberry PI Zero Pinout):
| Raspberry PI PIN | KY-002 vibration module PIN |
| GPIO 27 | IN |
| +3,3V (or 5V) | Vcc (or V+) |
| GND | GND |
Prepare The Operating System
Start with OS installation using install Raspberry PI OS Lite guide, to have a headless OS and work from a remote SSH shell. This procedure also works with Raspberry PI OS Desktop, using its internal terminal or Thonny IDE. Make your OS up-to-date. From the terminal, use the following commands:
sudo apt update -y && sudo apt upgrade -yThe Raspberry PI OS installation should already include the RPI.GPIO package (otherwise, you can install it with the command “sudo apt install python3-rpi.gpio”).
To use the vibration module with Raspberry PI we don’t need specific packages, so we can go on directly with the Python code.
Get my vibration.py Python Script
You can get my test code directly into your Raspberry PI with the following command:
wget https://peppe8o.com/download/python/vibration.pyThe following lines will explain how this code works.
In the beginning, required modules are imported:
import RPi.GPIO as GPIO
import time
As from best coding practices, we’ll use a variable to store the GPIO port number where the vibration module signal PIN is connected. We also set the naming convention to Broadcom (BCM) and the vibration pin to output:
vibration_pin = 27
GPIO.setmode(GPIO.BCM)
GPIO.setup(vibration_pin, GPIO.OUT)
Instead of writing the lines to activate the vibration within the main code, I usually prefer to define a custom function that I can call from my code in order to execute the vibration feedback. The vibrate() function does just this: it activates the vibration module by putting to high the related PIN, then waits 0,5 seconds, and finally deactivates the vibration module. Running this function will result in getting a 0,5 second vibration:
def vibrate():
    GPIO.output(vibration_pin, GPIO.HIGH)
    time.sleep(0.5)
    GPIO.output(vibration_pin, GPIO.LOW)
At this point, the code hasn’t performed any physical activity, as we’ve just set all the necessary things to make the vibration perform in a very simple way. With the initial code so defined, we can perform a vibration by just running the following line:
vibrate()A final cleanup will make our GPIO ports in a clean status before ending the Python code so that no warning will occur on the next code execution:
GPIO.cleanup()Run the Vibration Module with Raspberry PI
Please use the following terminal command in order to get the vibration running:
python3 vibration.pyThis will execute the vibration and exit from the script.
What’s Next
Are you interested in more cool projects for your Raspberry PI computer board? Take a look at peppe8o Raspberry PI tutorials.
Enjoy!

Open source and Raspberry PI lover, writes tutorials for beginners since 2019. He's an ICT expert, with a strong experience in supporting medium to big companies and public administrations to manage their ICT infrastructures. He's supporting the Italian public administration in digital transformation projects.
![]()
![]()
![]()
![]()
![]()
![]()
![]()


