
Last Updated on 23rd September 2023 by peppe8o
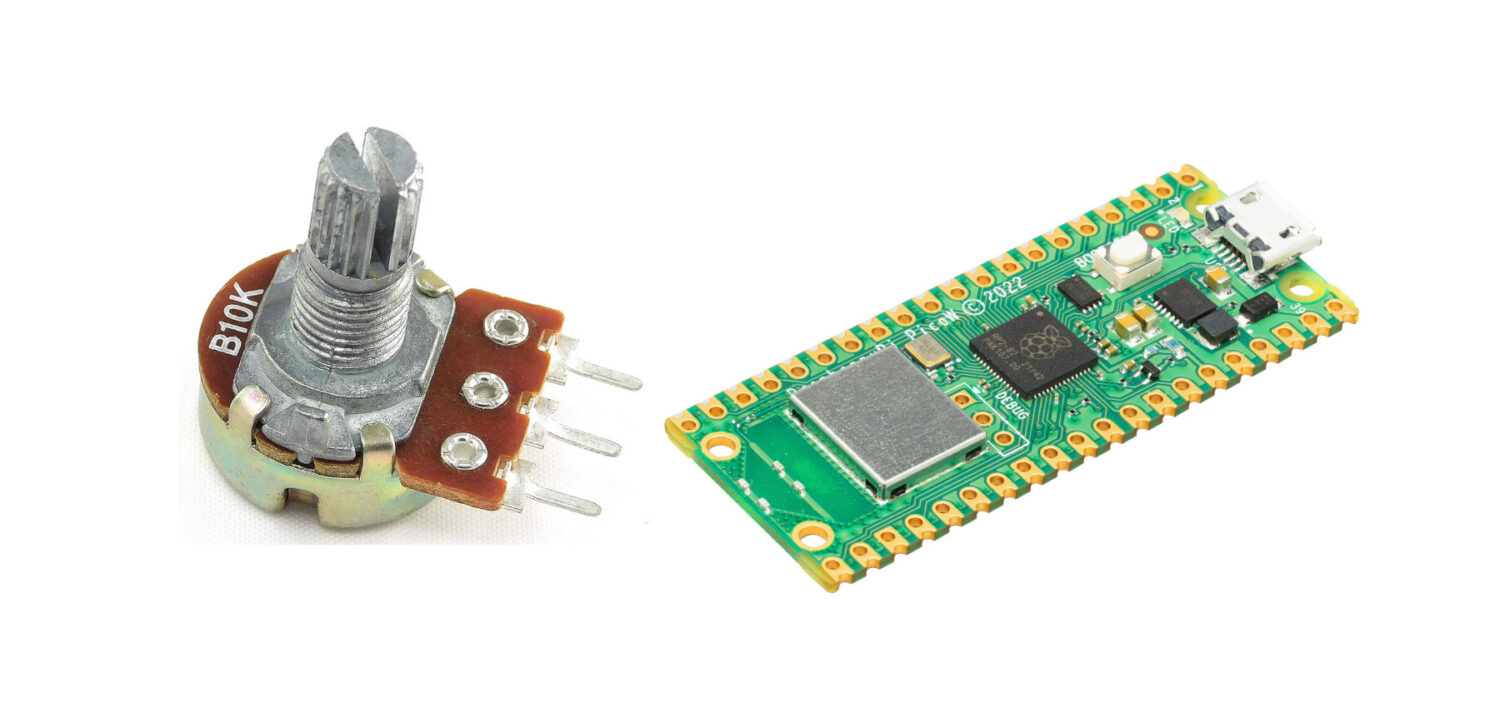
This tutorial will show you how to use a potentiometer with a Raspberry PI Pico microcontroller. This will show you how to arrange the wirings for a simple connection and how to prepare a MicroPython code to use it.
What is a Potentiometer
A potentiometer is an electronic component including a knob used to manually increase or decrease a resistance into a circuit.
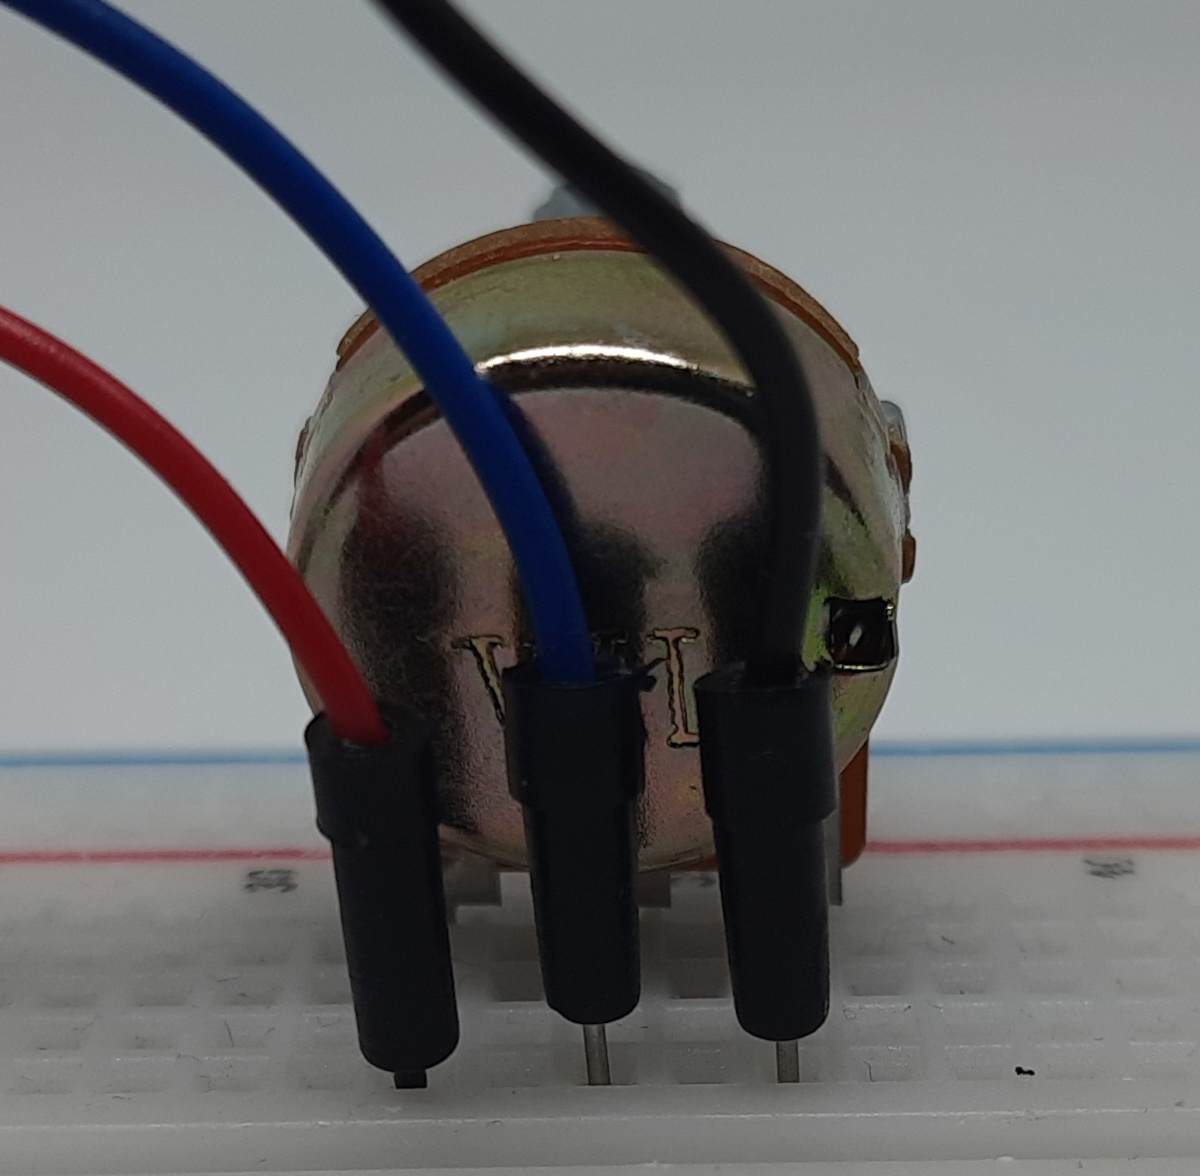
It has 3 terminals, connected with a resistive element. The 2 outer PINs should be connected to ground and Vcc, while the intermediate PIN outputs a voltage value depending on the knob position.
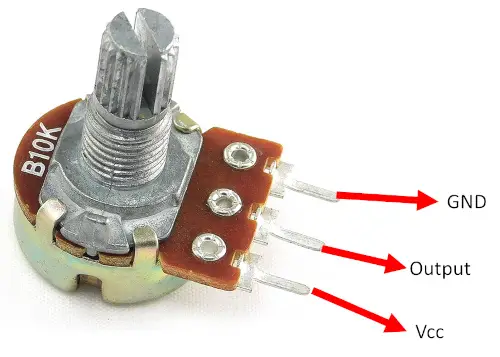
The 2 external PINs can be exchanged, in the sense that you can connect Ground and Vcc in one verse or the opposite one. But, the output will change complementing the Vcc value. Let me explain this with an example.
Let’s suppose that you have connected a 3,3V Vcc and ground at the outer PINs. You move the knob to a position so that you have an output of 2 V. Then, leaving the knob fixed, you exchange the Vcc PIN with the GND. Your new output will result equal to 1,3 V (that is 3,3 V – 2V).
Potentiometers are usually employed to control volume in audio systems, as well as to adjust tone settings.
Linear and Logarithmic Potentiometers
There are 2 common types of potentiometers: linear and logarithmic.
A linear potentiometer has a resistance increasing linearly on the knob rotation. This means that if you place the knob in the mid of its rotation, it will output exactly half of the Vcc value. You can identify linear potentiometers by the “B” letter printed on its label:
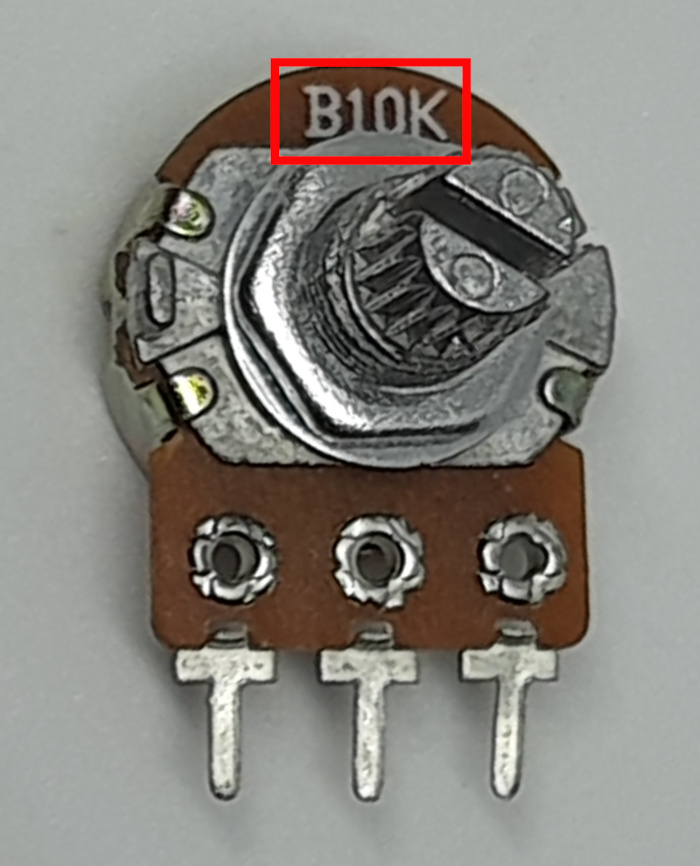
The label highlighted in the picture identifies a linear potentiometer with a max 10kOhm resistance.
A logarithmic potentiometer, on the other hand, has a resistance which not varies linearly, according to a logarithmic scale. These potentiometers can appear similar to the linear ones, but they are marked with an “A” label, near the potentiometer resistance.
What We Need
As usual, I suggest adding from now to your favourite e-commerce shopping cart all the needed hardware, so that at the end you will be able to evaluate overall costs and decide if to continue with the project or remove them from the shopping cart. So, hardware will be only:
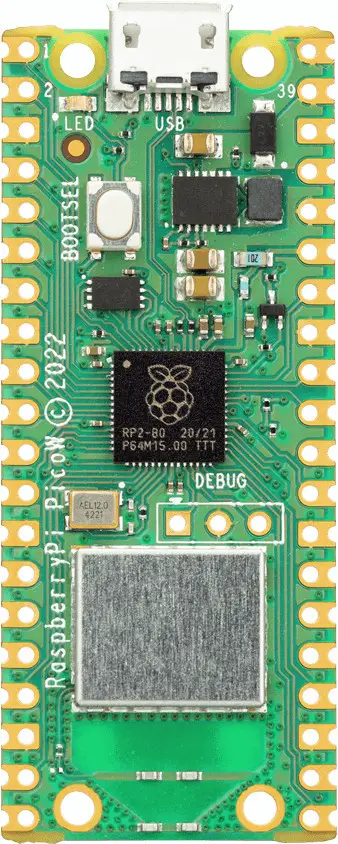
- Raspberry PI Pico microcontroller (with a common micro USB cable)
- potentiometer
- breadboard (optional)
- dupont wirings
Step-by-Step Procedure
For this tutorial, I’m going to show you how to perform a simple potentiometer usage by reading its value. We’ll connect the potentiometer output to an analog port of Raspberry PI Pico, so that we’ll read the resulting values estimating the result both in analog value, in Volt, and percentage.
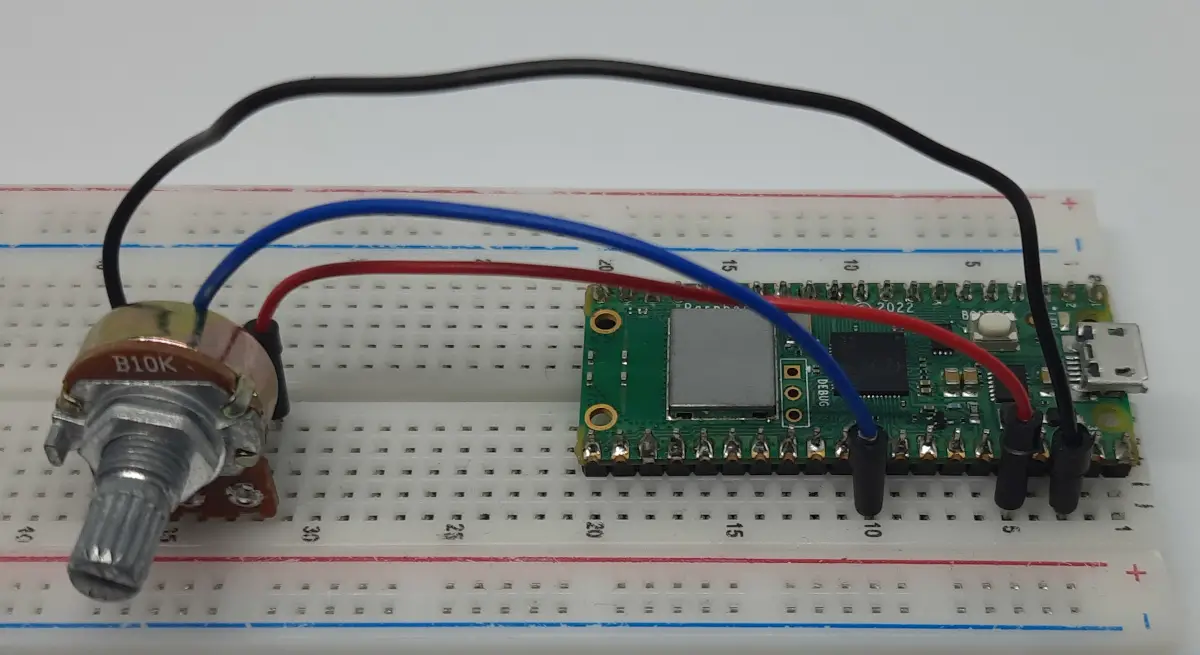
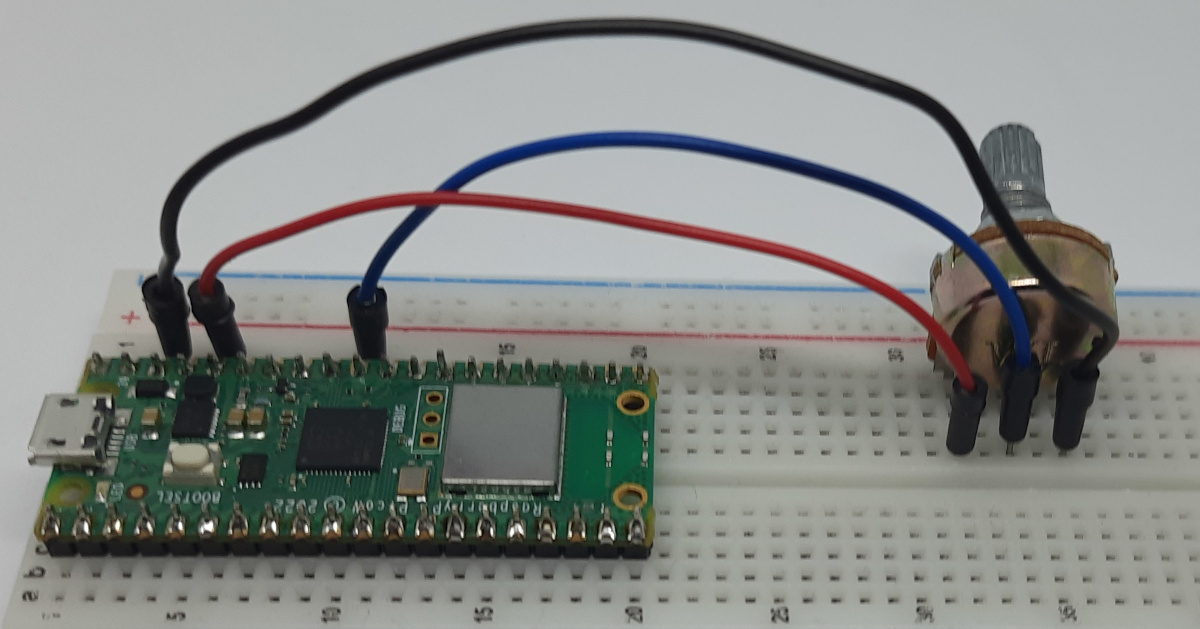
Wiring Diagram for Potentiometer with Raspberry PI Pico
Please arrange the wiring as shown in the following picture, according to Raspberry PI Pico Pinout. Please note that the Vcc connects the 3V3(output) PIN:

Please find below some pictures from my small lab:


Install MicroPython on Raspberry PI Pico
Connect your Raspberry PI Pico to Thonny and install MicroPython. For the very first steps and to install MicroPython, you can refer to my tutorial about the First steps with Raspberry PI Pico.
Get the MictoPython Code for Potentiometer
Please download the following MicroPython script from my download area:
The following lines will explain the code line by line.
At the beginning, the script imports the required modules. the sleep function will just allow us to reduce the number of readings to 1 per second, in order to make the result readable from the Thonny shell (or it will scroll too fast).
from machine import ADC
from time import sleep
We’ve used the Raspberry PI Pico PIN 26, which is the ADC0 port. It’s a good practice to set the port number to a specific variable (for better code clarity) and then initialize the ADC object:
pot_pin = 26
pot = ADC(pot_pin)
This code reads the potentiometer output inside an infinite loop (“while True:”). In every loop, our Raspberry PI Pico reads its value with the read_u16 function. Please remember that it will return a result between 0 and 65535 (which is a range with 2 elevated to 16 values starting from zero).
while True:
    pot_value = pot.read_u16()
As we provided a Vcc of 3,3V, our result will be always inside the 0V-3,3V. The following code line maps the result in this range. The next line calculates the percentage with the same logic:
    volt = round((3.3/65535)*pot_value,2)
    percent = int(pot_value/65535*100)
The last code line simply prints the results and the “sleep(1)” adds a second of delay to make it possible for you to read the results.
    print("Volt: "+str(volt)+" | Read value: "+str(pot_value)+" | percent: "+str(percent)+"%")
    sleep(1)
Running the pico_potentiometer.py Script
Run this script in your Thonny IDE (F5) and you will start reading the output from the potentiometer in absolute values. Voltage values, and percentage values. By rotating the potentiometer knob, you will see these values changing, like in the following shell excerpt:
>>> %Run -c $EDITOR_CONTENT
Volt: 0.02 | Read value: 352 | percent: 0%
Volt: 0.02 | Read value: 336 | percent: 0%
Volt: 0.44 | Read value: 8706 | percent: 13%
Volt: 1.15 | Read value: 22869 | percent: 34%
Volt: 1.91 | Read value: 37865 | percent: 57%
Volt: 3.07 | Read value: 60942 | percent: 92%
Volt: 3.29 | Read value: 65295 | percent: 99%
Volt: 2.76 | Read value: 54829 | percent: 83%
Volt: 2.03 | Read value: 40393 | percent: 61%
Volt: 1.63 | Read value: 32295 | percent: 49%
Volt: 1.28 | Read value: 25478 | percent: 38%
Volt: 1.03 | Read value: 20356 | percent: 31%
Volt: 1.35 | Read value: 26806 | percent: 40%
Volt: 1.35 | Read value: 26886 | percent: 41%
What’s Next
Interested in doing more with your Raspberry PI Pico? Try to look at my Raspberry PI Pico tutorials for useful and funny projects!
Enjoy!

Open source and Raspberry PI lover, writes tutorials for beginners since 2019. He's an ICT expert, with a strong experience in supporting medium to big companies and public administrations to manage their ICT infrastructures. He's supporting the Italian public administration in digital transformation projects.
![]()
![]()
![]()
![]()
![]()
![]()
![]()


potentiometer selects one of 27 led’s micropythom wojwi
https://wokwi.com/projects/368717549372526593
Thank you Jonnathan. Your project with LEDs controlled by a potentiometer and Raspberry PI Pico is really cool!
no import command or external libraries are needed..
here are 3 examples
i discovered this and authored this line of code threw diligent trial and error based on my knowledge of python.
“”””
example #1:
“””””
| print(machine.ADC(26).read_u16())
“””
example #2:
“”””
|while 1:
| print(machine.ADC(26).read_u16())
“””
example #3:
“””
a= machine.ADC(26).read_u16()
print(a)
“””
thankyou
Wow, I must admit that I learned a new, interesting thing here today.
I tested it and discovered that you can use the machine library without expliciting it. So, for example:
for machine import ADCpot_pin = 26
pot = ADC(pot_pin)
works as well as:
pot_pin = 26pot = machine.ADC(pot_pin)
But this is not working with any module. For example, the
time.sleep()requires an explicit import of the time module or its sleep submodule.Many thanks, Jonnathan!
what sense does it make to use this long code?
Purely in terms of execution speed, apart from the non-implementation of the “time/utime” library and much worse readability, especially when several of these functions are also combined with output formatting, I can’t see any real advantage.
If you forego the explicit import function of a library component and leave the basic command import, this notation corresponds to the same waste of RAM as if you were importing these libraries in question via the import statement from __main__. This has an impact on the compiler cache.
It’s more likely that your code with the many LEDs runs relatively well and flawlessly in WOKI. But this code can be shortened to over half of the program code using LIST mapping.
A nice code gimmick with maximum line lengths and without taking the Python format directive into account. Objectively readable code should contain line breaks ‘\’ with a maximum display line length of 78 characters, which corresponds to the line length in the command shell.